19
Oct
Ok, time to show you folks what ImageSynth is and why I like it so much as a great tool for making multi-tiles for dundjinni textures.
OK, I found my very old collection of royalty free photos, 1 million photos and pictures, bought in the mid 90s.
So I loaded one of the CDs, grabbed some photos and decided to play with ImageSynth.
First, I set ImageSynth to create an image of 600 x 600 pixels. As Dundjinni tiles are 200 x 200, making it 600 x 600 is perfect, as then you can later scale down and it will really look good.
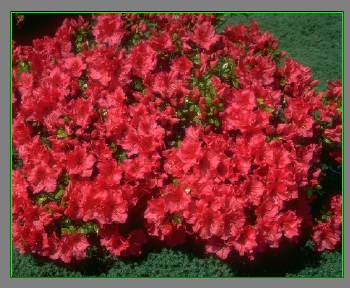
This is the flower picture I loaded into ImageSynth. The first thing you have to do when starting a new image is to select the chunks you want you use. I failed here in the beginning, but now I have learned a little, thanks to dragonwolf at the Dundjinni Forum, who wrote a good tutorial on ImageSynth.
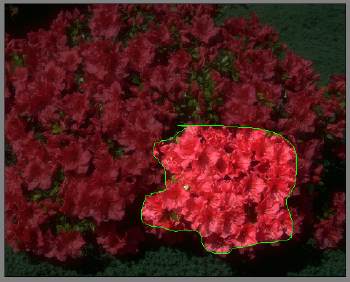
Here I have selected one part of the image that will be a good chunk. You can use either this freehand chunk selector or the box model, for flowers this one seems to be best. There is an autochunker also, but it creates rather silly results most of the time.
Here you can now see the different chunks I have selected, and on the top image, you can see where they are.
As you can see I have selected some pieces multiple times but together with other parts.
This selecting process is very important, done bad you get bad results, which I will show you in part two of Hand on with ImageSynth 2.
It is very good to take some time selecting, and there is also another mode, which will prevent the selected chunk from being smudged, as it will preserve and place the whole chunk.
This is good if you for example is creating a nice grass and have picked out a few flowers or a branch, or a stone, you don’t want those to be blended in with the grass, as a half stone or a half flower will really ruin the look of the texture you are trying to create.
All this chunk selecting is done in the Input tab.
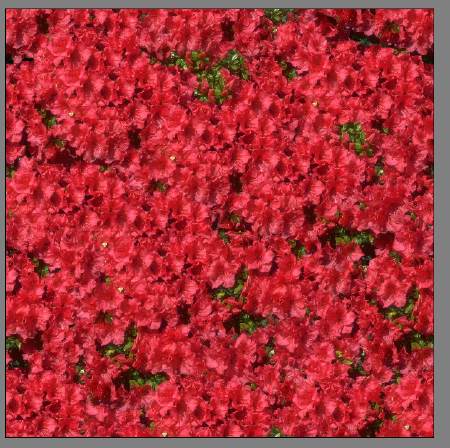
Now I went to the Output tab, and set the jitter to 15%, so it will render different images for every iteration. I hit start, and this is the image it created, and it really looks good.’
I save this image, using the dundjinni naming with a name-a.ext (where I saved as png to avoid the image being destroyed too much from compression).
In Dundjinni, it will pick files with the same name – letter (a-z) and group them as the same floor or wall, then randomly pick one of the tiles, making it look more random.
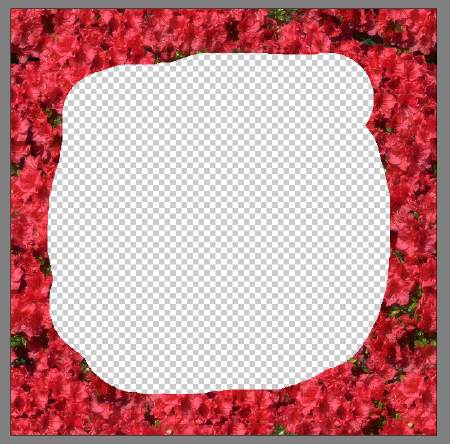
So, now I erase the center of the image, leaving the edges so it will tile. Hit start again, and repeat until I’m satisfied and have enough tiles. For tiles like this I usually go for 6 or 8, depending a little on how varied they can be. You know, red flowers are just red flowers, but they make a beautiful dundjinni floor.
Comments
Leave a Reply
 Roleplaying

