Welcome back to 4Eyes.
Today we are going to make floor tiles that you can use to build your dungeons on the fly.
We start by launching FilterForge (http://www.filterforge.com/ ). Remember I cannot draw and I assume you cannot either, or you wouldn’t be reading this in the first place. I will show you how to do this using other applications and other techniques later on, this time, we do it this way.
There are literally thousands of filters to download, but I like making filters, so I make one just for creating floor tiles. After fiddling around a little, this is the result I’m looking for. I wanted a little “wet look”, this is a slimy and creepy dungeon we are going to use these tiles in.
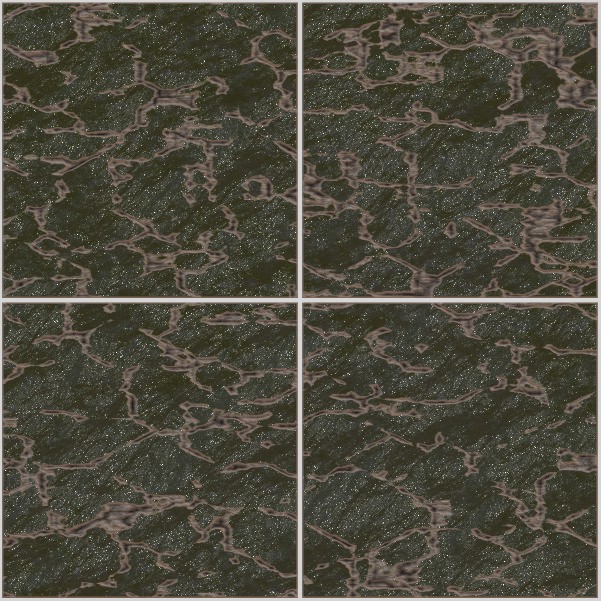
The filter itself can be downloaded here.
Now, fire up your favorite graphics application, I prefer object oriented ones (If you have Photoshop, you can run FilterForge as a plugin though) and today we’re gonna use OmniGraffle
Make sure that you snap your graphics so that your squares are exactly 1″ x 1″. To do this, and still get a decent print quality, I rendered my floor tiles at 300 dpi so that each square is exactly 300×300 pixels.
Facts about printing and resolutions
If you never ever thought of print resolutions before, this is the time to start. Screen graphics are normally 72 dpi (dots per inch), which makes it look good on your screen. Your printer can print in maybe 600 or 1200 dpi (some with even higher resolution), so when you work with graphics that will end up on paper instead of a screen, you need to use a resolution that will look good while printed and at the same time not take too much bandwidth wile downloading. Most of the images here are in 72 dpi to look good on your screen, but they will fail to look good when printed.
Ok, still with me?
Now, lay out a couple of tiles, 2×2, 4×4 2×3 and so on, so you get a few different tiles to work with. These are you base tiles.
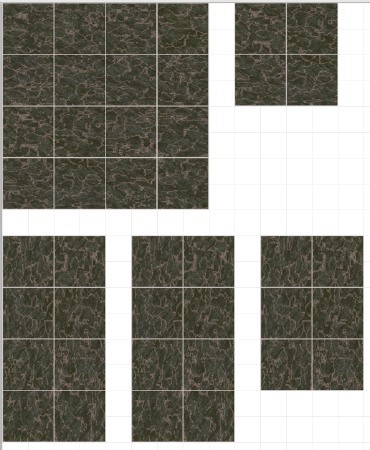
Made this screenshot a little smaller to save some bandwidth.
Now it is time to decorate our tiles, add those things that make them stand out. Using layers, we can add things to the times and still have the possibility to print them as the now look. First, we’re gonna make a classic stair out of one tile. To make a stair, you can use a classic approach to trick the human brain, by adding a shadow to it.
This is the original tile we’re gonna make into a 2×4 stair.
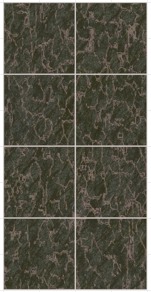
To add the stair shadow effect, we need a png image of a stair shadow, it looks like this, ( you can snatch this one, it is a 300 dpi png ).
![]()
By adding this png with alpha-channel over the tile, we will achieve the effect of stairs as the brain sees the shadows and builds the 3D image of a stair in the viewers mind.
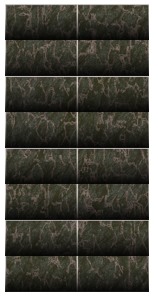
And voilá, you have a stair tile, where the PCs can go down to go up.
Tomorrow we will continue adding elements to our tiles.
Comments
Leave a Reply
 Roleplaying
