Hello again,
I need some new map props, so I’ve decided to make an anvil today. Starting Cheetah3D as usual.
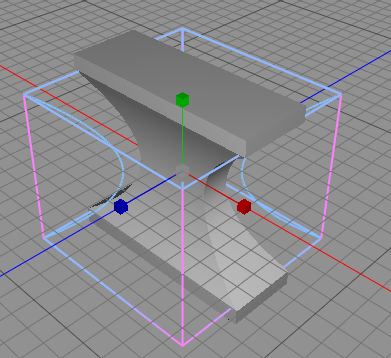
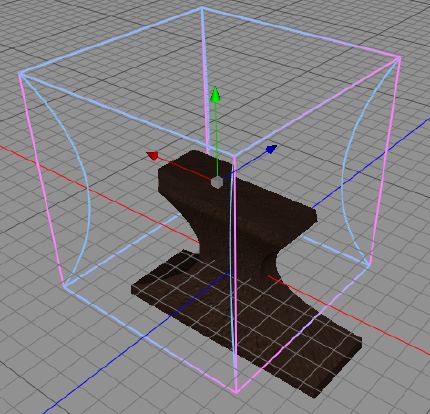
Starting as we usually do, with a bix, that we size like this.
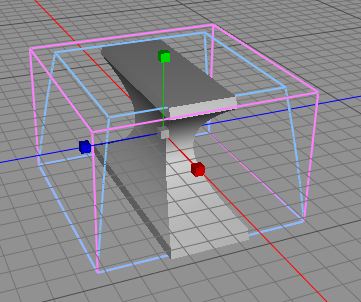
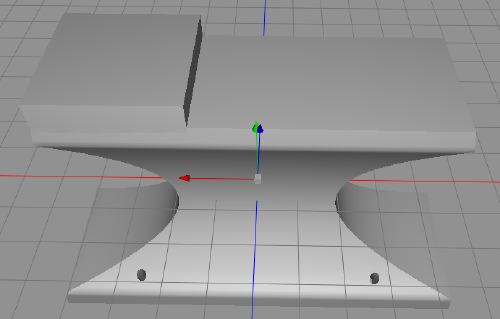
Using the taper tool to give it some anvil shapes.
And taper it again but the top to fix the shape even better.
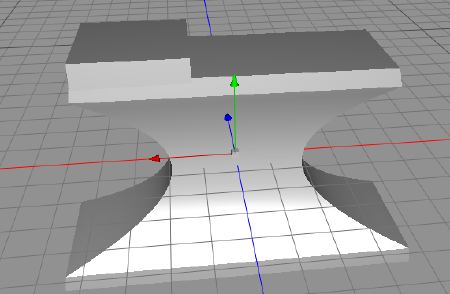
Adding a little box at one end, as some anvils use to have.
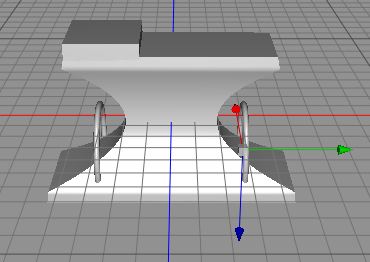
Now, we need holes for the nails, so we create two torus-rings, and boolean away them to get nice holes.
See, nice holes to put the nails in, details that will probably not be visible on the final anvil, but it feels good to have them, and who knows, you might need some anvils for the anvil sale at the village market.
Adding an old metal texture, and the use the bulge tool to shrink the head a little so we can see the foot of the anvil in a top down view. Things like this is much easier to see once the texture is applied.
Selecting only the polygons on the top, to set a different texture on them, a steel texture. Using HDRI rendering with some flames will give the steel the right glow.
And here we are, attached to a piece of wood. As you can see, we could have cut the corners doing it, but if you need it in higher resolution one day, you will regret cutting too many corners when you build your props. The hi-res version of this is worthy to be on the cover of the next adventure, let’s make up a name now, Anvil of the Kua-Toa. See yet another adventure hook right there.
Comments
Leave a Reply
 Roleplaying


