So, more tile making today, and as I promised you all, we’re gonna make a natural cave today. When we’re done in a week or so, we will have a nice set of classy tiles to use at the next gaming session.
Remember, you can use the tiles to build your maps with as well, just put them together and you will have a basic map as DM to get the whole picture.
We start by making a copy of tile-3.graffle, open it in OmniGraffle, and remove all layers except the lines layer and the cave floor layer, so it looks like this (with the lines layer hidden).

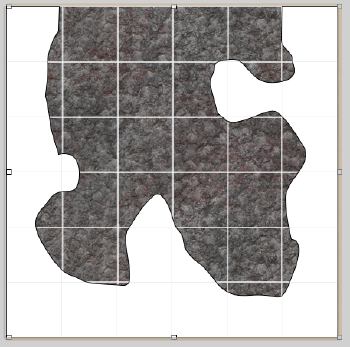
We create a new layer, cave wall, and draw a poly-object path. One thing to remember is that when you set points, if you drag the mouse while setting them, then will get bezier handles and will be curves, so you can make a nice curved wall.
This is the path a made. We add the wall texture to it, and adjust the outer points using snap to grid.
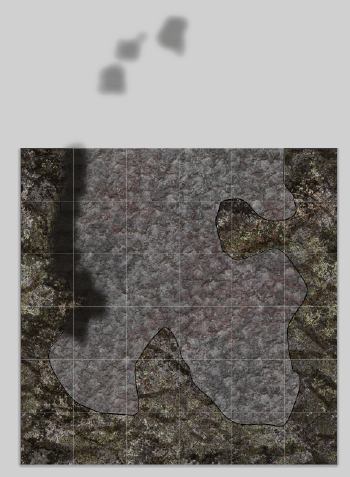
We create a new layer, call it shadows, and drop in the three fuzzy pieces.
Hint: For all you who do not use OmniGraffle, or do not even have a Machine running Mac OS X, you can still download the .graffle files, as they are bundles, directories, containing all the images used in the drawing. Just unzip them, and on Windows, open the directory, or on Mac OS X, right click and choose “Show Package Content”.
So, as you can see, I’ve dropped the three different fuzzy pictures outside the canvas. This is a trick I use. Then I Option-Drag the images into place, making copies of it every time. OmniGraffle will only save one copy of each image you use, so this helps OmniGraffle to realize it is the same image, and also it speeds work up tremendously.
Just outline the inner cave wall, all around.
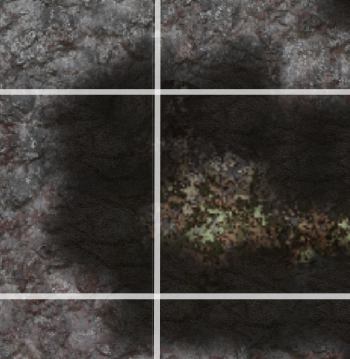
Sometimes you need to zoom in, like this, and resize the fuzzy pictures, in this cave to prevent them from covering too much of the thin wall.
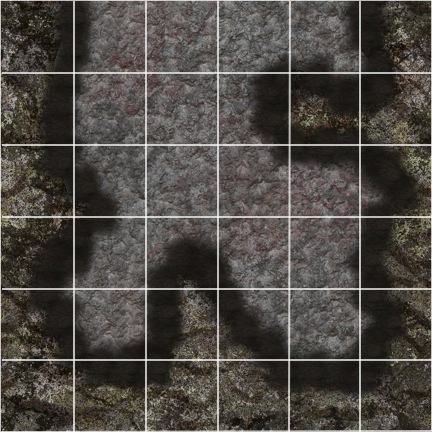
And this is out final cave tile, and here is the .graffle file for yo to look at and play with, tile-4.graffle.zip (4.8MB).
Comments
Leave a Reply
 Roleplaying


