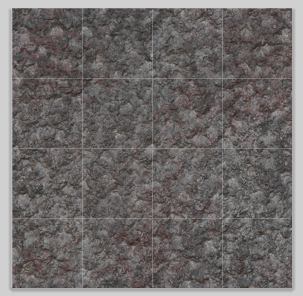
I know you got the basics now, but like any good drill sergeant, I will repeat it until you can do it in your sleep, naa, just kidding. Today were making the 10′ wide corridor, and then tomorrow we will make some additional needed pieces so we can use this tile set while playing.
We start off with tile-3.graffle or tile-4.graffle, amke a copy of the file, and open it in OmniGraffle. We remove all layers except the floor and the lines.
We resize the canvas to 4×4 inches (ignoring the fact that the lines will go out of bounds).
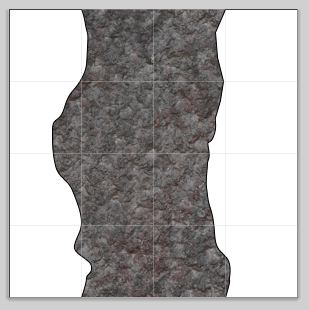
So, we got this, a familiar look. We create two poly-object paths, one on each side, to form a corridor.
We could been lasy and just copied one path and mirror it, but it looks much better when the sides are not too regular. Remove the stroke, and add the wall texture, and set it to tiling and set the size so it looks good.
Adding the fuzzy images to get a cave wall look, and we got a wall. It is very important that the outer points are on the corners of the 1″ squares, so we can put several pieces after each other, forming a long winding corridor deep under the mountain.
This is our final tile, and here is the OmniGraffle file, tile-5.graffle.zip (4.8MB).
Comments
Leave a Reply
 Roleplaying


