Today, we’re gonna use the tile we made a few days back, and change it so we can use it in many different ways. We need tiles to connect seamlessly from one tile to another, the cave to the corridor etc.
So, we start with tile-3.graffle, make a copy of it and open it in OmniGraffle.
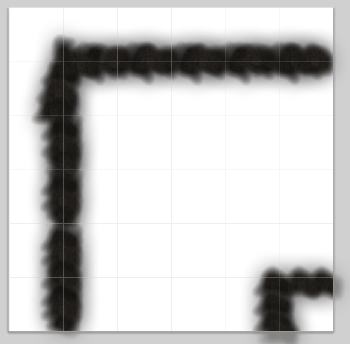
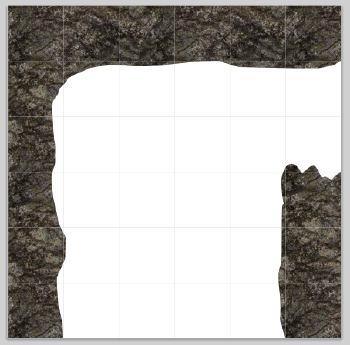
The tile we start with looks like this.
So, we add a new path object in the bottom right corner.
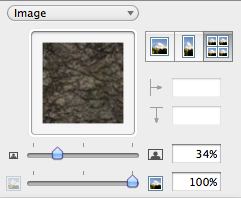
And to easy set the same texture, use the image selector pane in OmniGraffle.
First, select the wall that have the texture set, then go to the image selector, select the image in the imagewell, copy it and select the new wall, and paste the image into the imagewell in the image selector with the new wall selected.
This was you also prevent OmniGraffle from adding additional images to the document, as you will refer to an image that already exists.
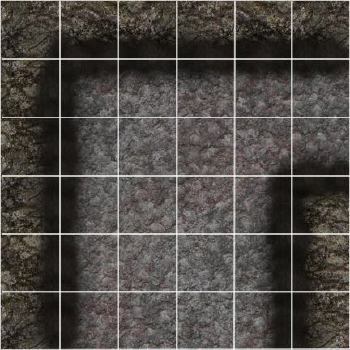
Now, copy some of the fuzzy pictures to add wall depth to the new wall piece.
And look, we have a corner, 20′ wide that now fits on out cave we made the other day. But, we need to make something to connect to the 10′ corridor we made, so we copy save the file we just worked on, copy it and open it again.
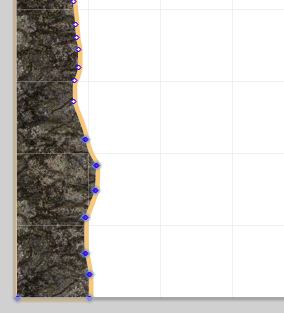
Now, we resize the corner we just made, and add a few more points by double clicking on the border of the poly object, to get this.
Here you can see the points with the new resized object selected.
Adding some fuzzy picture for the wall look, and we’re done again, fantastic isn’t it, but we’re not done yet.
Now, lets reshape the large wall segment we have, so we select a bunch of points, and then move them upwards. Then we have to delete some of the points that now ends up in the wrong place, straighten the wall out again.
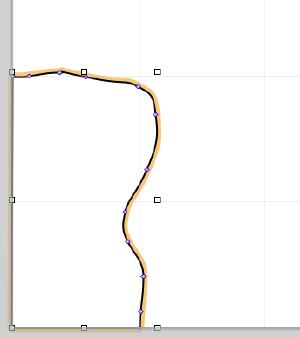
Now we add yet another poly object in the corner we just cleared, that looks like this. We set the texture to it the same way as we did just a minute ago. And we fix the fuzzy pieces to match the new layout.
Look, a three way intersection, one 20′ wide corridor intersecting with a 10′ wide one. So, homework, make a 20′ wide corridor now, I really hope you can do that now with all the tricks I’ve shown you, good luck.
We’re gonna make some more tiles, then when we have a good collection, they will end up in a PDF that all you who doesn’t have OmniGraffle can download.
As I’ve written before, all images posted on the blog are aggressively compressed and sized to 72 dpi to save some bandwidth, but the rendered ones from OmniGraffle all are in 300 dpi and looks very good when you print them out.
Comments
Leave a Reply
 Roleplaying


