Stones and grass, what more can we do with our castle wall to have fun. We can create the inner yard to add behind our other pieces, that sounds both doable and useful.
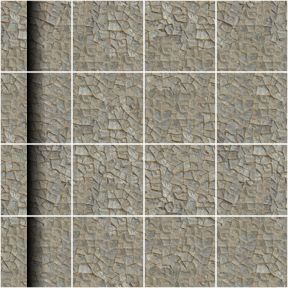
So, we just start out again with the OmniGraffle file castlewall-1.graffle. We size it to 4″x4″, and remove all the other textures except the wall stone, and we keep the inner shadow overlay, a while anyway. Size the stone to cover the whole canvas. Now move the inner shadow overlay so it is about center of the leftmost square row, make it 1/8″ thinner, and we’re done. OK, thats all for today!
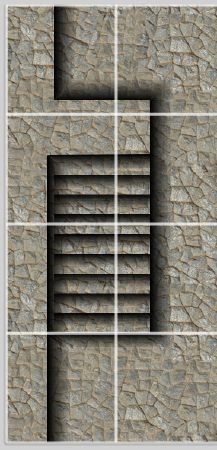
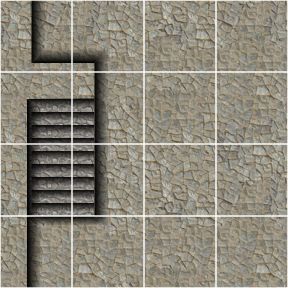
Kidding, this is how it looks. But now, how do you get up to the wall? Let us make a stair that leads from the yard to the wall. First we resize the shadow overlay so it is just one square long, and place it in the top square to the left. Then, make a copy of it and place it in the bottom square to the left.
This is a beginning, now we need to create a bunch of stair step overlays, that are just 1/16″ inch wide, and about 1″ long. We also need a new shadow overlays for the wall shadow and the stair case shadow, so make a bunch of poly-object shadow overlays, like this one.
We place the just like this, and we got a nice looking staircase, I think, but it looks like something is wrong. We need a texture, something that looks a little different, for the stairs to really trick the human eye.
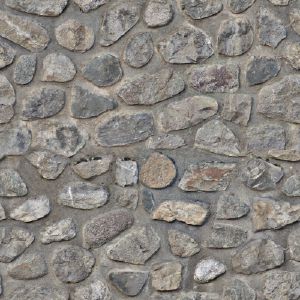
This time I picked a stone texture from CGTextures that is already tiled.
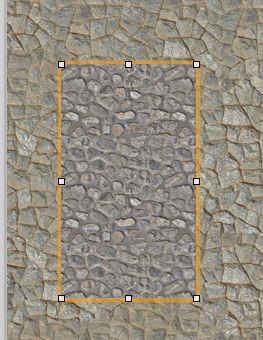
We hide the shadows layer when we place the new texture on the canvas, and we can hide/show the shadow layer so we can get the correct size and position.
And here it is, out stair case leading up to the wall, and here is the .graffle file, castlewall-4.graffle.zip.
Comments
Leave a Reply
 Roleplaying

