23
Nov
Are you as excited as I am to see how this will turn out? I haven’t done anything like this before, so it will be interesting to see how it will go.
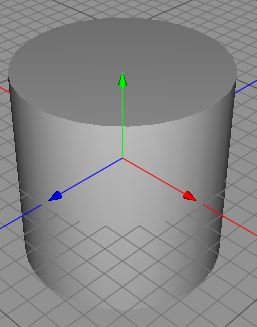
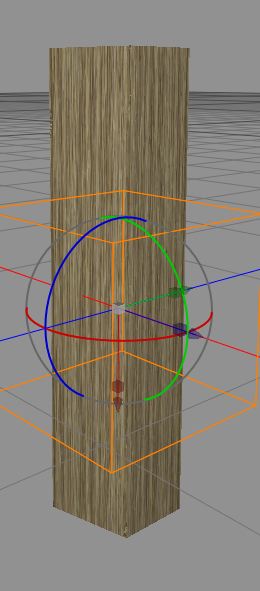
As usual, we start up Cheetah3D, and create a cylinder object. Sie it a little bit taller than the original, think a piece of firewood before you worked it with the axe.
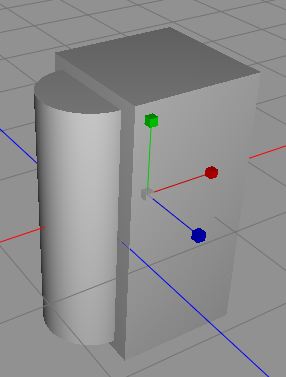
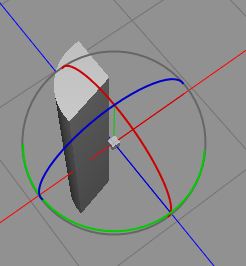
Then we create a box, that we make a bit larger than the cylinder, and use a Boolean operation to cut away the box from the cylinder. Now we have a half cylinder. We create another box, and cut away a less more than the half again, by rotating the box a little to get a piece like a piece of cake, where the angle is a little larger than 90 degrees.
So, this is our raw material for a piece of fire wood.
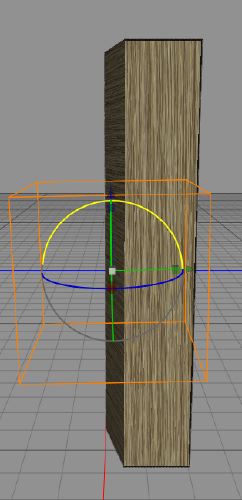
We create a texture/material from our fire wood texture and add that to the fire wood object. But, the texture is rotated the wrong way. So, we select all the polygons on the surfaces that are the cuts.
Use the UV-mapper with the [x] selection only checkbox set. And it looks really good.
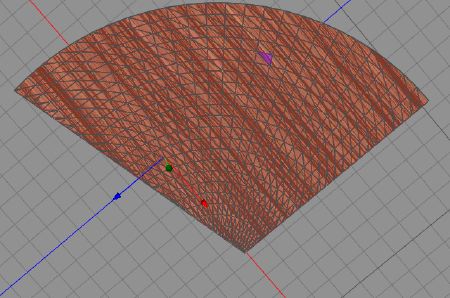
See, this one is good enough to throw in a fire. Now we need to add the end caps of the wood, so we create another material based on the end wood texture we made from that picture, and apply it to the ends by first selecting all the polygons on the end. This is when you ban yourself for using many polygons, but the result is really good.
This is the end, with all polygons selected. You can see the fire wood texture there, making it look ugly from this direction.
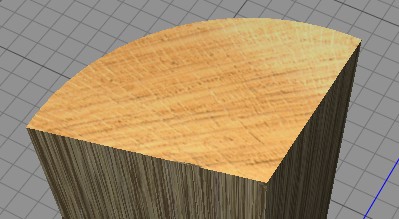
But with the end wood texture applied, this looks really good. Tomorrow, we will apply the bark textures, making 4 different pieces, at least. Remember, all these pictures are screenshots, where the rendering is done in real time by the graphics hardware. When rendering a real image, it is really pretty, I promise you.
Comments
Leave a Reply
 Roleplaying

