28
Nov
So, whats’s on todays schema, yes, making a mundane hammer, a simple, non-magic toll that you often use to decorate your maps with. You can never have too many mundane tools, as when the same hammer is on the table for the firth time, the PCs starts to think you are getting lazy.
We start off by starting Cheetah3D, the 3D modeling and render application of my choice. You could do this in virtually any 3D modeling application, even the free Blender, but the learning curve is steep for every 3D application, so you stick to the one you know.
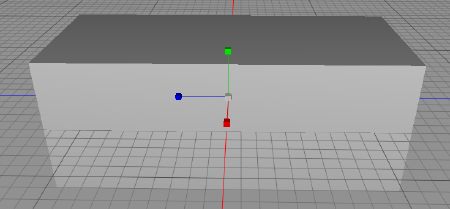
We start off with a cube, that we stretch like this.
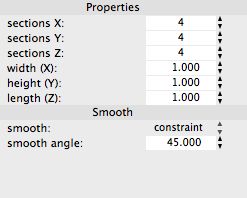
The we set the polygon divide params like this.
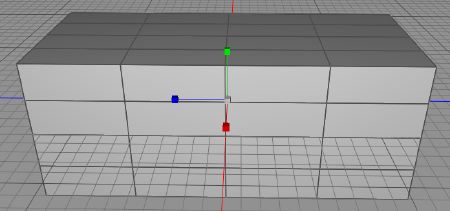
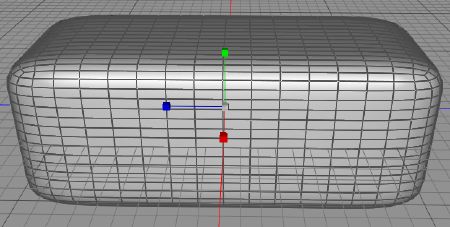
Due to those settings, when we now make a polygon object from the cube it will look like this.
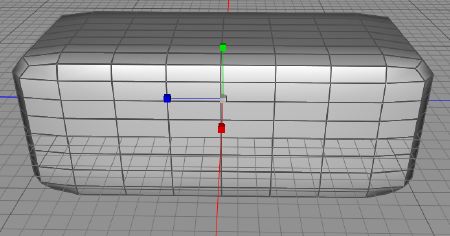
Now, we do catmull subdivide first once.
Then a second time.
And we get a pretty good rounded hammer head.
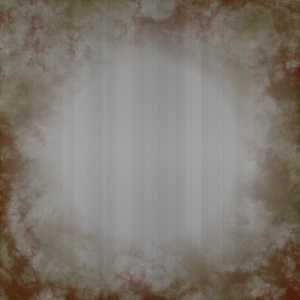
Now, we add a texture, this texture looks like a texture I’ve been using before that I found on the internet, but this one is larger, and is mine, no possible copyright issues.
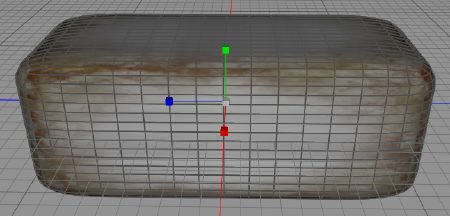
And when we apply the texture to our hammer head, we get this in the modeler.
It really looks like a worn and dirty metal hammer head. We had to do some UV-mapping to get it exactly where we want it, but that is something I’ve shown before, too many times.
So, what do we miss? Yes, you succeeded with your Perception DC 2, a shaft, and that will be what we do tomorrow.
Comments
Leave a Reply
 Roleplaying

