Welcome back to this episode of making mundane tools for the decoration of you battle maps. We will continue today with the hammer shaft.
So, start up Cheetah3D again, open the file from yesterday.
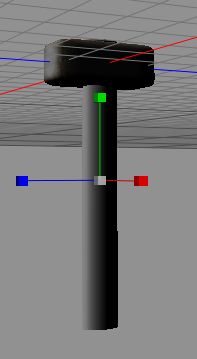
First, we create a cylinder, and shape it a little oval, and size it as a shaft.
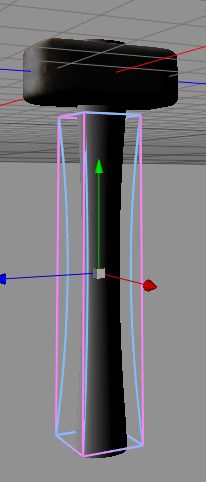
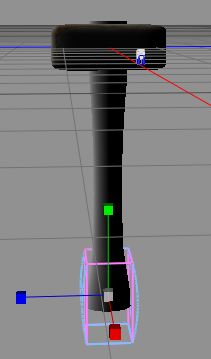
Then, using first that Bulge, then the Taper tool, we change the shape from machine made to hand made. Remember, there are no machines in most fantasy settings.
So, we need a texture, wood texture for the shaft, an I just happened to have been looking at a hammer I have at home. The hammer really belongs to my son, and he got that for his 1st birthday from a friend of mine (DM Thomas), as every kid needs a real hammer, not plastic toys from China.
So, that hammer had a hard wood shaft with a very special texture that I don’t have anywhere, so lest make one in FilterForge, what else?
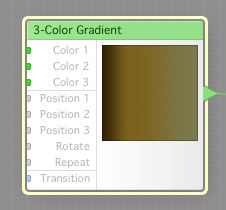
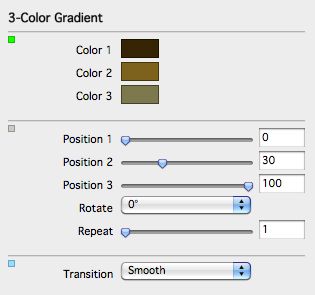
First, we create a 3-Color Gradient, and set that up like this. As you can see, this leaves very little settings for the basic color, but we just want this to look a certain way.
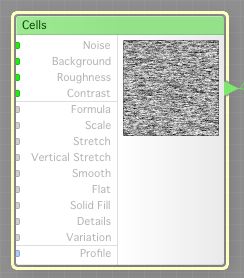
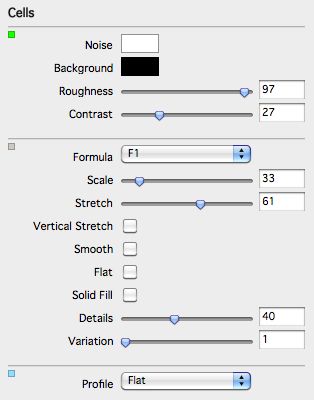
Then add a Cells Noise, and set it up this way. We’re gonna use this for two things. if you remember making the chopped wood texture, you will recognize the next step.
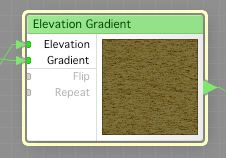
An Elevation Gradient, that we connect as follows. Output from the 3-Color Gradient to the Gradient input, and output from the Cells Noise to the Elevation input.
But we’re not stopping there yet.
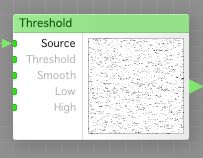
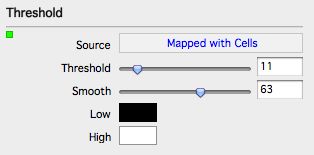
Now, add a Threshold component, and connect the output from the Cells Noise to the Source input of the Threshold component, and set it up like this, the very hard filtering is the basis for this little trick.
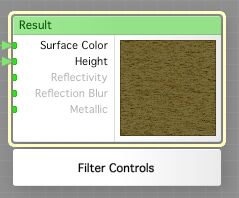
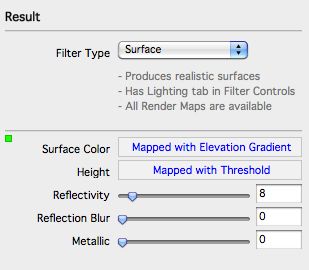
Now, set the Result component to Surface, and connect the output from the Elevation Gradient to the Surface Color input, and the output from the Threshold component to the Height input. Set the Reflectivity slider to about 8.
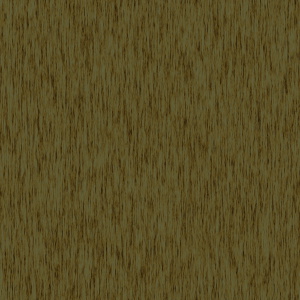
This is the output. I did rotate it 90 degrees to make it better for the shaft in the direction the shaft is in the Cheetah3D.
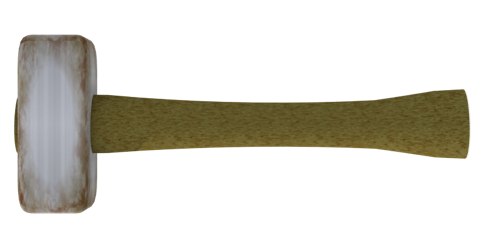
This is the hammer, as a jpeg,
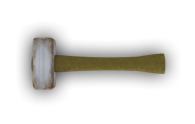
and here it is as a 300dpi png for your favorite mapping software, ready to use.
Yet another fun day is coming to an end. So, what will I do tomorrow? After reading Jonathan Roberts fantastic series at newbiedm, I got an idea, on how to make some of those neat tricks he does in Gimp, in OmniGraffle, so you never know…
Comments
Leave a Reply
 Roleplaying

