I promised mugs, and mugs it will be today. Several different models, and with different delicious beverages too. Soon we have enough items to build and decorate some complete tables. After the mugs, we can make tables, many different tables.
So, fire up your favorite 3D modeling software, in my case that is the trustworthy Cheetah3D, as always.
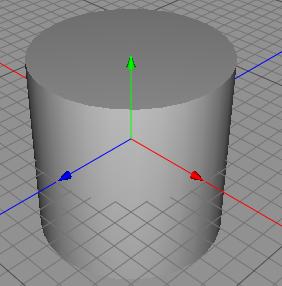
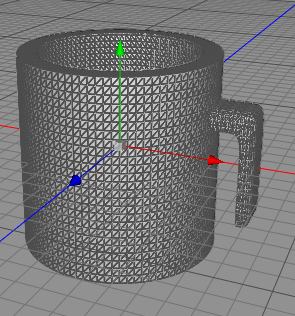
We start out with a cylinder this time, this really scared you didn’t it? No box or ball this time.
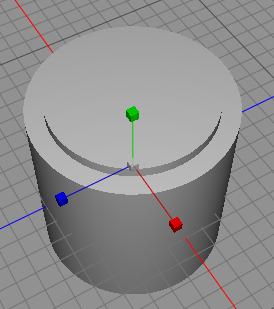
We do the normal, clone resize, move and boolean remove operation, to get basic mug.
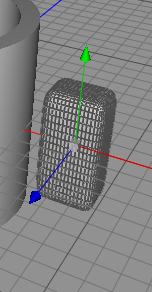
Now, make a box and do the 4x4x4 polygon setting and then Catmull-Clark subdivide a few times to get rounded edges.
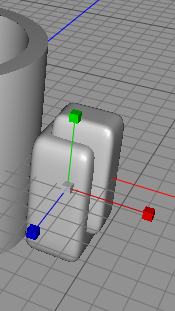
Do the copy-resize-move-remove operation. We need to invent a name for that Coremore sounds good.
And we got an ear or handle for the mug. We make a copy of the mug and attach the handle to the original.
This is our basic mug shape, now we just need to texture it, using one wood texture and one clay texture, so we got two versions of it.
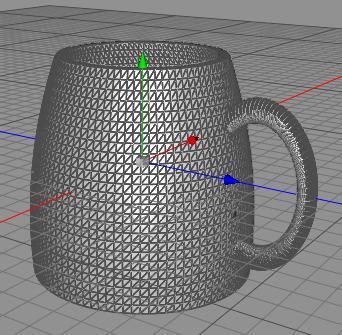
So, now we start over again with the mug copy, modifying it with the Taper tool.
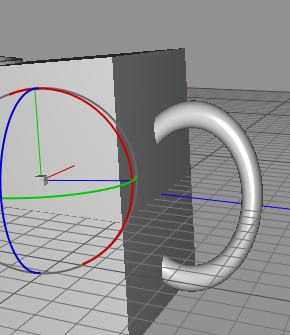
Then we create a torus, and make it a little oval.
We create a box, rotate i a few degrees, and use it to remove about half the torus.
This is our other mug, nice and a little rounded.
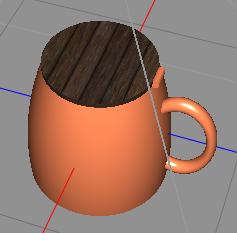
We gonna make this one in copper, and add a little cap to it, as was popular to keep the beverage either hot or cold. We create one cylinder for the cap, and one for the hinge.
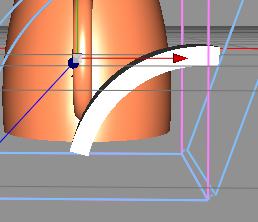
Now we just need the little thing you press with your thumb to open the cap for a sip. We create a box like this.
Use the bender to bend it, and a taper to modify it.
We create a few textures for beverages, and use solid colors for others.
Here are beer and mocca. The mugs are now assembled in OmniGraffle.
We got 12 different mugs, including some empty ones. So, tomorrow, table dressing time.
Comments
Leave a Reply
 Roleplaying
