Today, we’re gonna make some tables, really. It has been a rather long way to get here. Mapmaking isn’t something that goes fast, unless you have a lot of preset items to choose from.
So, we got one more thing before we can rack’em up, stools. So, let’s start Cheetah3D and make a stool. This time, as always we’re gonna do it a little different from last time, as every stool is different.
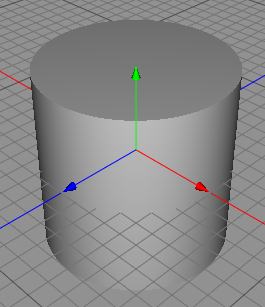
We start with a cylinder this time too.
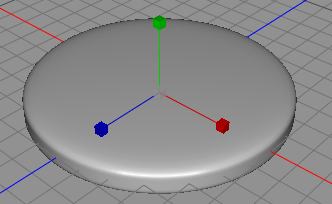
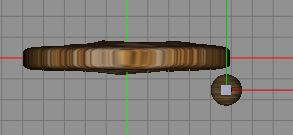
Size it flat like a coin, and then use the Catmull-Clark subdivide to wear it a little. We then use the Magnet tool to wear the surface a little more.
But wait, we need a good texture, so we take the chopped wood texture we did before, and do some changes to it, so let’s start up FilterForge again, that was a long time ago.
We have a Blend component where we blend together the Height map, we will use the output from that one for something fun, so stay with me.
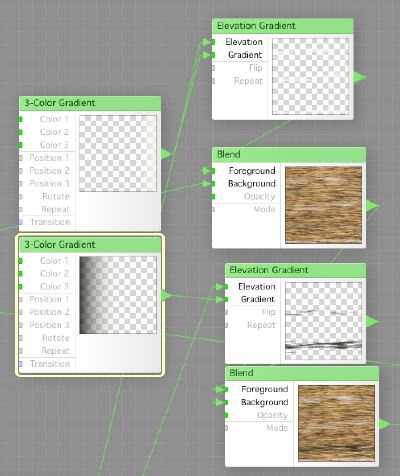
We create two tonecurves, and attach two step curves to those, like this. This is to filter out the highest and lowest parts from the height map. We connect the output from the Blend that blends the Height map to the Source inputs of the two Tone Curves.
Now, we create two 3-Color Gradients, with two out of three colors set to transparent, and one set to a color with about 90% opacity. Almost white color for the high, and black color for the low. Then we create two Elevation Gradients, one for high and one for low, and connect the 3-Color Gradients to the Gradient input, and the results from the Tone Curves to the Gradient inputs. We then blend the result from the high Elevation Gradient over the wood texture we previously sent directly to the Result component. We set the opacity to about 50% and the transfer mode to Normal. We then pass the result from this, to a corresponding chain for the low Elevation Gradient.
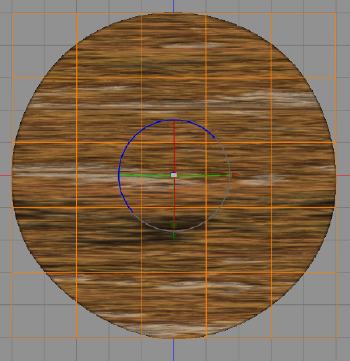
Here are the texture and the bump map.
OK, back to Cheeatah3D again, to continue to work on the stool. We use the UV-Mapper to map the newly created texture onto the stool.
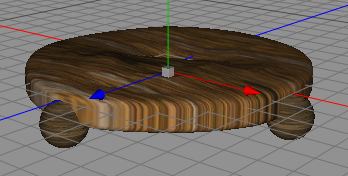
So, now we’re gonna make some legs for the stool, and this time, we’re gonna cheat, as we won’t show this stool in any direction except top-down. We create a sphere, and size it pretty small, and set another wood texture on it, some we’ve used before.
We place one ball in each postion of the clock, 12, 3, 6 and nine.
And here is our stool.
So, now, finally, let’s make some tables.
First, I created a bunch of made tables without any stools, as you sometimes want to have different stools, benches or even chairs.
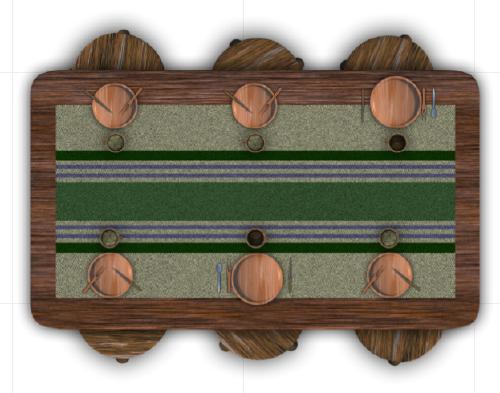
This is one table in a closeup, with stools under.
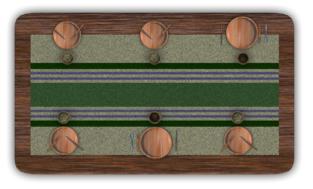
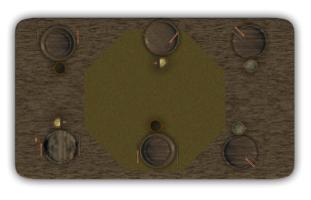
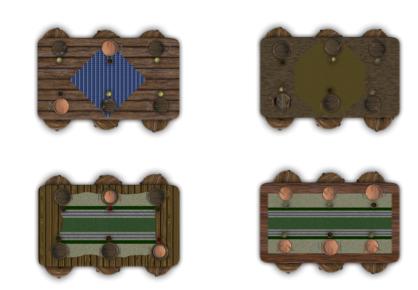
And here are four ready to use tables.
And finally, a made table in action.
Sorry for this rather long post, but I hope you enjoyed it. It really shows how to build your map pieces piece by piece, and how you can evolve previously made pieces. Remember to always save the different pieces and not only save the results, as you will soon see that we will evolve this even further.
Comments
Leave a Reply
 Roleplaying
