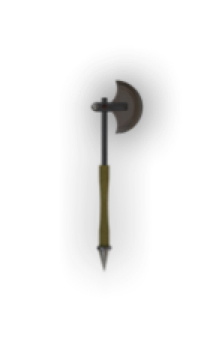
OK, did you spot the difference today, the uncommon home. I just made a nice battle axe that I wanted to share with you all.So, buckle up, and start Cheetah3D, here we go.
We start off with a sphere, like this.
Now we flat it down like a slightly convex lens, like this.
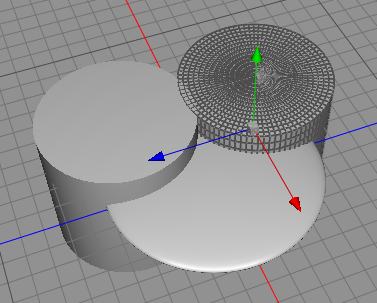
Now, we create a cylinder, size it about a third of the diameter of the lens, clone it and place the clone right beside it.
We first merge the two cylinders using a boolean operation, then remove that boolean object from the lens shape. As you can see in this close up, the operation wasn’t a complete success, so we need to manually remove a few points and lines.
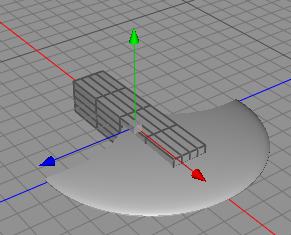
I guess I could have used a third cylinder and merged that in with those two to avoid this, but I thought that showing a mistake or a problem is even better. Now. create a box and stretch it out. This did however make a great axe blade anyway.
Set a low polygon count so it will perform nice when we run the Catmull-Clark subdivide on it. Now, add a sphere and place it at the back of the axe head. Add a high reflective metal texture to the blade and the ball, and a less reflective one to the headpiece,where we will fit the handle.
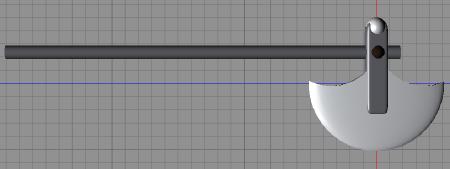
Create a cylinder, size it as a handle, and give it the same texture as the headpiece. Now create a small sphere and place it where the headpiece and the handle is meeting. Use a darker non reflective texture to give this bolt an accent color. Yes, I nicked that term from the TV-show design with Simon and Thomas.
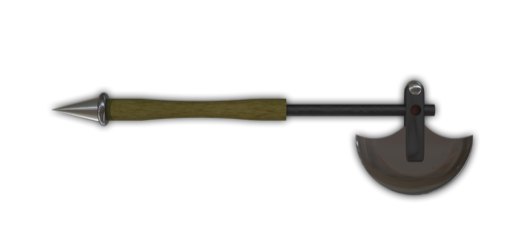
Now, we add another cylinder to the handle, give that a wood texture, the hardwood texture from the hammer shaft is pretty good for this, and then, as a final touch, we add a cone and a torus at the end of the handle, and set a reflective metal color there as well. And this is what we got.
And a smaller version, to show how it would look on a Dundjinni map when it is scaled down.
I hope you liked this little uncommon break, and we will stay in the uncommon rooms for a while longer.
Comments
Leave a Reply
 Roleplaying


