OK, the third and final episode of the village well. We start off where we took a break last time.
Open up the well file in Cheetah3D.
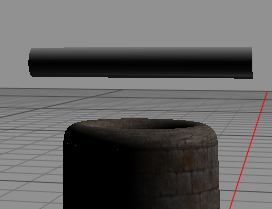
We need a rig to rise and lower the bucket into the well, so we create a cylinder and rotate it 90 degrees and put it across the top f the well.
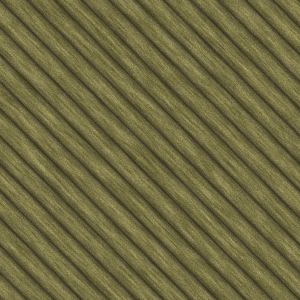
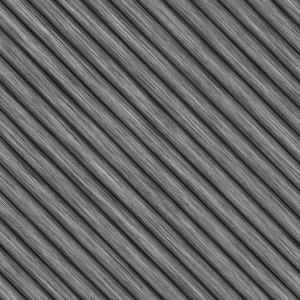
Now we need some coils of rope, and the best way to do that is to add a few torus rings around the cylinder. First, we set a basic wood texture to the cylinder, then we add a few torus rings. Now, we need a rope texture, and I couldn’t find any, so I made this one in FilterForge.
Both a texture map and a bump map. We add this texture to the torus rings, and it looks good.
Now we create two different circular planes, one as a water surface in the well, and one in the bucket. We use the built in water texture in Cheetah3D for that. As a final touch, we put a light doen in the well below the water surface, to give it a magic glow.
Ok, we render a final rendering, and put it into OmniGraffle to add some shadows.
This is how it looks inside OmniGraffle, where I use the grid to set the size of the well. The magic glow below the water look good.
And this is the well in the village, snapshot from Dundjinni, which I use to build the village map.
Comments
Leave a Reply
 Roleplaying


