So, the final day of this filter, and we will have some results to show, hopefully.
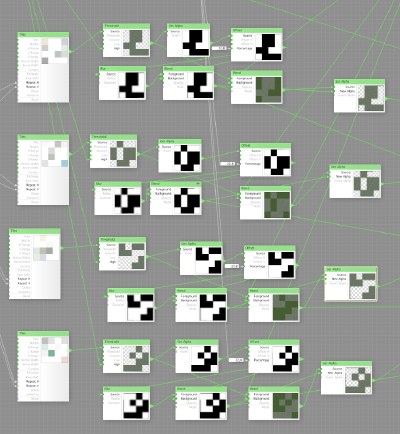
We open the filter again in FilterForge, and now we have the chain of controls we did yesterday, that should look something like this:
Now, we select the whole component tree from the Tiles to the Set Alpha. We copy this, and then paste it in, 3 times, placing the trees after each other vertical, so we get a nice layout. We connect the incoming connections to the copies the same way they were connected in the start one, then we set the Variation setting of each of the three copies to a different value, so we have 4 different looking Tiles.
Now you might guess where I am going with this.
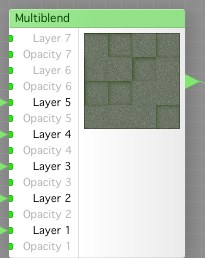
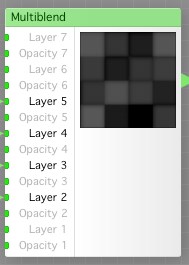
Using a Multiblend component (multiblend-1), we blend together all the four different tile segments we just made, into one texture, looks pretty nice already, but we’re not done yet. Using another Multiblend (multiblend-2), setting opacity to 10%, we blend together all the Alpha channels we made, using the same order.
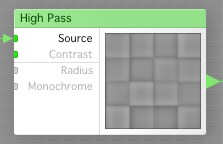
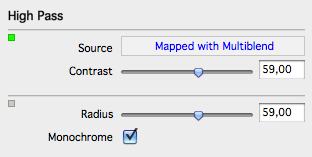
Now, we drive the output from the multiblend-2 component to a Highpass filter component, set up as shown below, we get this effect:
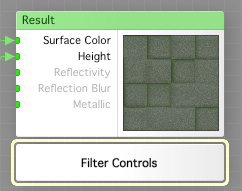
Now, we change the Result component to a Surface Filter, and drive the output from the multiblend-1 component to the Surface Color input, and the output from the multiblend-2 component to the Height input.
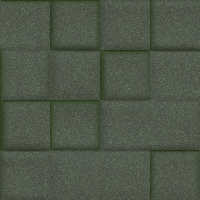
We tweak the Repeat params to get something that looks good in 20×200 pixels, and here are the results:
These look pretty nice, and they tile as long as you use the same bounderies.
Comments
Leave a Reply
 Roleplaying


