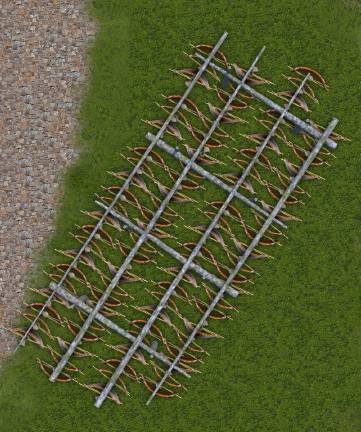
One more day with drying fish, I feel I am already smelling like a Norwegian fisherman.
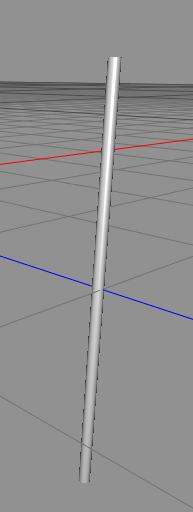
We open up our dried fish project in Cheetah3D, and now it’s time to hook the fish for drying. We start with creating a cylinder, make it look like a chopstick almost.
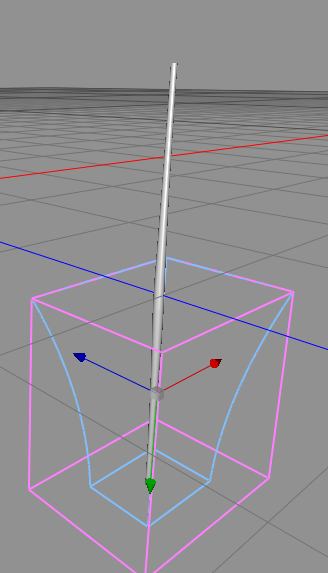
Now we use the taper tool, in both ends, to give it a better shape for its use.
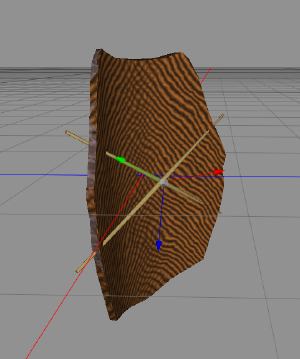
We add a light wood texture from some previous texture making session, and make a copy of it, and place them as across, and stick the bent fish onto the sticks, i.e. move them so they puncture through the fish object.
But how do we hang the fish? In a rope, so we add a cylinder, long and thing again, and place it as the hanging rope.
Now we create a torus, shape it so it is about the same diameter as the rope, and the center hole is the same diameter as the rope. We copy that torus two times, and rotate each copy, all this to make a knot.
Now, we need a rope texture, so we start up FilterForge and make a rope texture with my simple rope filter.
So, rope texture map and bump map.
Curious?, this is how our drying fish looks like, for a viewing angle, that is not top-down. You can notice we did some more knots using toruses for the upper part of the rope too.
We render out a kit of three drying fishes for the rack building, like this:
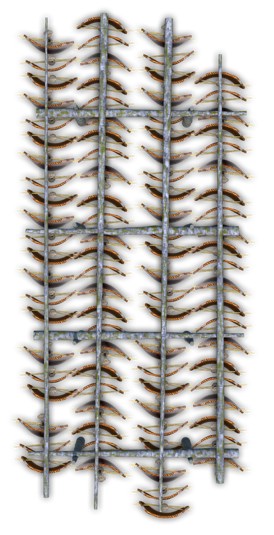
And, the fish rack, the complete fish rack, looks like this after we composed it in OmniGraffle.
And, as I try to do, an action shot:
Have a bite, and enjoy!
Comments
Leave a Reply
 Roleplaying
