22
Jan
This market series was more intriguing than I ever anticipated when I started this venture. Now it is miller time, and I do not refer to a famous light brown bottled quite refreshing liquid.
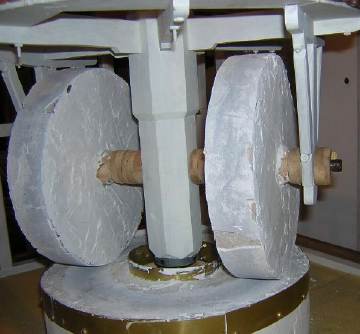
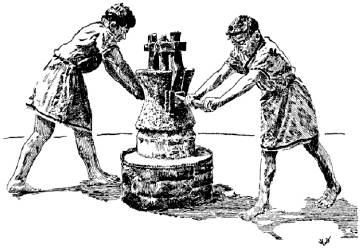
I found the these two pictures on the internet on mills, and taking the idea behind those two and combining them, I got an idea how my mill should look.
So we start up Cheetah3D and get dirty with polygons. This time, I decided I’ll give the built in texture generator in Cheetah3D a fair chance. It is hard to fail on a worn millstone texture. I started out with the built in granite, and did some tweaking. This is the filter inside Cheetah3D.

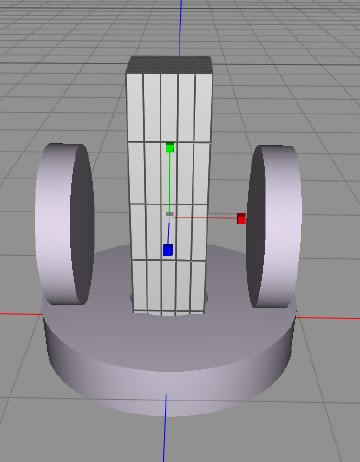
So, we create a cylinder, that we shape like a mill stone, much like the one in the first picture.
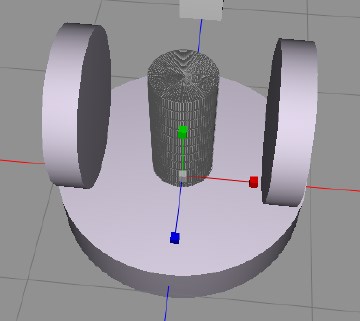
Now, we create a cylinder, that we use to punch a hole in the base stone, the one that is on the ground.
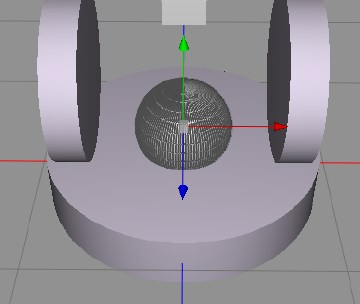
After we have used a Boolean to remove the cylinder from the stone, we create a ball, to make the hole a little worn, wider at the top.
We boolean away that one too, and then we create a box, that we shape like a pole, and set a 5x5x5 polygon count on, shown in the image btw. This is to be able to Catmull-Clark subdivide it to give it a worn look.
This is how it looks after two subdivides, much rounder and worn.
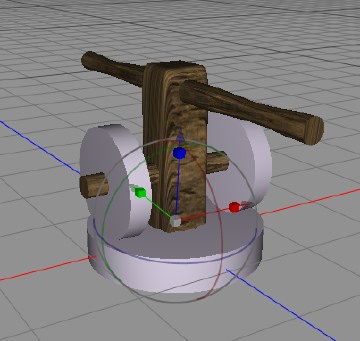
Now, we add a tree texture to it, and create a cylinder to hold the mill stone wheels in place. And we create the bar, that the miller and his son will use to turn the mill and work the grains. We use the taper tool to give the bar a worn look, or maybe it is just grips for the hands to get a better hold. The textures are mapped to look good from above btw.
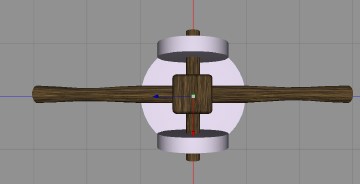
This is how the model looks the Cheetah3D top down, looks good. Not too much detail, but still you can see what it is.
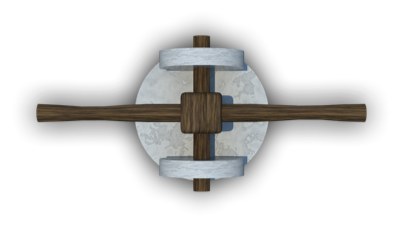
And the final mill, shadows added in OmniGraffle.
Tomorrow, the miller needs a sieve to separate the flour from the seeds.
Comments
Leave a Reply
 Roleplaying
