Welcome back to the making of the Eastport map. Today, as I said yesterday, we’re gonna work with what is left of the jetty. This will be interesting indeed.
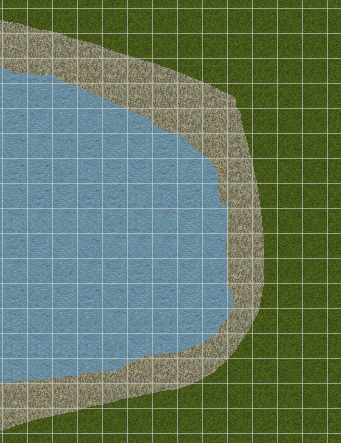
We start up Dundjinni again and load the map, this is the bay right now, before we start to fix it.
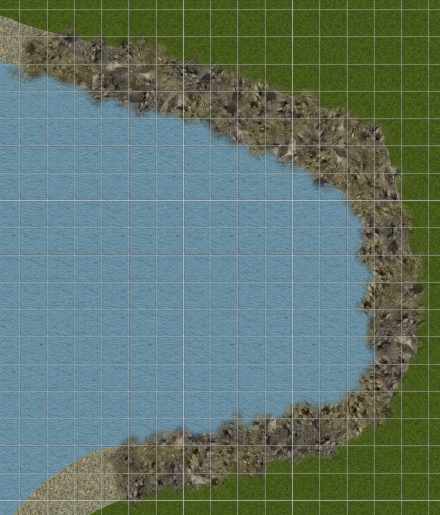
Now, we start to add some waterfront, using the rockier pieces I’ve used before on other maps. We do only the bay part of the coast, the rest will be done later on.
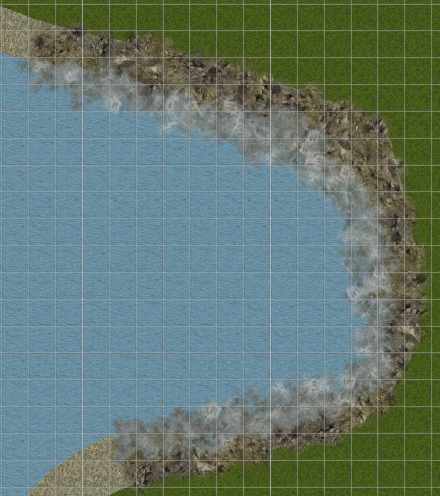
So, now, some foamy waters.
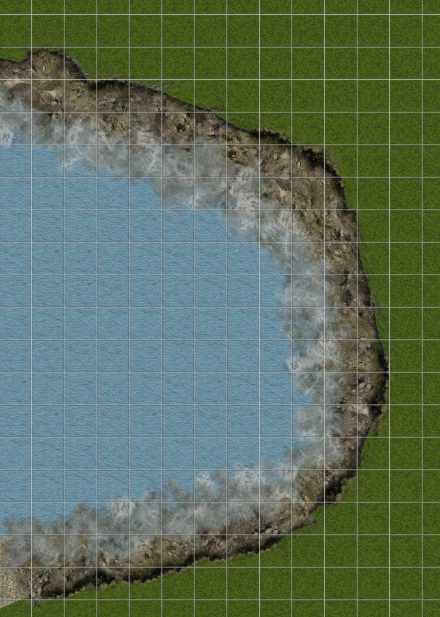
And last, the invaluable broken edges of the ground.
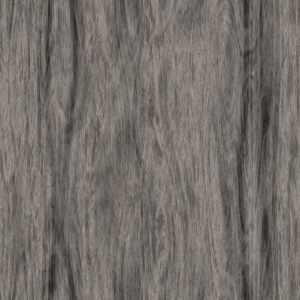
Now, we need a jetty or a dock of of some kind, and it will be old and broken. I start up FilterForge and generate a texture, using a filter with the fitting name wood generator. Here are a texturemap and a bumpmap.
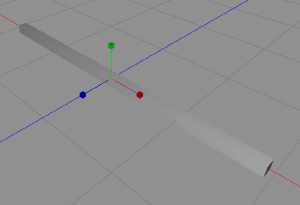
Now, we start up Cheetah3D and quickly toss together a small jetty. We start off by making a box, then shape it like a rectangular pole.
We copy that, and place the copy parallel to the first one. Now we create a box, create it like a plank, and place it over the two rails we just made. We copy and place with a distance between them, so we later can rotate each plank a little. Then we add the texture to it.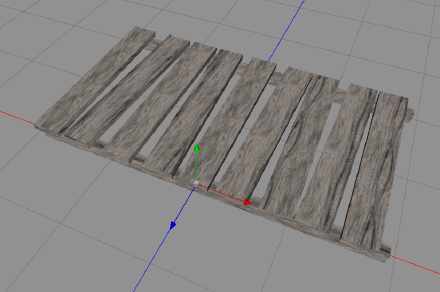
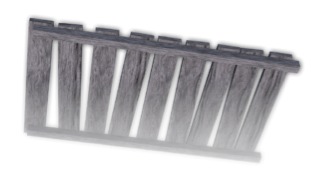
This is how it looks in the modeler. We render one top down, and one on the edge. Now, I made a little special filter i FilterForge to make a part of the jetty on edge transparent. That could be done in any drawing program as well, but I rather do it in a way I understand.
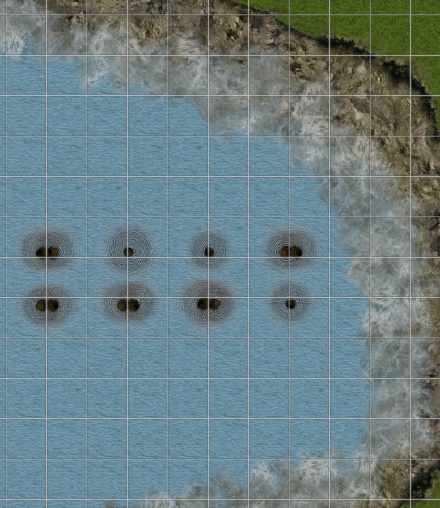
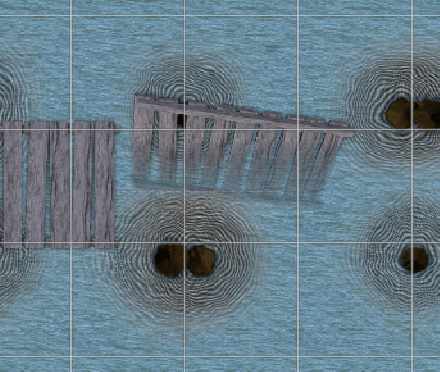
So, you can see the transparent part, here rendered on white. Now we add all these items to Dundjinni, and start it. Remember to quit Dundjinni before changing the content of the folders, or you will experience some strange unpleasant things. We add a few poles, extra dark and water damaged, and some water wave rings around them.
And now, we add the jetty pieces to it.
As you can see, the tilted one with a transparent lower half, looks like it’s sticking out of the water, the lower half is below the surface. Transparency is one of the best and easiest ways of doing neat tricks when making maps.
Comments
Leave a Reply
 Roleplaying
