Na nana nana nananana na Texture time!
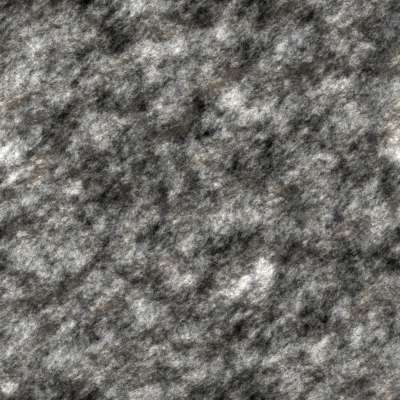
Textures needs to tile, have a decent resolution and look like we want them to. Lets start with the walls, which are what is left of the ground when the cellar was dug out. I usually use a standard stone texture for that, either search for one at CGTextures, or more recently, render one in FilterForge.
Today we’re gonna play with FilterForge again. We create a stone like surface using one of the filters that exists, no need to invent the wheel every time we go for a ride, this is how that texture looks.

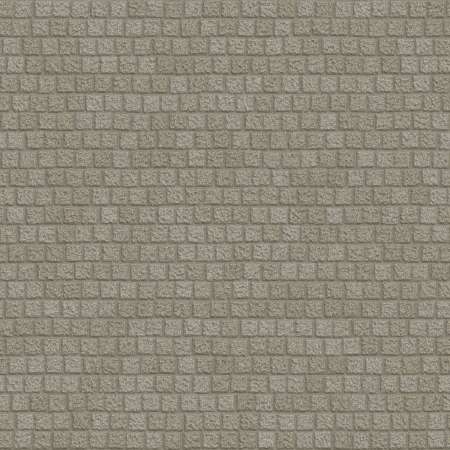
We apply that to our wall outline. Now something more exciting, the floor texture. We want something that looks like a real cellar floor in a cellar belonging to an upper class inn, so a stomped dirt floor is out of the question. I decided to go for a sandy pavement, that we later on can add some dirt to.

Now we apply this texture to a new object that we put at a new layer, below the other layer. Using OmniGraffle, layers is your friend, as shadows can be set to only shadow objects on lower layers, you can create nice shadow effects. Also, you get the painters way of working, thing on upper layers cover things at lower layers, to create a nice effect.
Last, we add some lines to create our 1″ squares, using a opacity setting on the lines, and selecting a line color that makes it visible on the floor. Black lines on dark brown floor is for example not good at all.
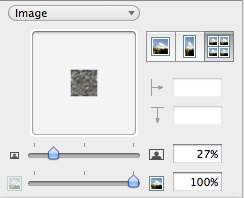
This is the setting I use in OmniGraffle for the wall textures, about 27% size and tiled.

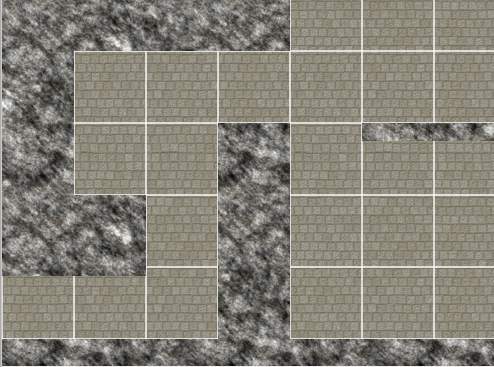
This is a piece of our cellar map, so far. What we see is that we’re missing the stairs down.

Tomorrow we’re gonna make the stairs using the floor texture used for the ground level, by render a piece of that map and add our stair shadows to that, as the current stairs have wall shadows on them that wont look nice here.
Comments
Leave a Reply
 Roleplaying
