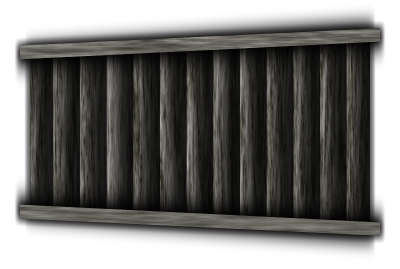
I’ve been using a tavern staircase, or actually three mods of one that I found on the Dundjinni forum for many of the stairs in the Neverending Inn project, and as with doors, they got a little used up, so I decided to make new stairs, with the one made by master jedi of item creation, greytale, then modified by Kepli.
This is one the original staircase I’ve been using so far.
It is a really good piece. But I wanted some more variations so here we go. I did this using FilterForge 2 beta, but I realized I didn’t use any version 2 specific things doing this one so it can be done in FilterForge 1 as well.
First, we create about the same wood generator as we did the last time, but two different versions of the wood. I won’t go into to much detail on that stuff, only what was new and cool in this particular filter.
This is the wood generators, both of them. One with a smother lighter wood and one with a rougher darker wood as result. Now, we’re coming to the really cool stuff. I wanted my staircase to have a little perspective, not being absolutely orthographic as the one I’ve been using. I had no clue but I knew that it must be possible, and this is what I did.
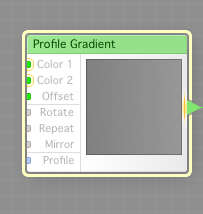
First, I created a Profile Gradient, that goes from one shade of grey to another shade of grey, this is to create a slight slope.
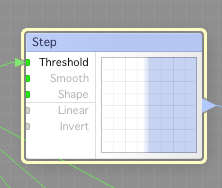
Now, I feed this slope into the Threshold input of a Step component. As you can see, the area between white and blue is a little blurred, it is variable over time (or image).
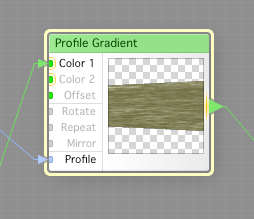
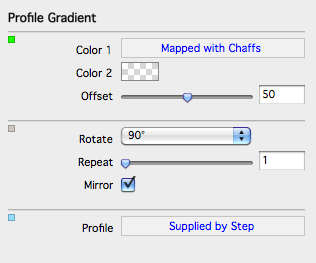
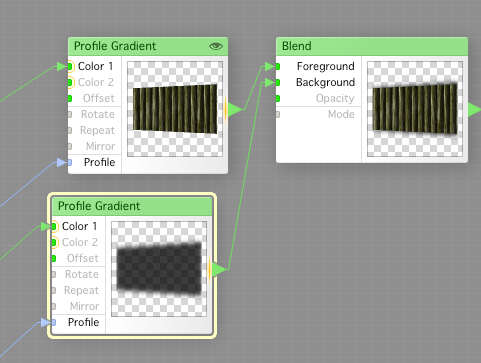
Now I create another Profile Gradient, and you will soon see why this is one of the most versatile components in FilterForge. I connect one of the woods to the Color 1 input, and set the Color 2 to 100% transparent black.
Look at the result, it now got a fake perspective. Now I show you what else can be done with this technique. I feed the output into a similar configured Profile Gradient, where I first run the shaded grey through a Gamma component to darken it. Now I can cut out a piece in the middle.

This will be great railings, but they need drop shadow, so I do the same operation with a black color instead of the wood texture.
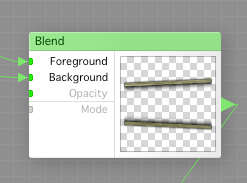
Now I blend these together using a Blend component, railing with shadows.
I use another Profile Gradient together with the other wood, to get stair step shadows, using the same wood texture blended with black as the darker part, then run this through the same shaper as I did with the railings, except that I do not cut out the center part. I also add a shadow here too.
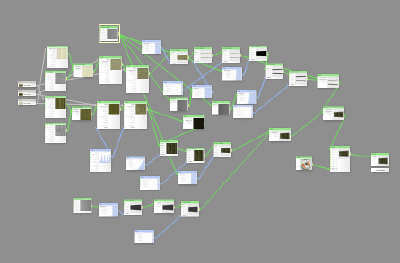
And this is how the complete filter looks like, not that frightening at all, I’ve done much worse filters.
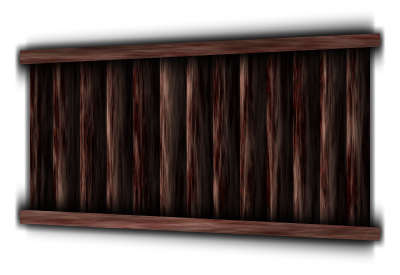
But how about the result?
I say that they look pretty good. And this is one of the stairs, in one tile I’m working on right now.
This was a large post, but I hope you learned something from it. I was thrilled that I could solve that perspective problem in such a cool way. I will play more with the Profile Gradient, I have another crazy idea I need to test soon.
Comments
Leave a Reply
 Roleplaying


