Today, I realized that my docks needs some bridges, as I will make a canal like tile type also. I though maybe I can make a bridge in FilterForge, just as a cool test.
So, this can be done in both FilterForge 1.0 and the 2.0 beta as I do not use any 2.0 specific components. As you might notice, there are no user inputs in this filter, I will eventually add some if I decide to make the filter public, this is a quick filter.
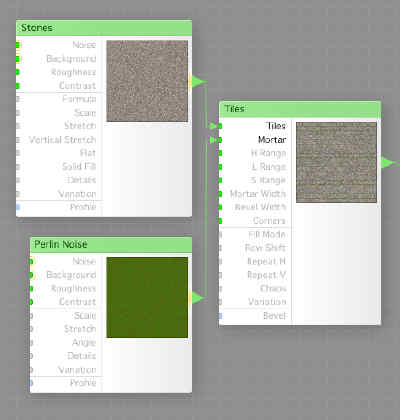
First, I create a Stones Noise, and set the two colors to a brownish grey and a darker grey, and the size to rathe small, this will be the surface for the side of the bridge. Then, I created a Perlin Noise, which mix a brown and a green color, to make a moss filled mortar. now, I hook those up to a Tiles component, to make stone tiles. I manually set the Repeat X and Y and the Mortar width and Bevel width.
Now I do almost the same thing again, but with a different stone texture and a brownish mortar, no moss, and a Tiles component with a different Repeat setting. This will be the actual bridge surface.
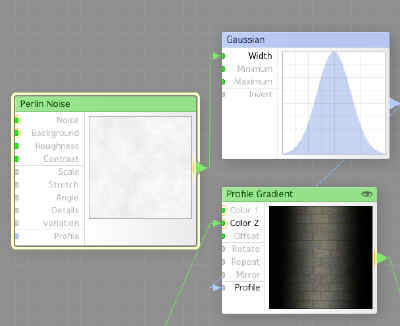
To give the viewer the illusion of the sides casting shadows on the bridge surface, I use a Profile Gradient, that goes from black to the bridge surface. To control the profile of the Profile Gradient, I use a Gaussian wave component. Now, that would render a perfect shadow, but nature isn’t perfect, so I created a Perlin Noise, configured with a lot of Roughness and the two colors light. I then feed the Width input of the Gaussian wave with the output from the Perlin Noise, which makes the shadow edge a little random, and more natural.
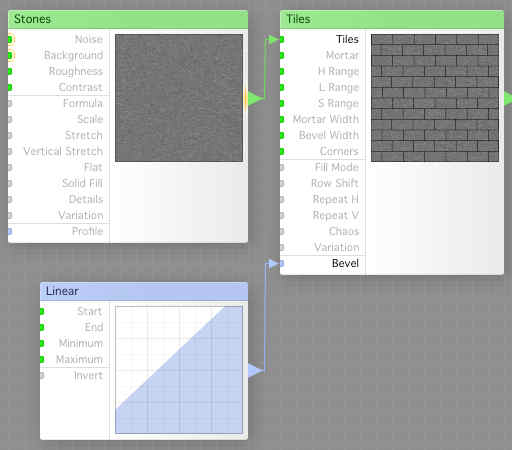
Now I need something for the height map, and I use the same setup as for making the actual surface map, but use a more clamped Stones Noise to keep the height within some reasonable bounds. I also use a Linear wave to control the bevel shape. This is for the floor of the bridge.
For the bridge side, I use the same technique, but with a lighter shade.
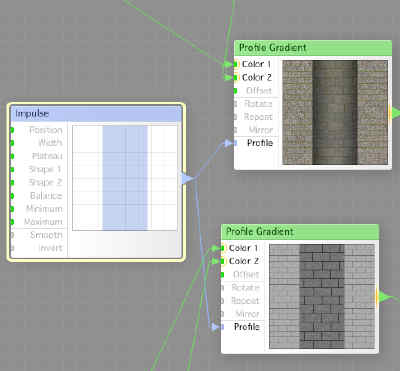
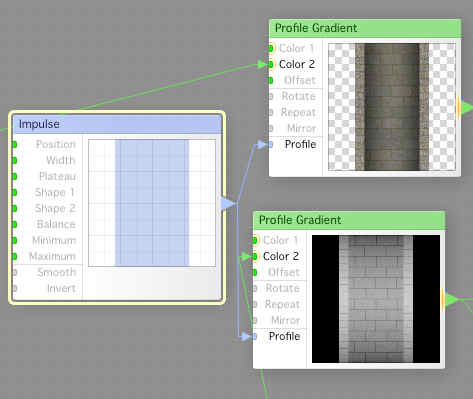
Now, I assemble the basic bridge image, and height map using Profile Gradient components. As I’ve written before, this is one of the most versatile components in FilterForge, it can be used to achieve so many different tasks. As you can see, the shadow we added looks like a shadow, and the two different height maps now makes it clear that the floor is lower (darker) than the sides. I control the Profile by using a Impulse wave that I configure to be very sharply cut.
But the bridge walls are way to wide, so I used, guess what, yes, Profile Gradient. This time I’ve configured color 1, low, to be transparent for the surface one, and black for the height map one. The Impulse is still sharp, but a little wider. The keep eye might notice that I’ve added a soft gradient over the height map, using another Profile Gradient, to make the bridge a little curved. It wont show up unless you render it in FilterForge 2.0 and use the Ambient Occlusion and some reflections, but that is beyond todays tasks.
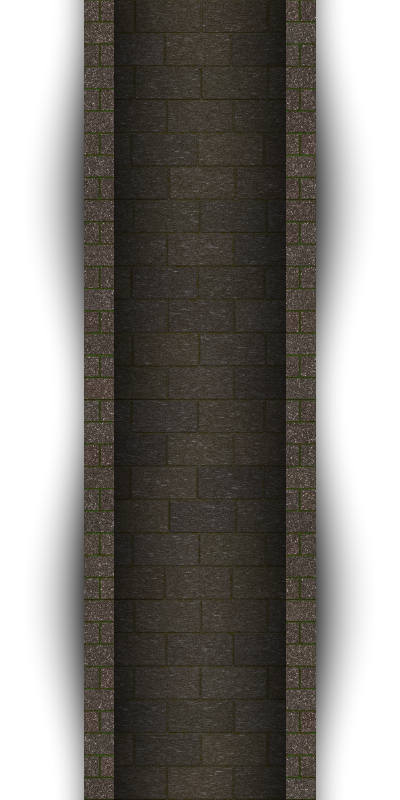
And this is the bridge, when I’ve set the image size if FilterForge to be 600×1200. I also added a soft shadow under the bridge, and as FilterForge, specially Profile Gradients, does not handle non square images perfectly, the shadow is repeated, but that only looked good. I use the same methos to make the outer shadow non linear as I did for the inner shadow.
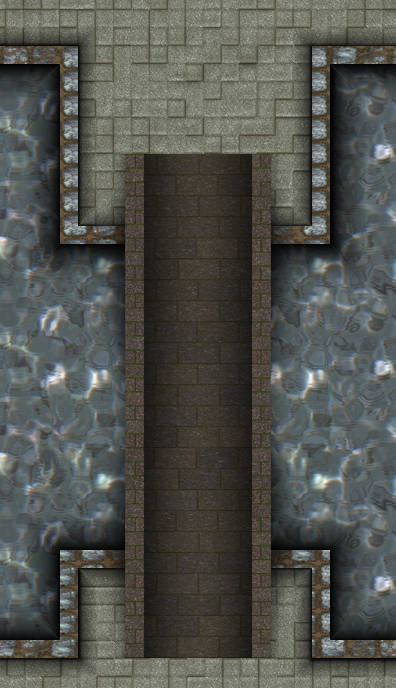
And here is the bridge on one of the tiles for The Neverending Docks.
I will have to add some more details to this one, but the basic idea worked, make a bridge in FilterForge.
Comments
Leave a Reply
 Roleplaying

