Today we will continue the work with our rope bridge.
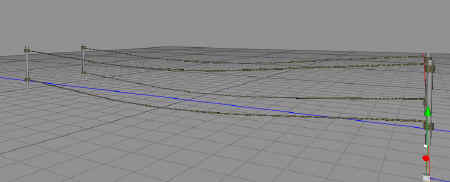
We jump into Cheetah3D again, and the first thing we do is to make a copy of the complete rope structure, both sides, copy it and move it down. A rope bridge usually have one rope that you hold onto, and one that hold onto the planks.
Now, we need some ropes that goes from the top to the bottom rope on each side, which stabilize the bridge. First, we need another rope texture, so back into FilterForge again. We create this, a little darker rope texture, for the thin ropes.
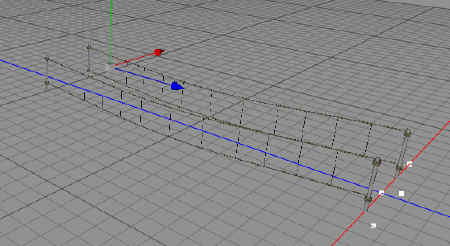
Now, a pretty tedious work to add all those small ropes. Creating a very thin cylinder, then placing in in position. As the left side is at exactly -2.0 in local coordinates, and the right side at +2.0, making a copy and just move it by entering the new X-position is quite fast.
Here you can see all the middle section ropes, the distance is a little wider at the center of the bridge.
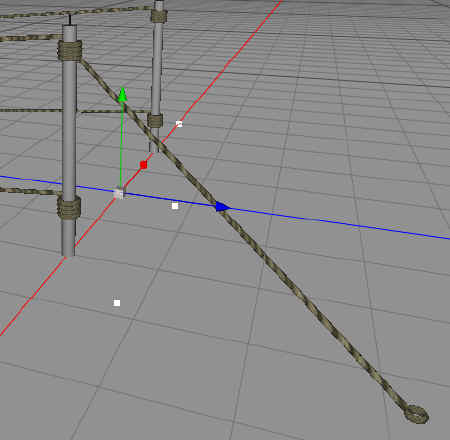
Now, we need some ropes that anchors the bridge into the ground, preventing it from collapsing, and the ropes the bad guys always cuts in the movies. A cylinder with a torus ring at the lower end, and the other end just into the rope rings a the pole.
Then we create large nail that holds the rope tight, a box, stretched, with an old iron texture to it.
And here is a render of todays results. Still, the scale makes it hard to see any details.
I think we will finish the bridge by tomorrow.
Comments
Leave a Reply
 Roleplaying


