Today we’re finally going to add some planks to that bridge, so we can see how it will really look. It will be a lot of work in the modeler today. Things like this takes time, if you do want it to look irregular and not machine made.
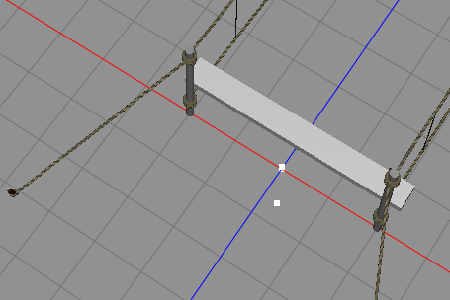
So, back in Cheetah3D again, to make steps. So we create a box, and stretch it like a plank. We size it so it goes beyond the lower rope on both sides.
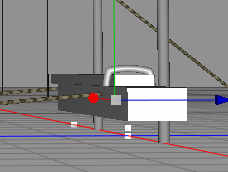
To make the illusion of that the plank is tied, we create a square torus ring, place it around the plank, and remove the bottom of the ring with a boolean and another box.
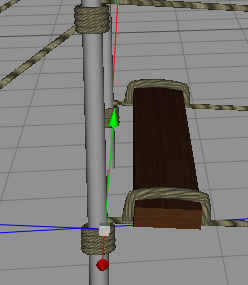
We add a rope texture to the illusion rope, and a wood plank texture to the step itself. Then we adjust the height and angle so it follows the sloping rope.
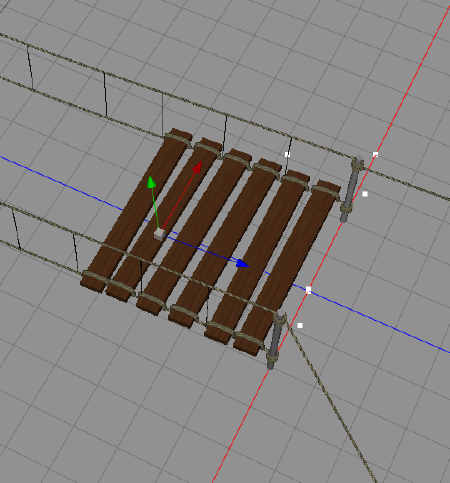
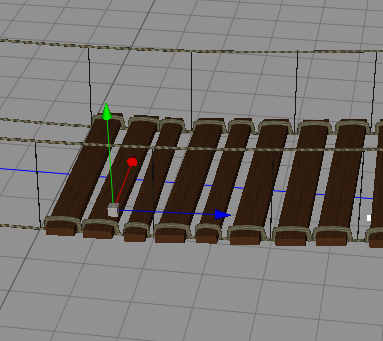
Here you can see that we have added a few steps, individually slightly rotating each to give the bridge an irregular shape for the steps. Otherwise, we could just have used the Array and we would have gotten steps with an exact spacing.
As you can see, where the gaps between the guide lines are wider, we can fit in a third, smaller plank. We place it in different slots each time, to make the irregularity even better.
Here is a top down render. It was supposed to be the final render, but it turned out that the plank texture was way to dark, so I had to fire up FilterForge to create a lighter wood texture. The contrast made the ropes just disappear.
So, this is the new wood plank texture for the steps, first the diffuse map.
And then the bump map.
Now, just UV map every step, boring work, but important to avoid “the plastic look”.
So, after changing the texture, and then UV map every single step so it looks different from the steps closest to it, we got this rope bridge, a beautiful bridge as Oddball in Kelly’s Heroes would have put it.
And here it is, on a tile for The Neverending Docks, using the water edges I made previously.
I think I would even dare to walk this bridge.
Comments
Leave a Reply
 Roleplaying

