Today, I need a phone booth to decorate a street with, and I want one of those classic red ones.
First, I searched the net for a good picture and found this one:
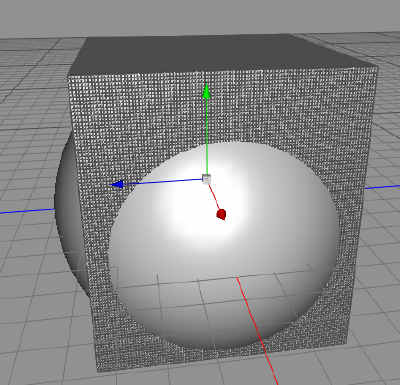
So start Cheetah3D and get to work. We start out with a ball today.
Then we create a box, that almost surrounds the ball, but not quite.
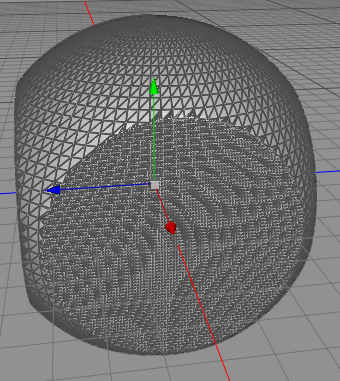
Using a Boolean Intersect operation, we cut away those parts of the ball that did not fit in the box.
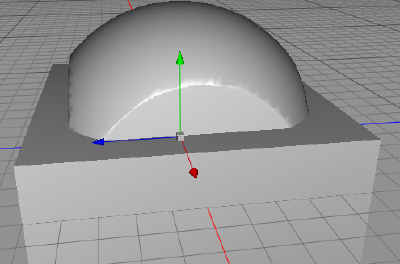
Now, we create another box, and put it under this object, to cut away a little more than half of it.
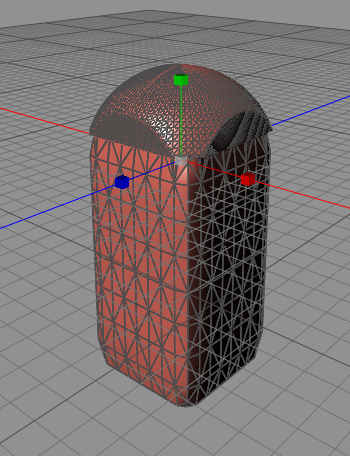
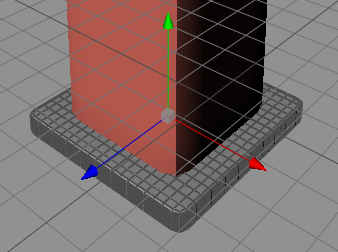
Now, I pick a color from the original image, then use a texture mode in Cheetah3D that is called car paint. And add the color to the roof we just made. Now I add a box below it, stretch it and the Catmull-Clark subdivide it for some roundness. I paint that one too.
I add another box, below, make it flat and wider than the phone booth, and also Catmull-Clark subdivide it to give it some roundness.
Now it is time for the daily doze of FilterForge, and using one of my filters, painted on concrete but without any painted picture, I get a pretty good concrete.
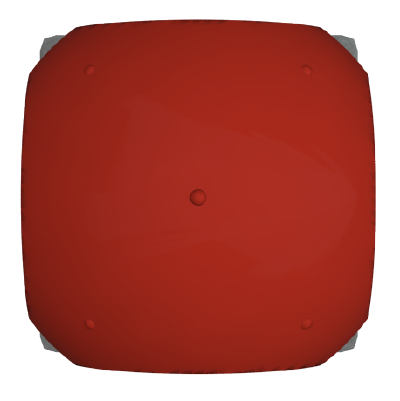
Now, I create a little ball, place it centered on the roof, then copy it a few times to add more bolts.

We adjust the balls, then we use a Boolean Union to add them all to one big happy object.
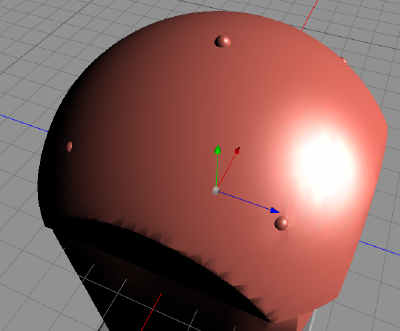
And here it is, the final render of the phone booth model 1935.
And here it is, on a sidewalk somewhere in a British city, the map made in Dundjinni using the Modern ArtPack.
This was a long post today, but a fun one.
Comments
Leave a Reply
 Roleplaying
