Working with my different Operation:Fallen Reich projects, I early realized I needed some authentic looking stamps to place on passports and other official documents, to make the adventure handouts look even better. Getting handouts that almost smells like vintage documents really enhance the gaming experience, specially in games that are more centered around role playing than pure combat.
First, I created a bunch of stamps using OmniGraffle. The stamps are just black and white square images representing the look I want on the stamps. This is much like making a stamp for real, except that you do not need to make it mirror imaged.
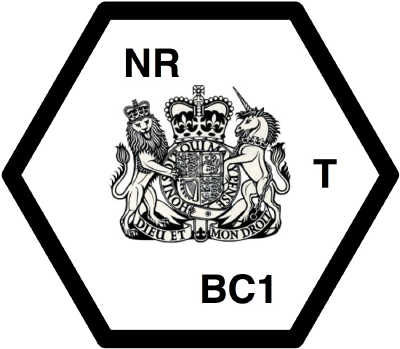
One stamp that looks like an official stamp in a passport.
The classic Top Secret stamp.
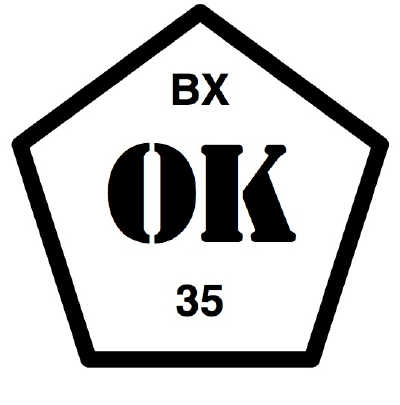
Another passport style stamp. I got the idea from a photo of a genuine pre war passport.
And finally a classic Approved stamp, useful for many different things.
Now, we start up FilterForge 2 to make a filter that will transform these stamp designs to real stamps that we can put onto our different handouts.
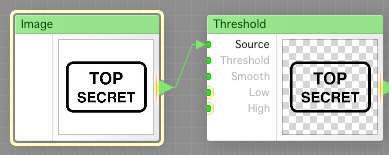
First, we add an Image component to the workbench, where the image we have opened will end up. In this example we’re gonna work with the TOP SECRET stamp design. We connect the image to a Threshold component, where we use the threshold to make dark parts black, and lighter parts transparent. This way, any image could be turned into a stamp.
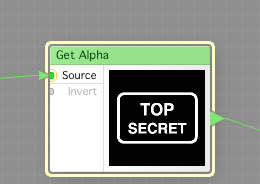
Now, we take the output from the Threshold component and run that into a Get Alpha component, which will get us the alpha (transparency) channel of the image we got from the threshold operation.
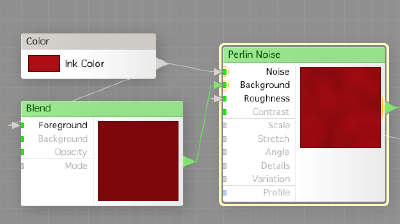
We jump a little to something different for a moment, the ink. We create a Color component to enable the user (us) to choose a base ink color. Then we run that color through a Blend, where we blend it with black to get a darker shade of the ink color. Then, we use the darker shade as background, and the original color as noise in a Perlin Noise component, which will give us an ink with a irregular coloring, much like a stamp has, when the ink pad has been used a few times too much.
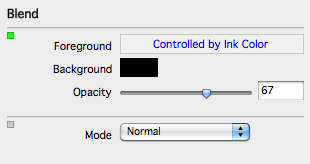
This is how the Blend component is configured:
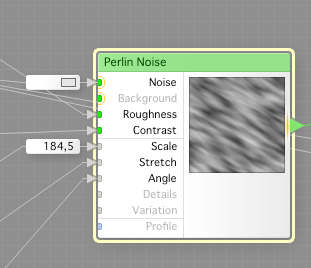
And this is how the is configured, as you see, the Roughness is set from a Roughness slider.
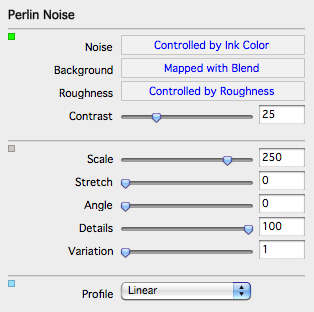
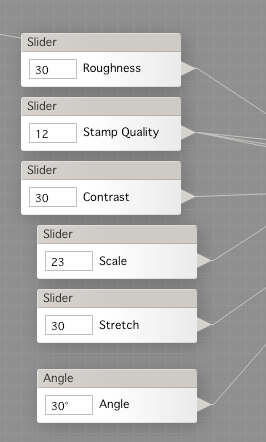
Now, we’re gonna work on another part of this, the irregularity of the stamp, as any stamp used more than a few times will be worn and not ink the surface equally, and at the same time, paper will absorb the ink differently too. We start with a Perlin Noise that we hook up a lot of sliders to. This is to give the user control of how the stamp will look.
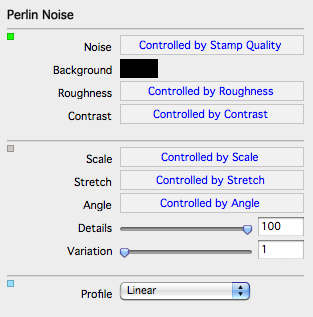
Here are the controls we feed to the Perlin Noise.
And here is how it is configured, as you can see, almost every aspect of the Perlin Noise can be controlled from the user while using the filter.
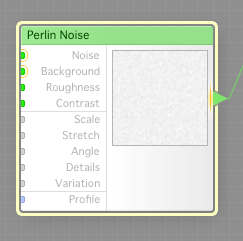
Now, we’re gonna do some extra things for the center of the stamp, where the print usually is best. We start off with another Perlin Noise that will generate a grey-white irregular, rather rough pattern.
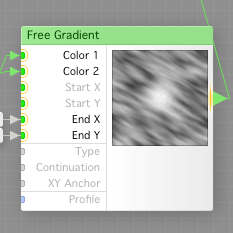
We now add one of the new components in FF2, the Free Gradient, which is a gradient that can be much more controlled. We set the rougher output from the first Perlin Noise to one of the colors, and the later lighter one to the other color. This way, the roughness in print will be lesser in the center of the stamp. The size can be controlled by the End X & Y inputs.
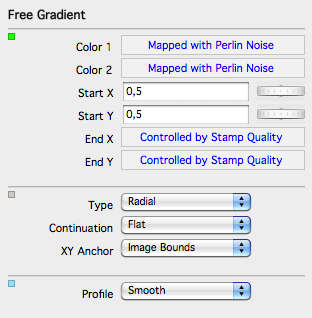
This is the configuration of the Free Gradient.
As you can see, it will start in the center of the image and end at End X & Y, which is the stamp quality slider. The higher quality, the less noise in the print.
This will do it for today, I will end this rather long session tomorrow. I really hope you enjoy this little FilterForge tutorial, and how you can use FilterForge to do very special tasks for you.
Comments
Leave a Reply
 Roleplaying

