So, we’re working with our filter to make stamps that looked stamped, not just painted on the documents we’re gonna have as handouts. Enough talking, let’s get going.
We finished the last session with making the noise that will make the stamp look stamped, today, we will just add the final touches to the filter, and show you some results. So start up FilterForge 2 again.
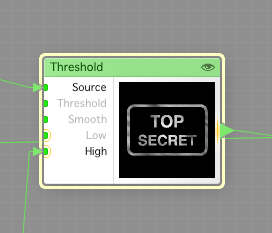
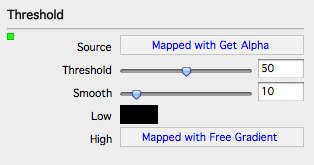
So, this is the really important part, where I use a Threshold component with the Alpha channel as Source to set the roughness of the stamp. I set the light part (opaque) to the roughness we created, and keep the black (transparent) parts black.
This is how the Threshold component is configured
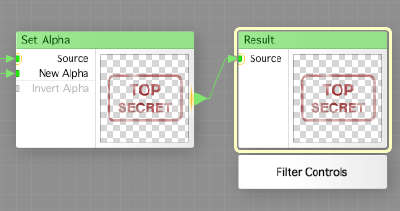
Now we have our stamp, so we just need to add ink to it. We do that by setting using a Set Alpha component to set the alpha channel on our ink to the alpha channel we just created using the Threshold component. Then we just send the output to the Result component.
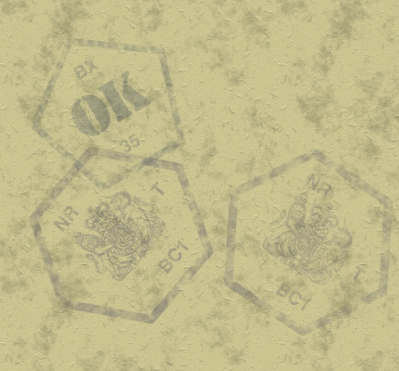
So, how does this look? Here are a few samples of the stamps I’ve made. Here is the TOP SECRET one.
And here is the APPROVED stamp.
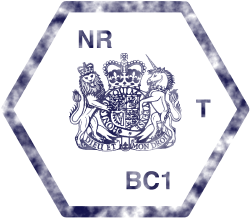
And here are some other stamps that I made.
And to see how it looks on a handout, here is one I’ve assembled in OmniGraffle. I’ve tuned the opacity of every stamp in OmniGraffle too, so they would not be intrusive on any typed text.
The paper used here is also from a FilterForge Filter that I’ve been working on.
I hope you like it, and you now have a few stamps you can use as they are transparent pngs.
Comments
Leave a Reply
 Roleplaying

