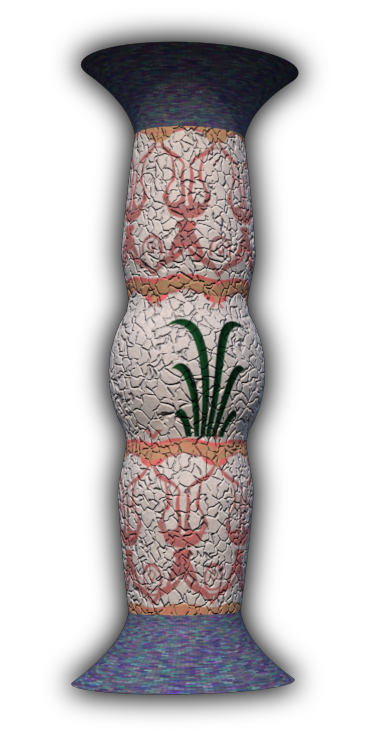
I said the pillars looked a little too new, and today we’re gonna do something about that. We’re gonna create a Bump map for this.
We start FilterForge, and create a new filter.
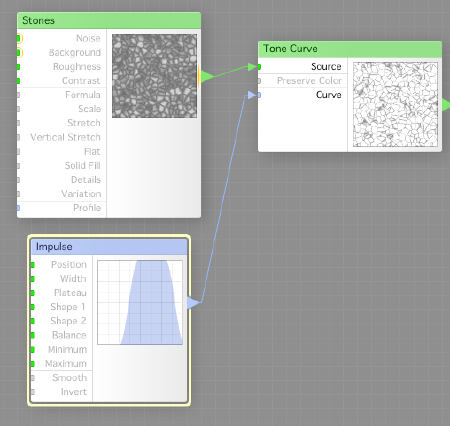
First, we add a Stones component to the workbench. We set the scale a little smaller than de default, but that is about it. Now we add a Tone Curve component, and connect the output from the Stones to the Source input. We now create an Impulse curve component, and adjust it a little to the right of the scale, give it a little more width and plateau. This will as you can see help us filter out the lines between the stones.
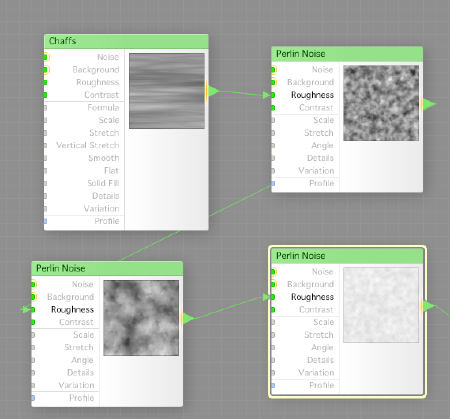
We now play a little with noises, mostly Perlins, but add a Chaff here to be a little daring. What we do is to control the output by chaining a few filters controlling the roughness of each other. The resulting noise is set to have a light grey background and a white noise. This is really not needed but a fun way to show how many different ways you can connect things in FilterForge.
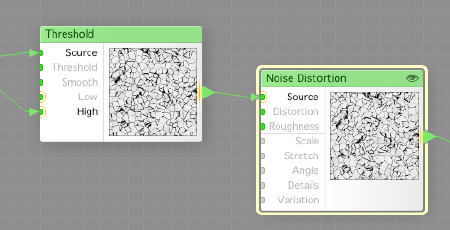
Now we use a Threshold component to grab the lines as cracks and add the roughy noise as surface. We then add a Noise Distortion to make the cracks look even more random.
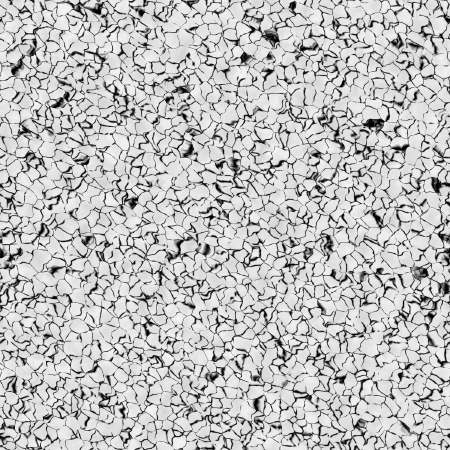
And here is the result, rendered with a smaller size to get more cracks into one image.
And here is the filter itself.
So, how did it look when we added this as a bumpmap in Cheetah3D and rendered a pillar again?
I think it looks great, now we got a little age to it.
I hope you had fun and that you learned one or two things, I did. But wait, the end caps still looks way to new. I guess we need to fix them too, tomorrow.
Comments
Leave a Reply
 Roleplaying

