We have for the past two days made some nice looking market stand rooftops, and we might come back to those later on. Today we will focus on the market stands themselves, and we start out by making one today.
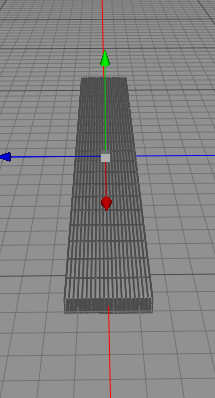
We start our friend Cheetah3D and start to create a box. We shape that box as a piece of plank, and set the polygon division to about 20, like this.
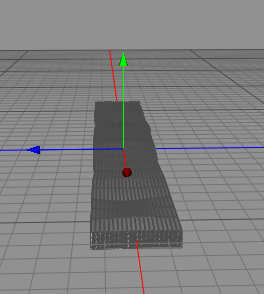
Now we use my favorite, the Magnet tool, to roughen up the plank, to give it some weather twists and warps.
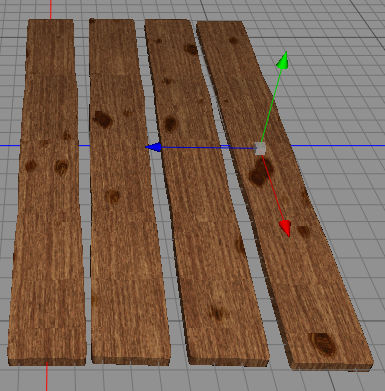
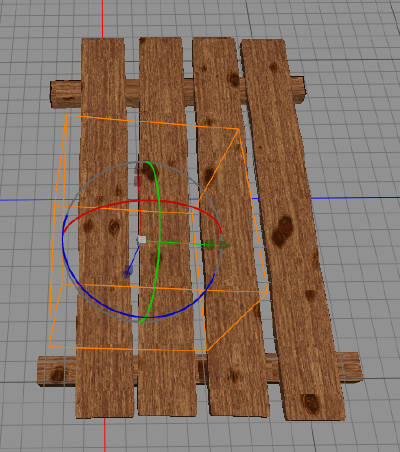
We copy the plank, and place four copies like this, rotating each a little different from the other.
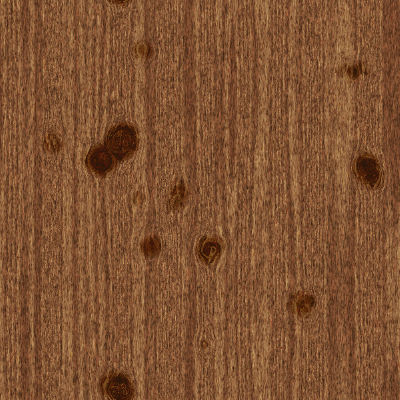
Now, we need a wood texture, so we start FilterForge and use once again the new filter by Indigo Ray, this time with a different setting for a darker wood.
We add the texture to each of the planks, then we UV map then individually.
We copy one of the planks and resize it to be the piece of wood below that stick the construction together.
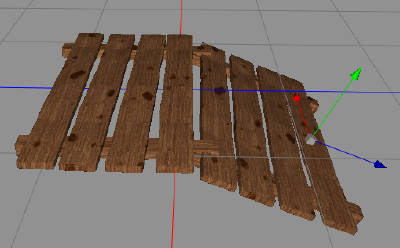
Now we group this as a section, copy the group and place it beside the first one, a little rotated, to give it a slope. In this screenshot it is not adjusted yet, and we also change some UV-mappings on the copy.
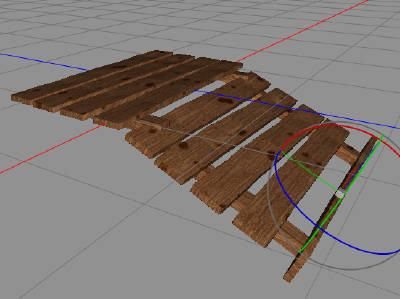
We make another copy of the last plank, and rotate it to be the end, to prevent our expensive merchandize from falling to the ground.
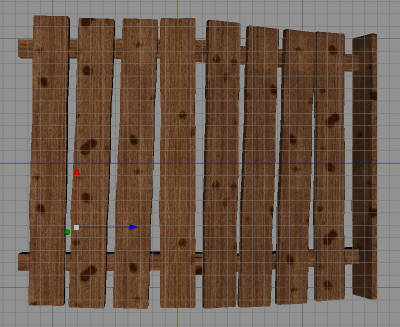
We do some final adjustments to it with this overview.
And here it is, with drop shadow added using FilterForge.
This was a good start, I will need to keep making a few more of those before we can move on.
Comments
Leave a Reply
 Roleplaying

