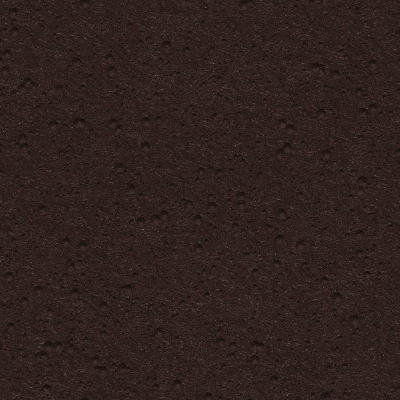
Today we are gonna make an iron texture that I found a long time ago in a galaxy far far away, sorry, on this website, when I was just a young padwan in mapmaking.
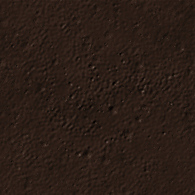
The texture is named Cor-Ten195, and looks like this
It is a little dark, but works beautifully on metal objects like handles, nails. I’e used it many times in the past, but never really taken the time to create my own version, so here we go, a full day of FilterForge up ahead.
We start with creating a new filter, and as I first want to make a proof of concept filter, I wont make any user adjustable options to begin with, those are added afterwards, when, and if, I know the basic idea will work.
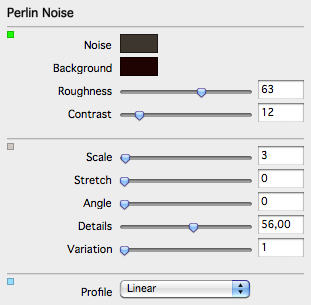
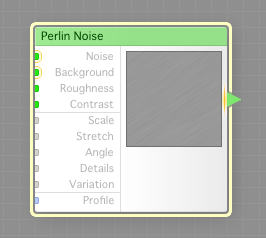
First we create a Perlin Noise, and set the Noise and Background to rather similar colors, almost black and darker grey. We set an over medium Roughness and only a little Contrast to it. The Size is set to just 3, making the noise very small and fine grained. We also pull down Details to about 50, as we will not need more.
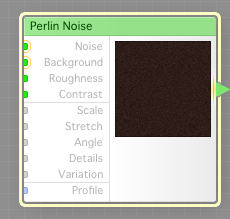
The Perlin Noise component, hereby called the surface.
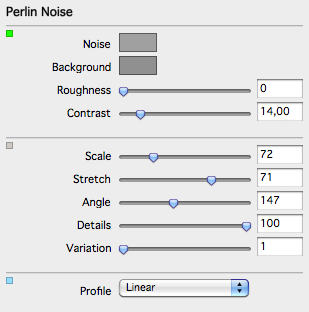
Now, for height map, we use another Perlin Noise, with Noise and Background set to about 50% grey with only a little difference. We set no Roughness but a little Contrast to it, and we have some Scale Stretch, and also an Angle. This will result in wave lines diagonally across the image.
This is the second Perlin Noise, hereby called the height map.
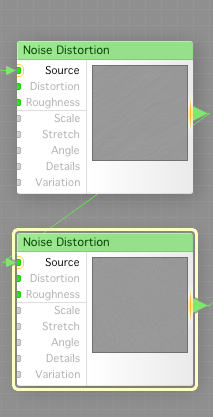
Now,we create two Noise Distortions hat we chain together, and feed the first one with the output from the height map.
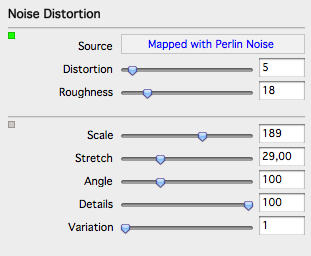
Both the Noise Distortions are configured about the same, with small differences. The second has a different Variation setting, and a different Angle. This will make the wave ripples from the height map to be curly and wiggle instead of being just straight lines.
So far, we have a surface (color) and a basic height map, but the thing that makes this texture unique are all the small craters in it, corrosion.
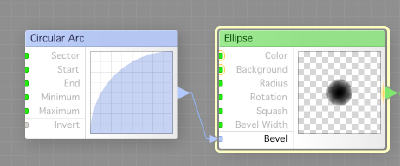
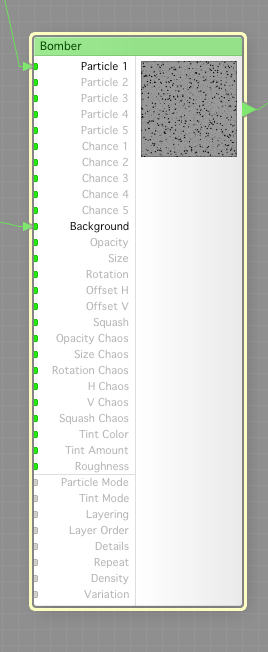
We create an Elipse, and set the Radius to about 25 and the Bevel Width to 100. Then we hook up a Circular Arc to the Bevel input. This is our Bomber Particle for this.
Now we add the Bomber, or particle engine, and feel the wiggly height map as its background, and the Bomber Particle as particle one.
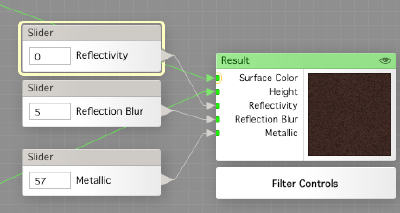
We set the Result component to be of Surface type, and hook the Bomber output to the Height, and the surface to Surface Color. I also attached Slider controls for Reflectivity, Reflection Blur and Metallic.
And guess what, it worked! Now when the proof of concept is tested, we can add some manual setting to the filter.
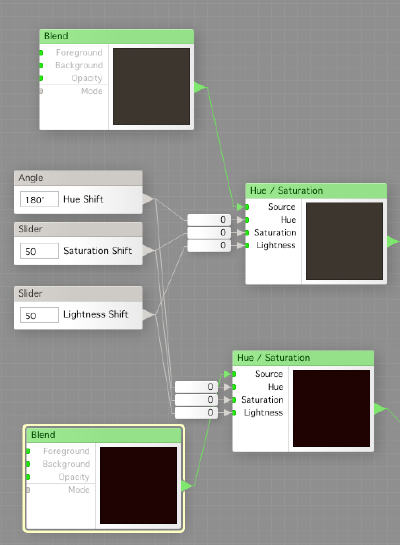
First, we design a color selector based on the chosen base colors we had. We use static configured Blend components just to feed the colors into the next component, a Hue / Saturation modifier.
We hook up two Slider controllers and an Angle controller for controlling those values, Hue, Saturation, Lightness. This will work nicely.
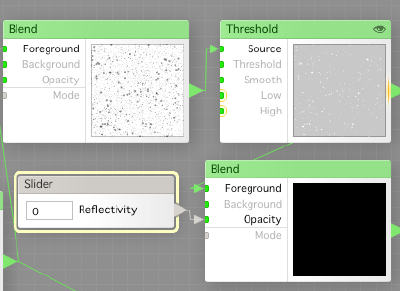
Second, I found out that the reflection should be a little higher in the craters (to get the Cor-Ten 195 look of it. So I tap the transparent Bomber output (blending the result onto the height map instead of having the height map as a background), then use a Blend to put those dots onto white background. Then I use a Threshold component to give the crater dots just a little lighter shade. I then pass that to another Blend component, where I let the Reflectivity slider set the Opacity against a black background.
Are you ready?
I think I nailed it pretty well, and the upside now is that I can make many different types of rusted or non rusted iron textures, with different reflectivity.
Comments
Leave a Reply
 Roleplaying
