I’ve been playing with one of my new DAZ toys, Carrara 8, which is a pretty nice 3D tool, specially the render engine makes very good results, and it can load all DAZStudio and Poser materials. Poser is still on the wish list, it is a little too expensive as a toy right now ($499), but Smith Micro usually run some good discounts from time to time.
I found a great tutorial at geekatplay for making a picnic table for Carrara 8, so I decided model that in Cheetah3D, and then move it over to Carrara 8 for rendering.
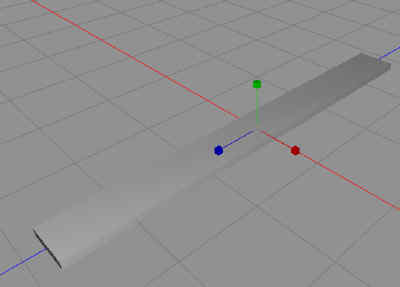
So, start up Cheetah3D, this will be a long session today, and let is make a picnic or camping table. Start with a box that we stretch to be a plank.
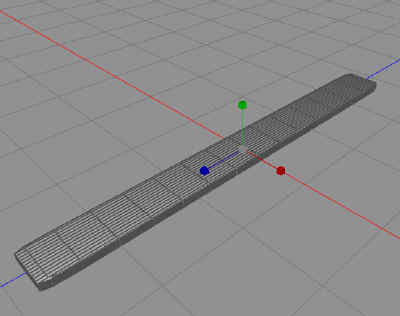
We do a CatMull Clark subdivide on it, after we’ve set the polygon count to 7 in each of x,y and z.
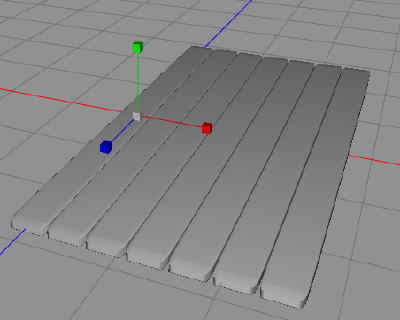
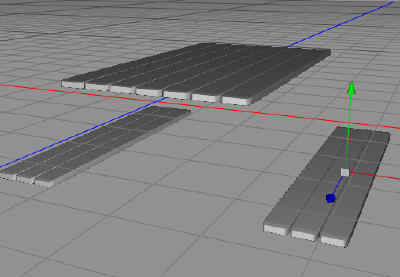
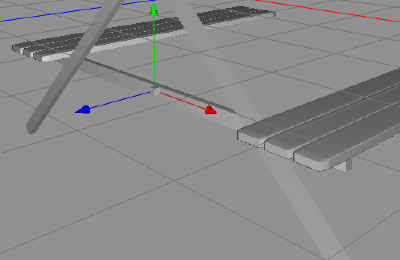
Now we first make a copy of our plank, then we use the Array tool to make 7 planks in a row, the actual table
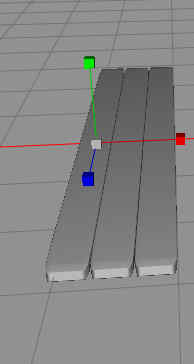
And with the copy, we use another Array tool and make 3 planks in a row, but we make those planks a little less wide and with a little less distance.
We copy that tree planks section, the where you will sit, and place one of them on each side of the table.
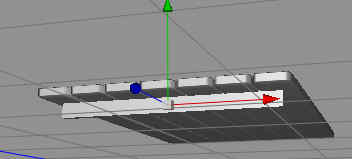
Now we create a new box and shape it like a plank, but with more equally sized sides, we set no subdivision on this one at all. We put this one under the table, at one side.
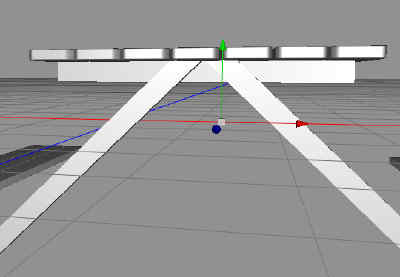
Now we copy this one and make it a little larger and somewhat longer, and rotate it, this will be a leg.
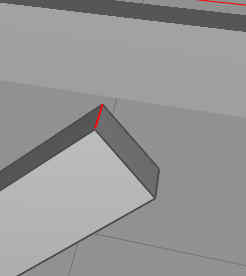
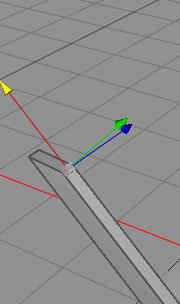
We go into edge mode, and select the edge that is topmost, and drag it down until the end is flat.
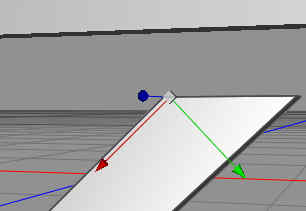
We copy the leg and rotate it 180 degrees, and we got two legs on this side.
Now we copy that piece just under the table, and move it down, and stretch it and also make it a little thicker. This will hold the seats.
We copy the last two horizontal planks and put the copies on the outer side of the legs, now we got a much more stable construction, even I can sit on it now. We rotate the view so we see the model upside down, and then we do the same thing with the lower side of the legs as we did on the upper side.
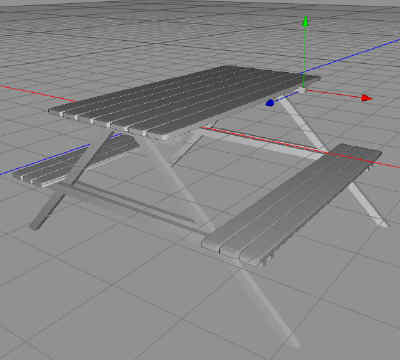
Now we group the whole leg section, and move the copy to the other side, and here is the model of the picnic table.
But this is just the beginning, I’ll add something more in few days, stay tuned.
Comments
Leave a Reply
 Roleplaying

