So, I’ve succeeded with something I set out to do, which was much harder that I first thought. Much harder because I didn’t have the right tools and didn’t fully understand the intricate file structures of a posable poser file, but, here is how I did it, using the tools at hand, mostly DAZ Studio3.
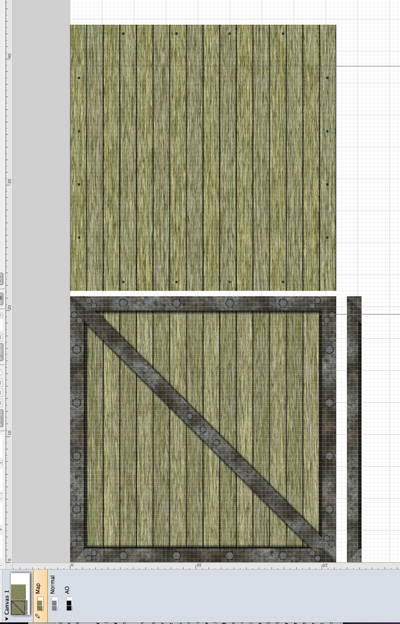
First, I created two, or really three textures using my FilterForge filter metal rim crates, which I also gave a little love for the bump and normal map generation. I then started OmniGraffle and layed out the textures like this. The one without metal is for the inside, and the small piece is for the crate rim on the lid.
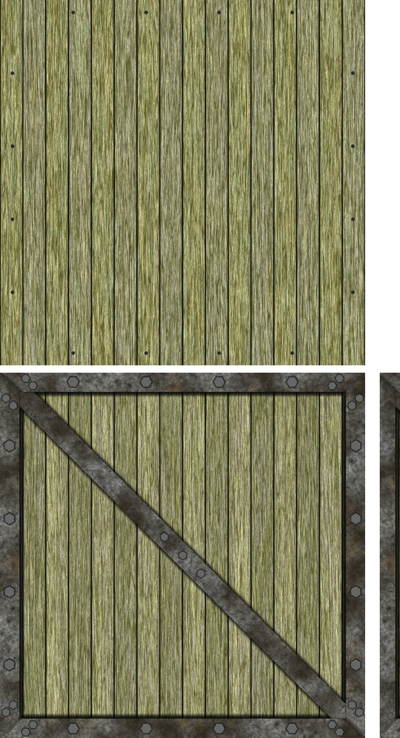
Now, I exported this out as a .jpg image, and did the same thing for the bump maps. This is how it looks not in a screenshot, shrunk down to fit the blog though.
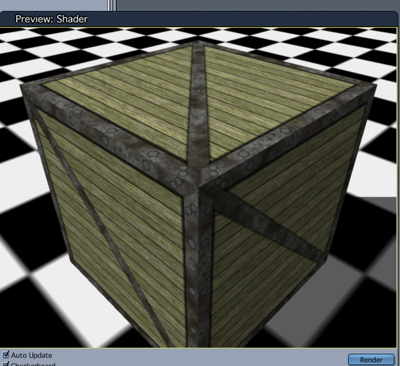
I created a box and a lid in Carrara 8, and then I created a shader for the texture, here rendered on a box in test mode, just a part of the texture.
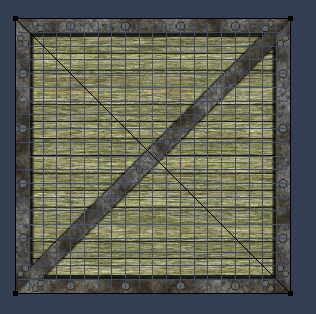
And here is the UV mapping, still with a text texture, just the metal frame.
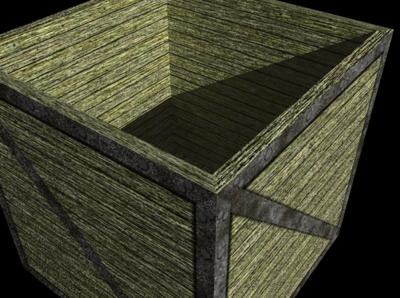
So, I’ve started to map, and I did learn that you can move the pivot point by holding caps-lock down while dragging it, much like you now can in Cheetah3D by selecting move pivot point. Here you can see the open crate for the first time, like a newborn to me, this was a happy moment.
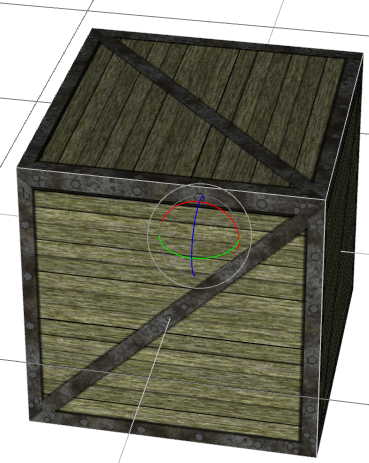
Now, I just had to test render with the bump map in place to see how it looked.
A little too bumpy, but nothing that couldn’t be adjusted with lowering the bump value. So, now I export this crate as an .obj file and a .mtl file. The texture maps are already in place in the Runtime:texture hierarchy so I put the .obj and .mtl file in the Runtime:Geometries hierarchy, everything in a subdirectory named 4EYes, what else? Now, I leave Carrara 8 and jump into DAZ Studio3, where I in a fresh empty project goes to the Skeleton Setup tab. This is only available if you have purchased the add on for this, which was one of the reasons I failed before. The add-on is worth the money, I promise, if you are serious in making posable things.
Now, add the model (.obj) file to the Geometry List, where we can have one or several different .obj-files, for real complex models. Here you can see the segments, bones. This procedure is known as rigging an object. I moved the lid to be a child of the Crate. I also set the crate to not rotate or bend at all, while the lib can only rotate in one direction. I thought that would be enough, but learned later on that there are much more to rigging that first meet the eye.
Now, I just do add Figure, and the figure will be added to the current DAZ Studio3 worksheet.
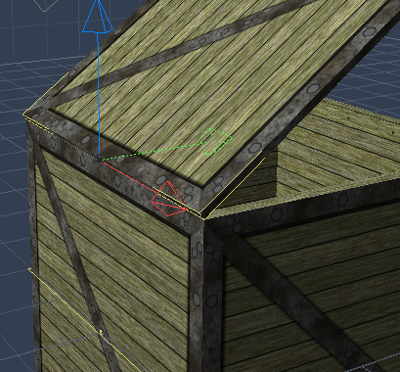
OK, here you can see that it opens correctly, but I found that it still might rotate in all directions (before I edited the skeleton to prevent that).
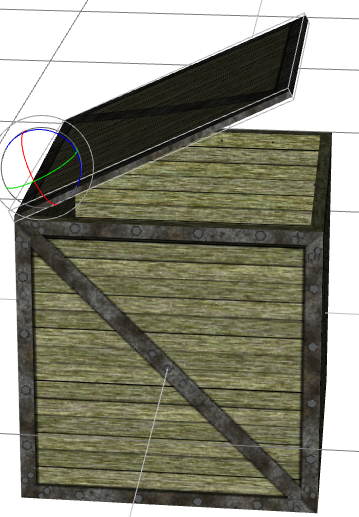
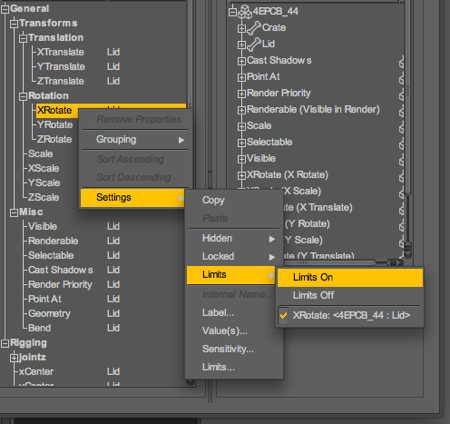
So, using the Property editor, I could finally disable the rotates I didn’t want for the lid, and also turn limits on.
Then I used the Limits… command to actually set limits on the lid rotation, and the Label… to change the name of the property.
So, limits set so the lid can swing back but not down into the crate. And the name is set too.
Much better to have a slider named Lid Open than Rotate X. So, almost done. The last part is exporting the figure from DAZ Studio as a Poser .cr2 (character) model, using the same set of very good tools.
Now, I quit DAZ Studio3, and reopened it (a while later in fact), and added the 4EYes crate prop to the scene.
As you can see, only one rotation handle visible now. I will make the crate available to you all, but I will add some more props first, as I’ve got a free license for the BitRock multi platform installer builder (the very same that DAZ 3D uses for all DAZ 3D files now) from the very nice people at BitRock. I must say that the installer is good to work with, I’m learning and I’ve built a few test installers. But as the overhead is between 6 and 11 MB, depending on platform (Mac OS X with both PPC and Intel is the largest) making an installer for just a few MB seems to be too much overhead. But I will make more stuff.
I promised to push for them, they go great software and gave me a free license to use for 4Eyes. Go visit if you are serious in installation thought, they do really good stuff. This was a very long post today, I need some rest now.
Comments
Leave a Reply
 Roleplaying

