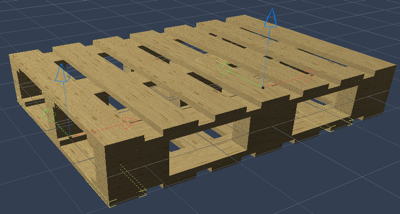
We finished two pallets yesterday, and how many will we make today? No more talking, let’s go to work.
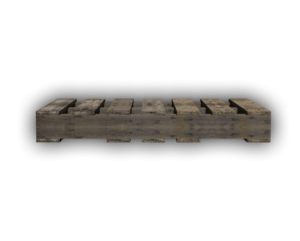
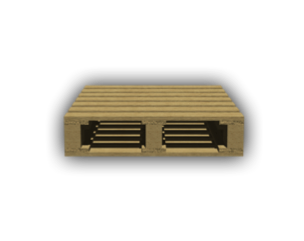
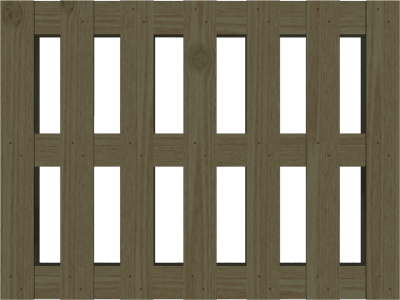
Ok, some fast forward here, watching me nailing pallets isn’t that fun, so what I did was that I created a digital texture set in FilterForge, and then applied that to the two pallets we did yesterday. Here is a sample from create model three in Carrara 8.
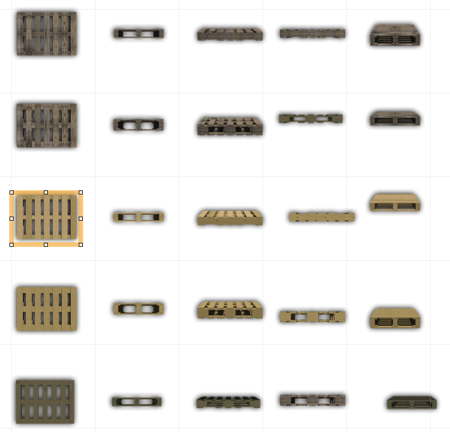
Now I rendered them all, in different poses, and then I put them all into OmniGraffle to add a drops shadow. This was the simples way when dealing with a multitude of objects like that.
Here they are, welcome the pallet family.
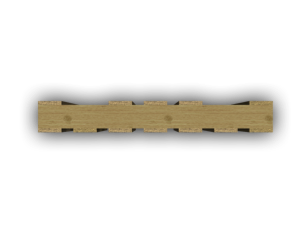
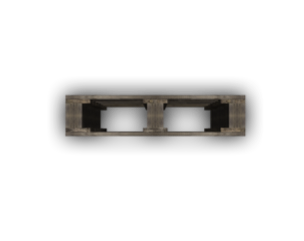
And here are a few .pngs, the whole set is on the Dundjinni forum.
So, now I am finished with pallets….
Not!.
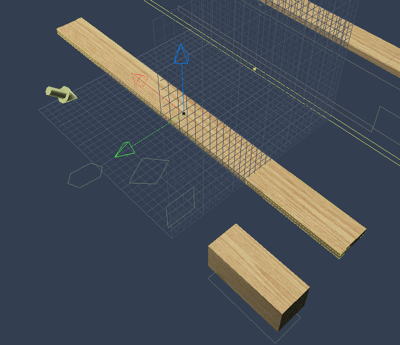
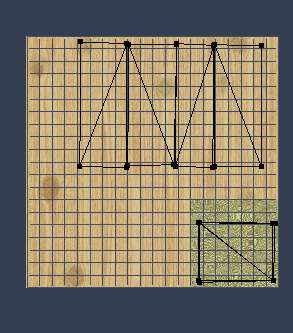
Doing these I learned a few things that I though I could use, so I started a new pallet project in Carrara 8, from scratch. This time using one large texture map. Here, picking pieces and UV-mapping each of them.
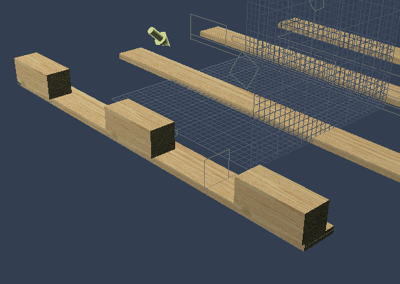
And here, placing the blocks and the bottom planks. Ohh, no, he is nailing pallets again!
Here I am U mapping the blocks, picking the sides from the wooden texture from FilterForge. And the ends, are mapped at the part where I placed some wooden end texture.
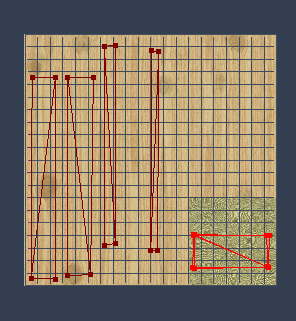
About the same procedure with the planks, placing the sides where there are no branch marks, as that would look stupid. You can see that the ends are selected, in red.
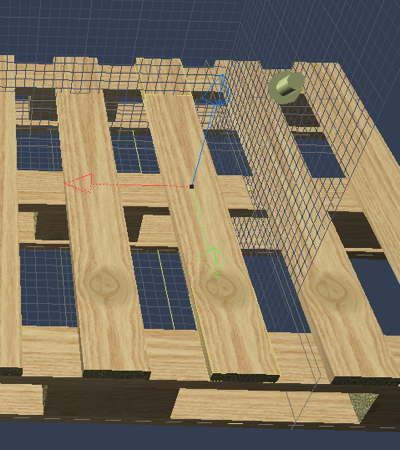
And here I am, placing planks again, see that these are all mapped the same way as they are clones of the first one.
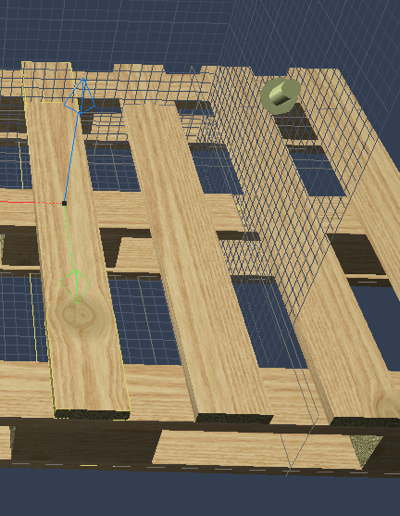
And here I have changed the UV-mappings, and suddenly it looks real.
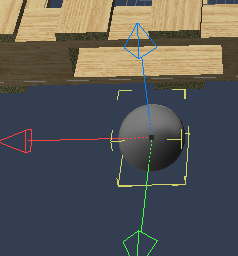
Now, why do it when you can overdo it? I created a Ball.
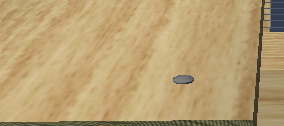
And flattened it like the head of a nail, and here is the first, of many nails. This was a nice idea, but took time.
And a topdown render of the finished pallet. You can see all the nails.
Ok, am I done now you ask? Check back tomorrow and find out.
Comments
Leave a Reply
 Roleplaying
