One of the major things with FilterForge is that you try and test, and sometimes you realize that a choice you made is not the optimal, then you have to rethink, like I have done. The path is to narrow for my taste, and cannot be wide enough, so we’re gonna change the curve component that is used as a generator for the path.
First, we look for the Slider named Path Width, and the Impulse component it is connected to, that generates the path.
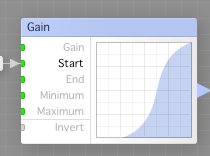
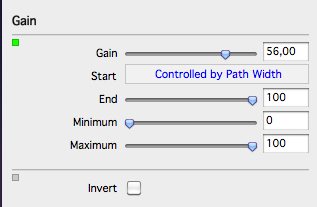
We delete the Impulse, and replace it with a Gain component instead, like this:
And connect the Path Width slider to the Start input of the Gain.
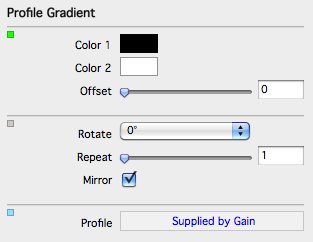
Now, we connect the Gain to profile input of the Profile Gradient that generates the path, and then open the Profile Gradient and check the Mirror checkbox.
The setup should look like this now:
If you now save and change the Path Width, you can see that the path now looks much better.
Back to path textures.
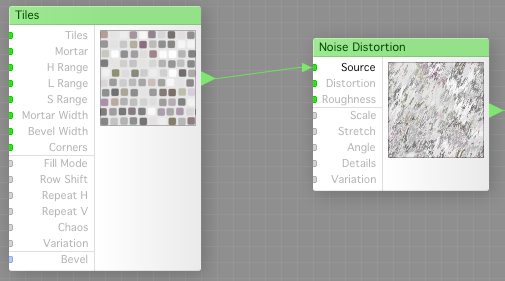
First, we add a Tiles and a Noise Distortion, and connect then like this:
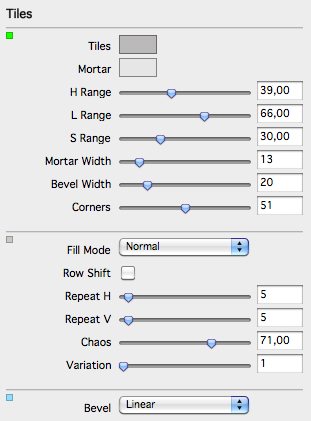
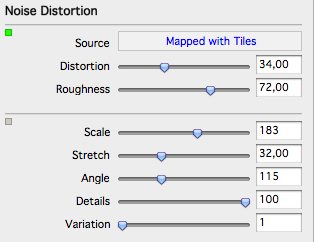
And set them up like this:
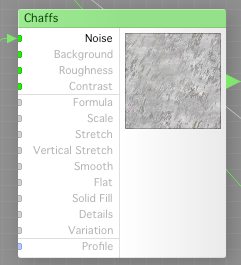
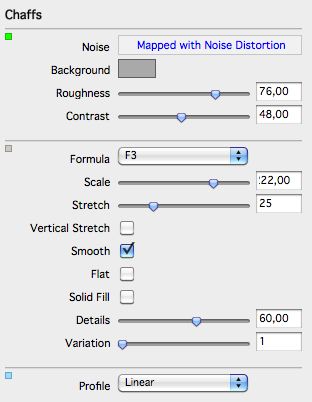
Now, create a Chaffs component, and connect the output from the Noise Distortion to the Noise input of the Chaffs component.
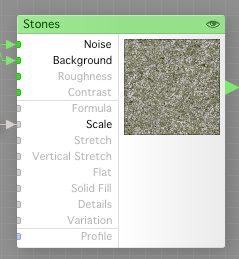
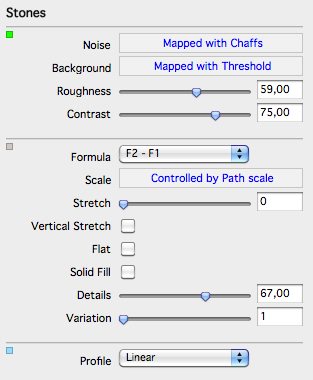
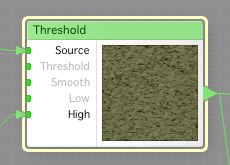
Now, create a Stones component, and connect the output from the Chaff Component to the Noise input of the Stones component, and to the Background input, connect the output from the Threshold component we crated for the muddy path.
The Threshold component
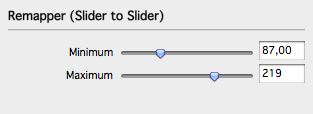
Now, connect the path Scale slider component you have somewhere on the work bench to the Scale ipout of the Stones component, and set the following remapper.
Now, connect the output from the Stones component to Source 3 of the Switch we use to select what texture we have on the path.
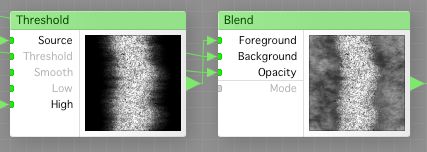
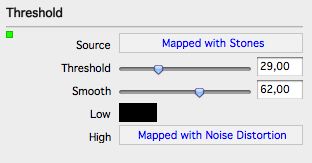
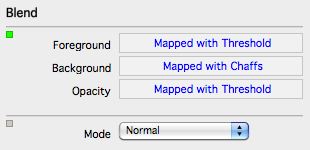
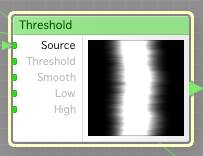
Time to fix the height mapping for this path texture, very much like what we did for the mud path, but here we go again. Create One ThresHold component and one Blend Component. Connect the output from the Stones component to the Source input if the Threshold component, and the output from the “Wiggly path” Threshold (see below) to the High input of the Threshold component.The connect the output from our common background Chaffs component to the Background of the Blend Component, and the output ThresHold component (as in the picture below) to the Foreground of the Blend Component, and the output from the “Wiggly path” Threshold to the Opacity input of the blend component.
The wiggly path Threshold.
Now, just connect the output from the Blend component to Source 3 of the Switch used to select Hight.
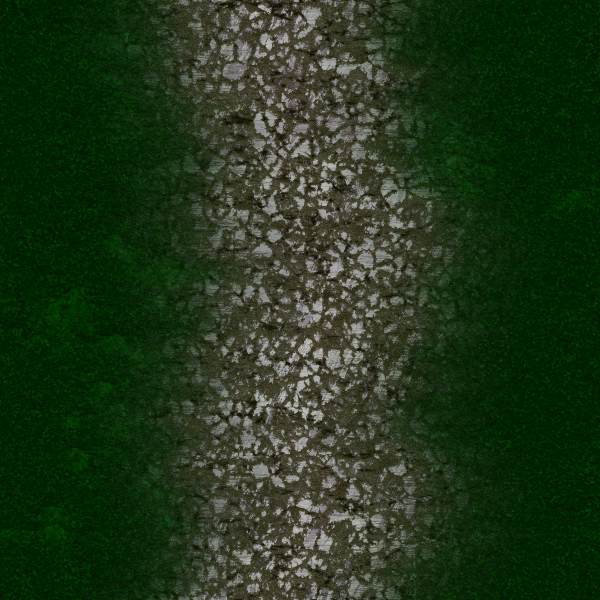
Save the filter, select Path Texture 3, and you should get something like this.
Hope you enjoyed it!
Here is the filter for download.
Comments
Leave a Reply
 Roleplaying


