I know it is Valentine’s dat today, but I won’t make any hearts anyway, but I will show some love to you all by making something extra today.
Today we’re gonna take a break from mapping the Promised Land, and make something I needed for one of the Cut Scene pictures for the adventure. The game really encourage the Game Master to run cut scenes, so I’ve been making several pictures to show for the players.
For one of those scenes, I needed some monitors hanging from the roof showing some Alliance propaganda and news, to get the look I wanted for the scene. Well made cut scene pictures will be a real asset when playing the adventure.
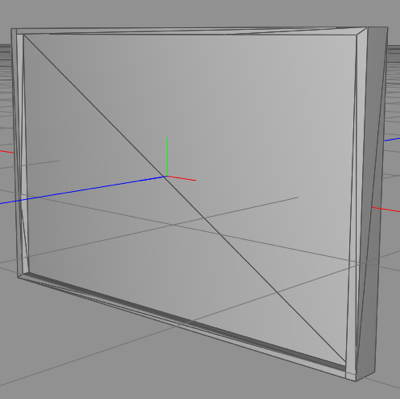
So, we start up good old Cheetah3D and create a box. We shape it like a flat TV, and make a copy of it, shrink the copy, make it wider, then use a boolean remove to get this. You who have read here for a while know what I’m saying. New readers, trace back and look it up.
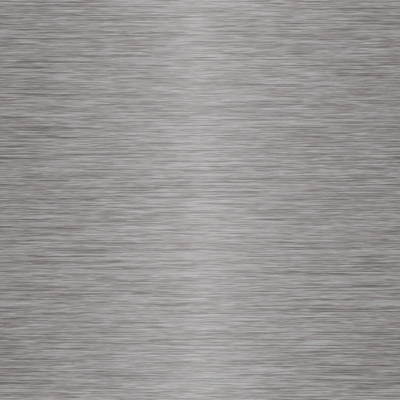
Now we start up FilterForge to create a metal texture. I use my own brushed metal filter for this. A simple texture, no bump or anything.
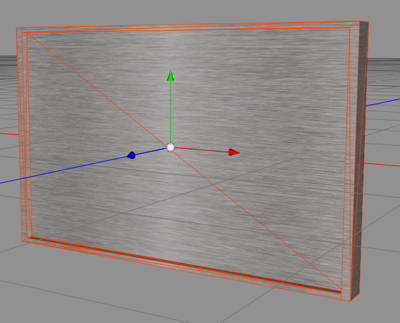
Now we apply that texture to the model.
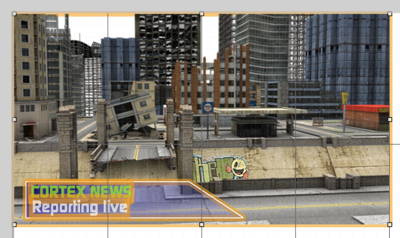
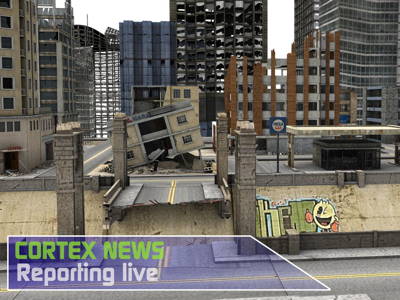
Great, but a boring TV, don’t you say. So, I dig among my handout renderings to find a picture that looks good, and then I assemble the picture in OmniGraffle.
And here it is when it is done.
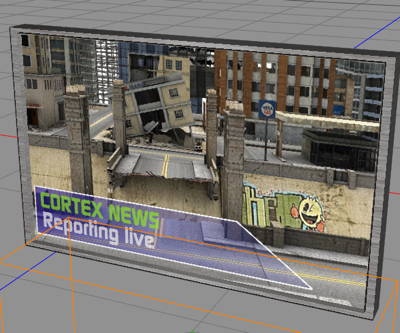
Now I create a Material and apply this to the screen part of the model. Here it is in the Cheetah3D window.
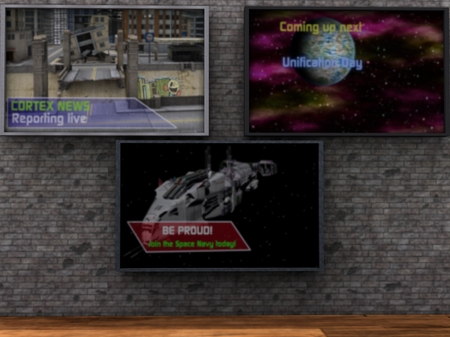
Now I export as an .obj file, preparing this to be a Poser object. I render some more metals for the frame, and create two more pictures for the TV screen. I then import the object into Poser, and set the materials and export it both as a .pp2 Prop object, and also the different MAT poses as material poses, so it is easy to just set a frame metal or the screen picture.
Now I open the screen in DAZ Studio and place three versions against a wall I made, and now I can make my very own
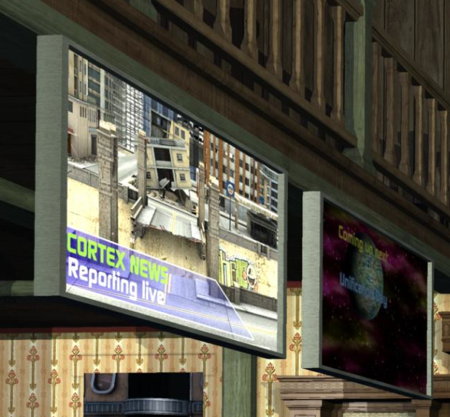
And here is a piece of the scene, rendered in Carrara 8.
This was a fun break in the mapmaking, and I think my players will love this scene.
Comments
Leave a Reply
 Roleplaying
