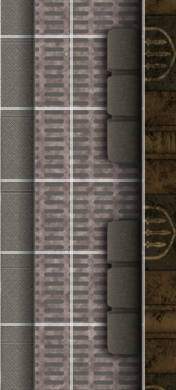
Today we’re gonna make some more spaceship fillers, a wall console for the cargo bay, as the original model has some kind of electrical consoles along the sides.
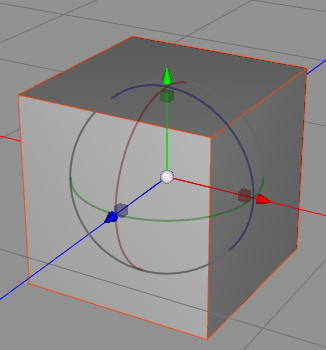
We start off in Cheetah3D today, making a Box object.
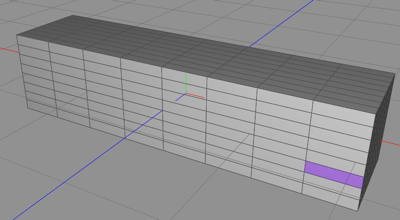
We stretch it out a little, and set the subdivision to 10.
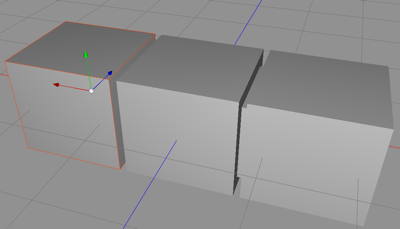
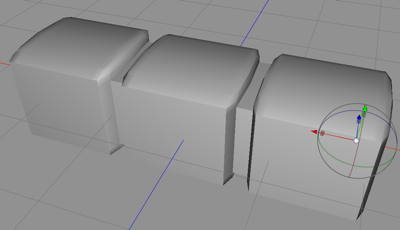
Now we create three more cubes and place them like this.
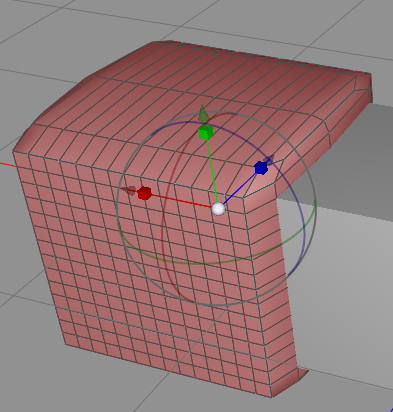
We now do a CatMull-Clark subdivision on each cube.
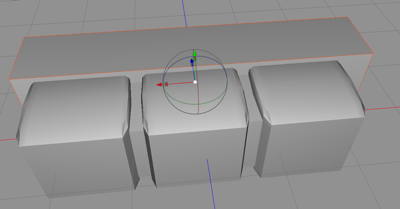
And we space them out a little so the inner cube is visible. Them we add all them together with some Boolean Joins.
Now we create a new Box, to use to cut away the backside, so it will be flat against the wall.
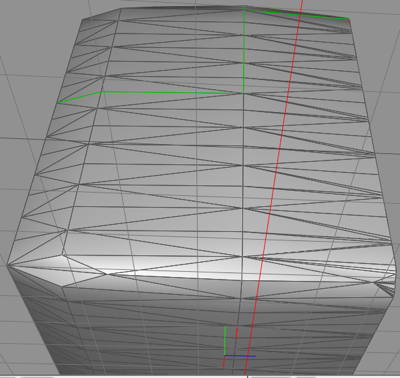
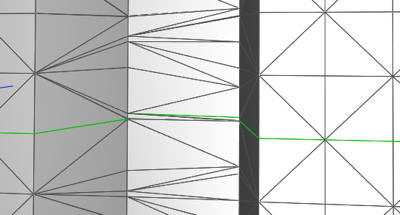
Now we walk all around the object adding seams, much like when a tailor cuts his cloth, find out where the cuts will be. The green lines are the seams.
Some places needs some extra work to seam correctly.
Now we jump into FilterForge to render a metal texture using the basic metal filter, a good and fast filter.
We create a material from the texture and apply it to our console model. Then we render it. I wont make any DAZ 3D prop of this, neither that good, nor that good, it i designed for a top down render. Then we place it on the map.
I think these are good fillers, adding some life to the map. The map is as I’ve probably said before built and rendered on OmniGraffle.
Comments
Leave a Reply
 Roleplaying
