I’m taking a break in the map making because I learned something new that all you real 3D artists probably will laugh at, but for me it was a great new experience to master this. I looked at one of DreamLight’s tutorial movies and one thing he said suddenly made a whole lot of sense and I realized it was the missing piece of the puzzle with UV-mapping I’ve been struggling with.
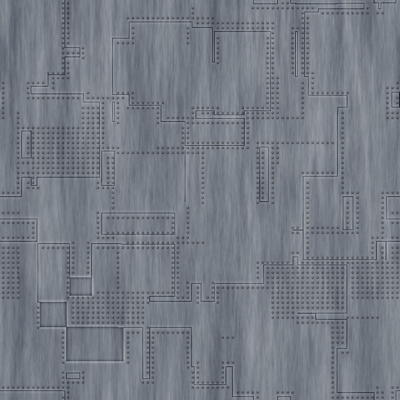
So, we’re gonna play with Cheetah3D today, and make some textures in FilterForge, and hopefully you also might say wow, this was simple at the end of the next part. We start in the opposite order this time, and this is really the essence of what IU learned, taken to the extreme. So lets make some textures using FilterForge. First a filter called Battleship, which I used to create a plate texture, suitable for a space ship engine.
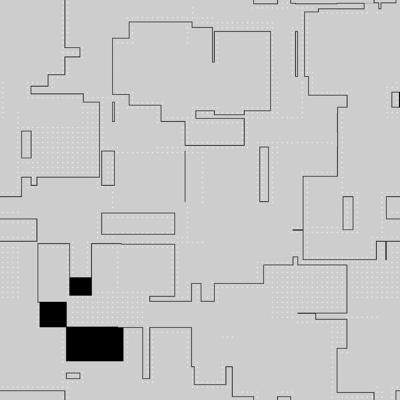
And a bump map.
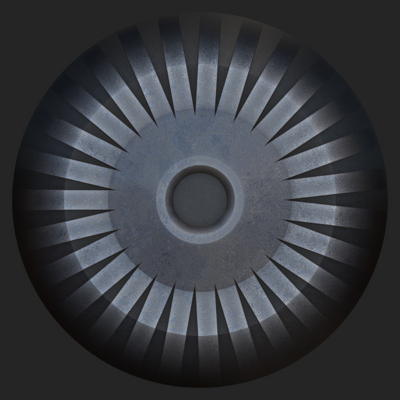
Now we use one of those cool filters in the repository that you never understand what to use for until you have a special item you wanna make. This is a good turbine.
And the bump map.
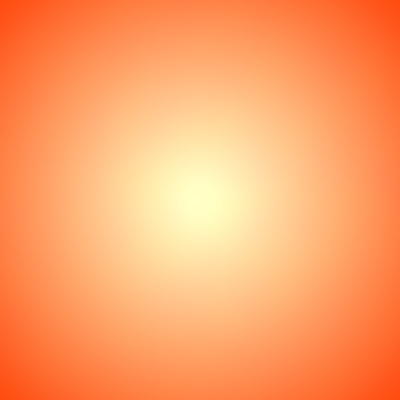
Now I twiddle a little fast to make a filter I need for this, looks like this, a jet engine exhaust.
Last, we make a rather dark one for the parts around the exhaust.
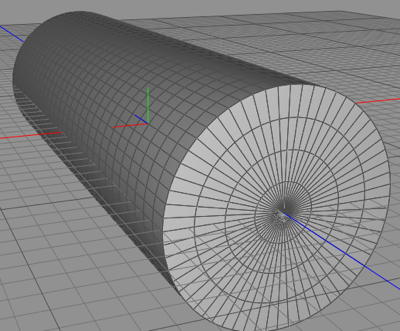
Now we go into Cheetah3D and start to make a model. But first, we create the three materials we’re gonna use, the plate, the turbine and the exhaust, using the three textures I just made. We create a cylinder, like this, with 20 sections of subdivision on the longitude and 4 on the end.
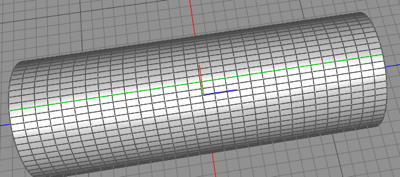
Now we create the seam for the main cut, a line across like this, and we can wrap your texture around that.
So, eager to see the results? Stay tuned.
Comments
Leave a Reply
 Roleplaying
