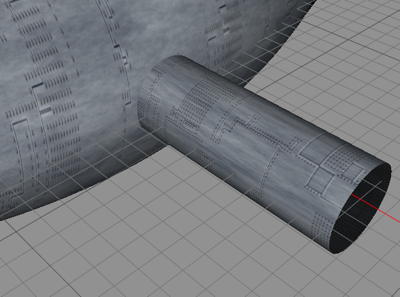
So, we are making this using the tips I got, and hopefully this will be really good. Let’s wait no longer.
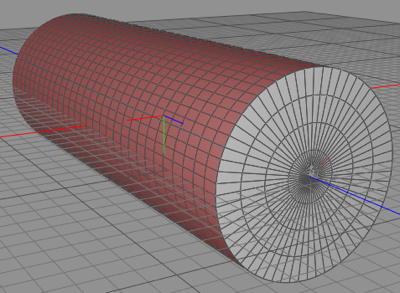
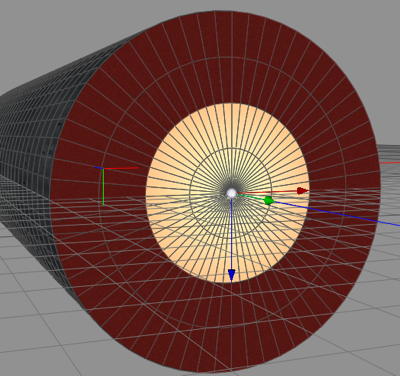
We open up the project we saved the other day in Cheetah3D. First we select all the polygons on the cylinder’s side. Simples way is to select all polygons, then deselect the ones on the ends.
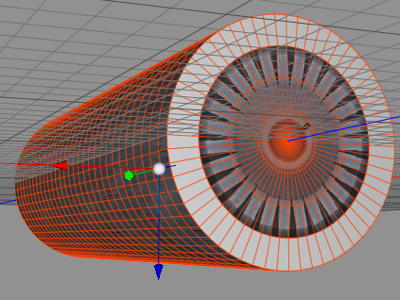
We apply our battleship material to the selected polygons. Now we select the polygon son one end the three inner circles of polygons, and apply the turbine material to them.
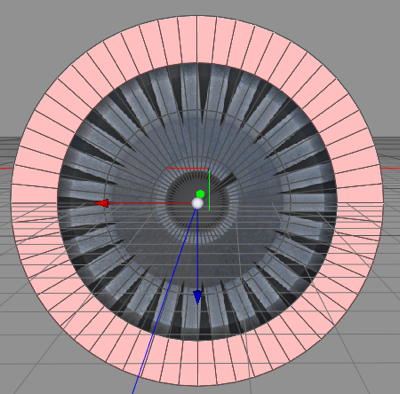
Now we select the outmost ring of polygons on the edge, and then we apply the plate material to them.
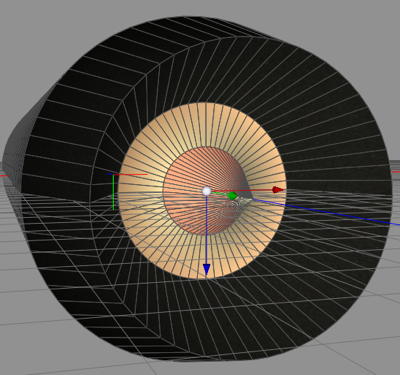
Now, by selecting the turbine polygons, and pushing them inwards, then selecting the center polygons and pulling them outwards, we can create an engine shape that looks good. (Don’t mind the plate on the inside, I made a bad move when I took this screenshot, and forgot to take a new when that was corrected).
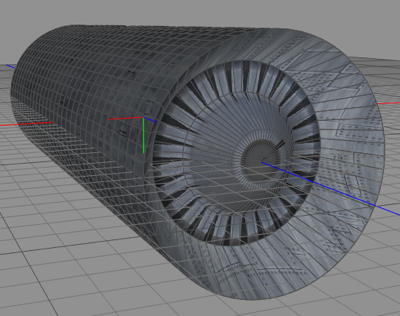
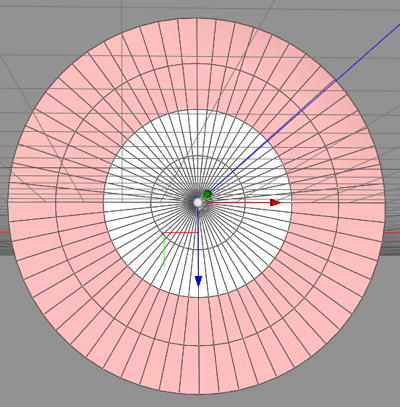
Now, on the other edge, we first select the two outer circles of polygons.
We add the dark exhaust parts to the outer polygons. Then we add the jet color to the inner ones. Now we select the outer one again.
And we pull them outwards. I also played with pulling the flame, but dropped that idea later on.
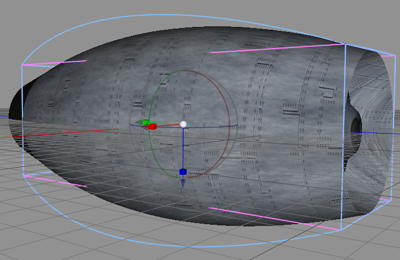
Now we use the Taper tool, and taper our cylinder shaped engine into something that looks fairy familiar.
The thing here which I learned is: UV map the textures before you shape, then they will just follow the shape. Otherwise, the normal way, is to model first then texture, which then involves adjusting each and every single polygons UV map. UV mapping is putting a 2D texture on a 3D object. So, what’s next?
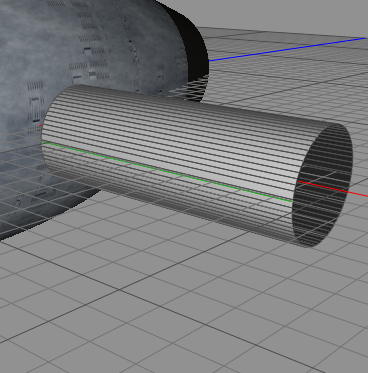
I created a pipe using a ring Spline and Extrude, setting no end caps. I only have one seam to create then.’
Now I apply the battleship texture to this one too. And we got something to hold the engines.
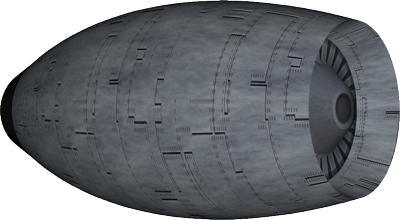
And here is a render of the Firefly engine.
I think this was very educational, at least for me. Now I might be able to do more complex things, which is good.
Comments
Leave a Reply
 Roleplaying

