17
Sep
I just had to write a little quick session on how you can make nice barrels for your maps. Barrels must together with crates be the most versatile props that exist. Everything from fish to mead are stored in barrels. Barrels get transported by wagons, they are stored in basements and they are standing in the docks, waiting to get loaded.
So, first, we render a barrel wood texture using FilterForge. I used a filter of my own creation, lacquered wooden floors, which can generate bars of wood which looks like they come from different pieces of wood and even different sorts of wood. I rotated the texture 90 degrees using Graphic Converter, another brilliant little tool, but that you can do in almost any program, I just didn’t bother to modify my filter to render vertical planks, it renders horizontal planks.
We also render another wood texture to use for he end caps of for the barrel, but there is no need to rotate that one.
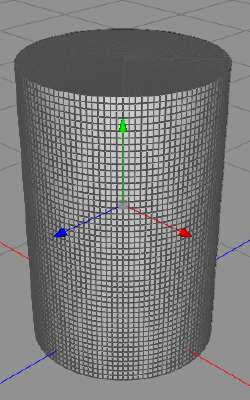
Now, fire up Cheetah3D, and create a cylinder, like this.
To get it like this, set the sections longitudinal to 120, and the sections height and sections ground to about 25. Then make the object editable. This will make the next step work muc better, the more sections, the more smooth will it be.
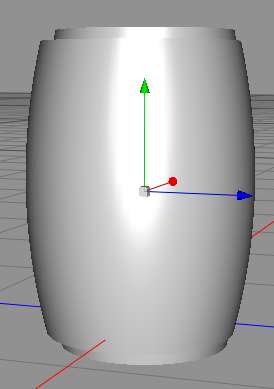
Now, let us add a bulge modifier to the scene, and to the cylinder. Change it so it bulge out, not in, and not to much, like this:
Noew, apply the modifications, and then duplicate the barrel we have, resize it to be a little smaller, then drag it so it is longer than the original one, like this.
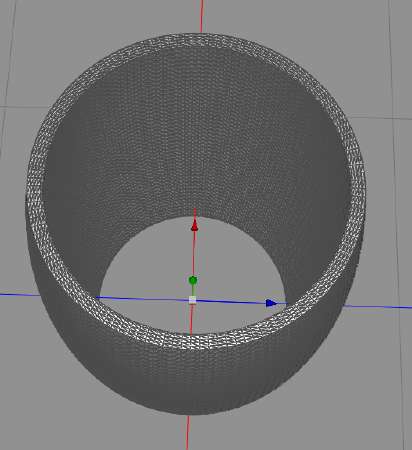
Now, add a Boolean operation, and remove the inner barrel from the outer barrel, so you get something like this.
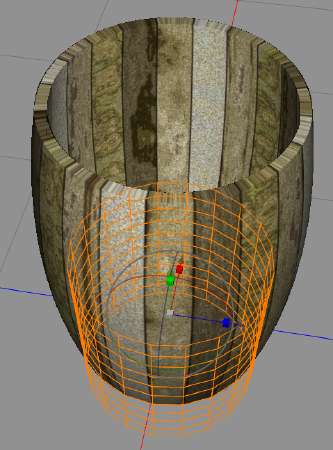
So, create a new texture with our barrel wood texture, and apply it to the barrel, use the UV mapper to move it so it looks correct.
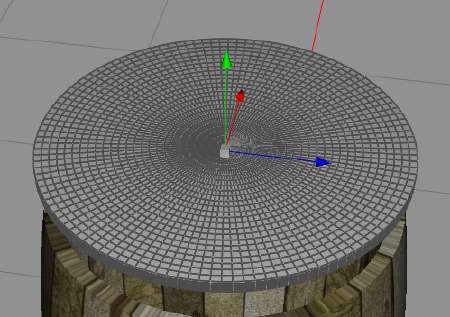
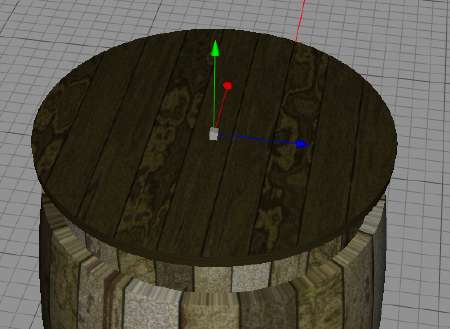
So, looks like a barrel, or a good beginning anyway. We now need end caps for this barrel, so we create a cylinder again, size it to fit inside the barrel end, and make it rather thin.
So, this looks nice, just add some texture to it and it will be very convincing.
When it is done for one end, we copy it and move the copy to the other end of the barrel.
Now, we need steel bands, to keep the barrel from falling apart. We create a ring, and size it to fit around the edge of the barrel, then use the bulge modifier to make it a little bugled, so it will look better on the barrel. Here friend of order might object and say that the steel bands could have been put on the texture to avoid this step, but as I say, I cannot draw, and I didn’t wanna add steel bands to my filter, yet.
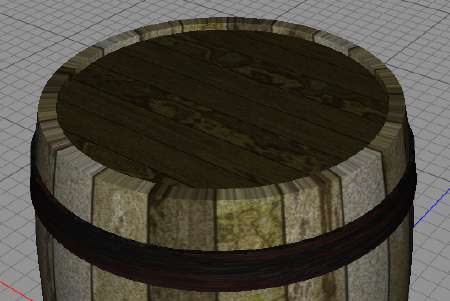
We add a mental texture to the steel bands, a dark rusty one, and then move and size them into place, and move the end caps into place as well, like this:
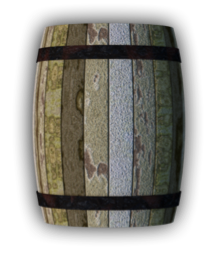
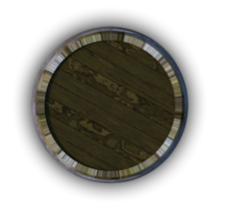
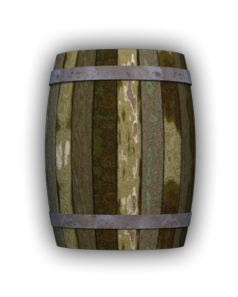
Now, we render a top down and a side picture, so we can use the in the map, and we render several side views, rotating the barrel a little between the renders, so it looks like different barrels.
So, here they are, our new barrels, ready to be used.
Now, you can change the textures and render more versions, like this:
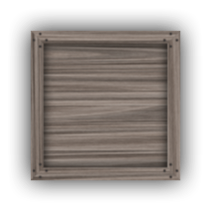
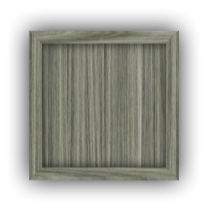
I hope you learned something about creating props for your battle maps. For crates, there exist two FilterForge filters that generates pretty decent crates to down, just add some shadow and you have a crate, like this:
So, if you’ve followed my series about the recreation of the carnival at Marda-Zam, you might know that we’re heading to create a warehouse.
Have fun with these items.
Comments
Leave a Reply
 Roleplaying


