As you probably know I’m making a 3D model of a bridge that I have in an upcoming adventure. This is no spoiler, you cant miss the bridge unless your character is blind and in that case it will probably be dead already anyway.
So back into Cheetah3D again and create a Cylinder with the steps set to 16. We then remove a bunch of the polygons, and points too, like this.
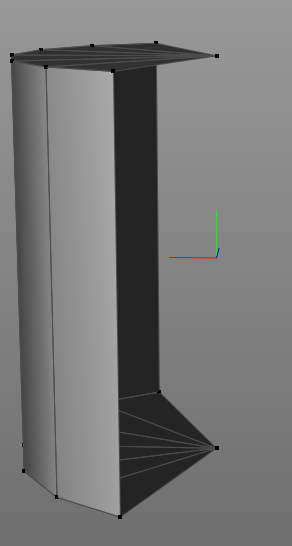
We continue removing polygons until we have this shape.
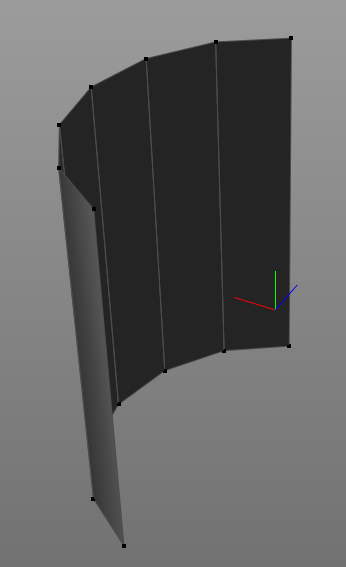
Now With the help of a cube and some more added polygons, we create this shape for the bridge landing, attached to the bridge. I used the cylinder to have something to work from to create the front part of this.
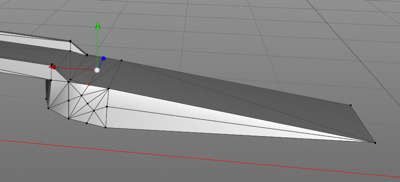
We take a look at it again, so beautiful, Dwarven engineering at its best.
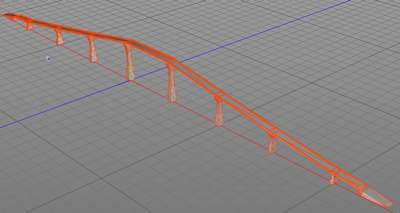
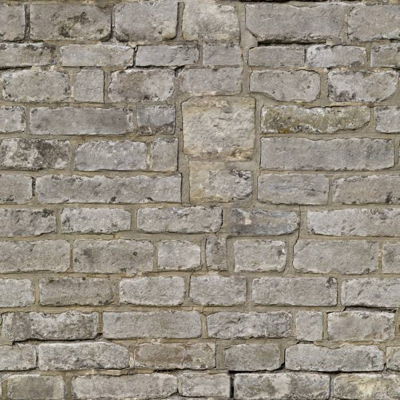
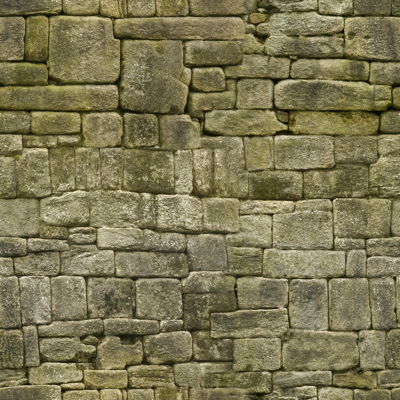
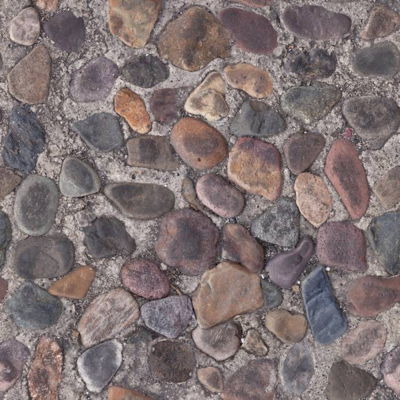
Now, it does lack someting, textures. So we jump to CGTextures.com to pickup some great looking photo based seamlessly tiling textures. The ones shown here are heavily compressed and reduced in size. Click on the textures to get to the CGTextures page.
First a foundation stone, dwarven hand cut as you can see.
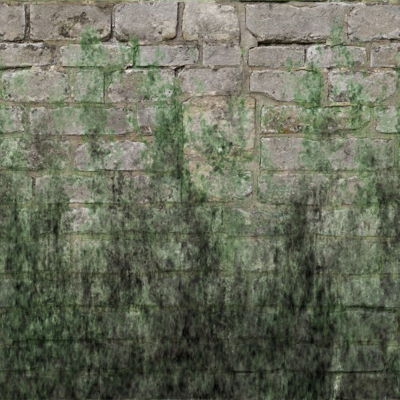
Then, using a FilterForge filter called Grunge_Drip, I created this tile. As the filter works top-down, I rotated the image 180 degrees before running the filter, then back. I could have changed the filter but then the author won’t get his usage points. I might add this as a feature and send it to him, I’ve already added seamless tiling and then told him to add that.
OK, now the next texture, the bridge road or floor.
And the last one for now, the texture to use around the bridge landings.
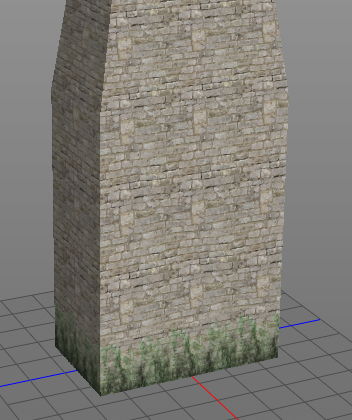
After some rather tedious work with UV mapping (yes, I’m finally getting the hang of it, thanks to tutorials from among others, Jack Tomalin, one of my favorite 3D artists.How will it look? Here is a screenshot from the UV mapping of one of the pillars, as you can see now, I added that green slime to look natural where the water line will be.
So, We’re done the model and some UV-mapping, whats left? A lot, and that will be in the next episode, stay tuned, or as they say, to be continued…
Comments
Leave a Reply
 Roleplaying

