Today, we’re gonna map up the warehouse, in the northern part of our docks map. We will use the southern part of the docks map for the harbor captains office and a ship later on, for the possible final encounter of this adventure.
Today we’re gonna add some floor textures again to Dundjinni, textures we have downloaded from the forum, and I’m gonna show how these are added correctly.
First, we need a folder within the user hierarchy in the Dundjinni data (Map) structure, and we need to have a correctly setup ~properties file.
You can copy that from another directory, but be sure that the Type is set to Floor, like this.
// Dundjinni Map Item Folder properties file

Type		Floor

Copyright	(C) 2004 Fluid Entertainment, Inc.
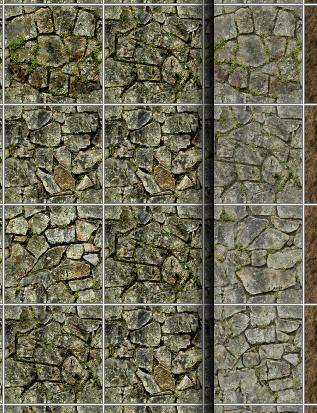
You now add the items, that should be named for example myfloor-a.png, myfloor-b.png etc, for Dundjinni to be able to pick any of the tiles. The tiles must seamless tile to each other.I might do a separate tutorial on that, but it will require drawing skills I do not possess, so for this one, I use a tile set created by aegean.
The road looks like this:
Now, were gonna do a little work in the warehouse, and we need a ladder to the upper floor, one broken and one ok.
So we fire up Cheetah3D again.
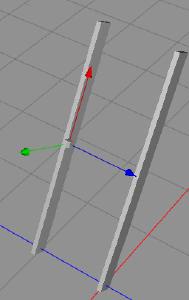
First, we crate a box, shape it as a plank and rotate it about 65 degrees. We then copy that and move to the side.
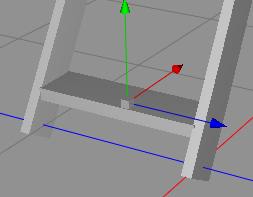
Now, we create another “plank”, to use as the step.
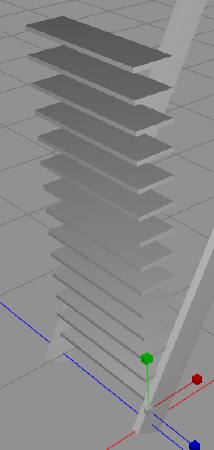
Now, we use the Array, to create multiple copies of our step, at an equal distance, like this. It took a while to find the perfect distance and count, this image is taken while trying.
Now, we added some texture to the “legs”, just to make the clearer to see for the next step, using the Shear function, to align the steps after the legs.
As you can see here, I just modify the whole object, and the steps nicely align to the legs of the ladder.
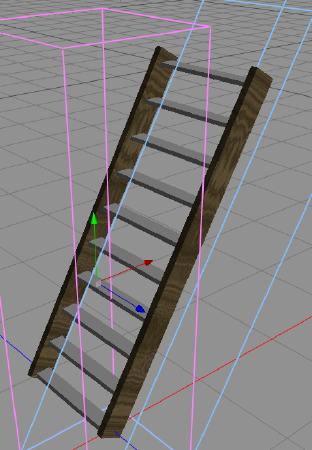
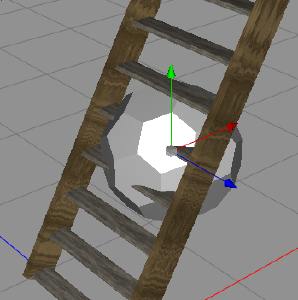
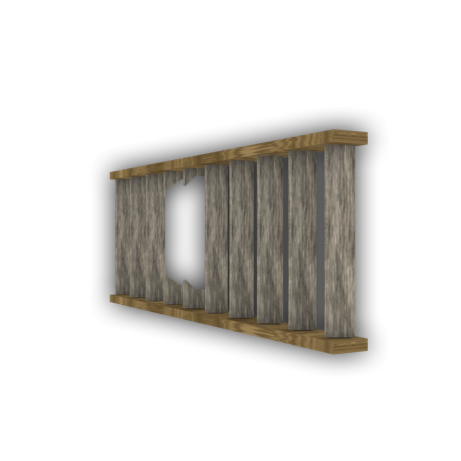
Add some texture to the steps, and we’re almost done. But wait, we wanted one broken and one working. I copy the steps objects, and set the copy as hidden. Then I crate a d12 polygon object, and put it where I want the steps to be broken, and then use a boolean operation to remove that, like below.
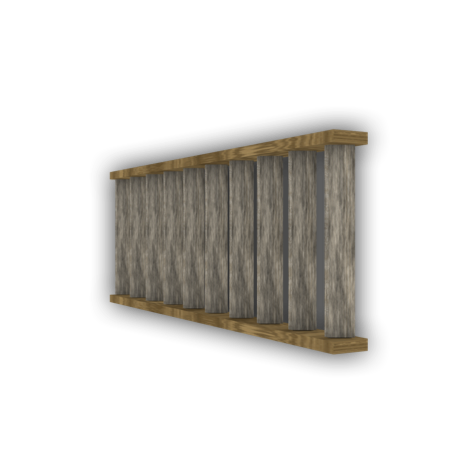
And here are the final ladders.
Tomorrow, we’re gonna make a nasty pile of broken beds and dirt, and the nest for the Nesting Mattresses.
Comments
Leave a Reply
 Roleplaying

