OK, I’m back with the next episode of making a FilterForge texture filter for a stone floor with inlaid wood, like we can think floors looked in medieval buildings. Last time we did a basic wood filter, and time we’re gonna focus on making some basic stone. We’re gonna use these filters, or the components in them when we assemble the real filter at the end of this tutorial series. The idea behind this tutorial is not only to make a filter but to show different techniques to achieve different results.
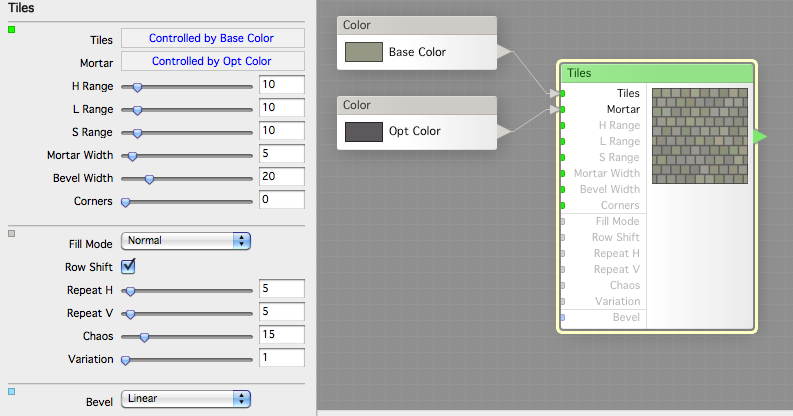
We start up FilterForge and create a new filter. We create a Tiles component that we setup as shown, then we add two Color Controls and give each of them a stone like color, your choice here. One is the primary color, base color and the other one is the accent color, opt color.
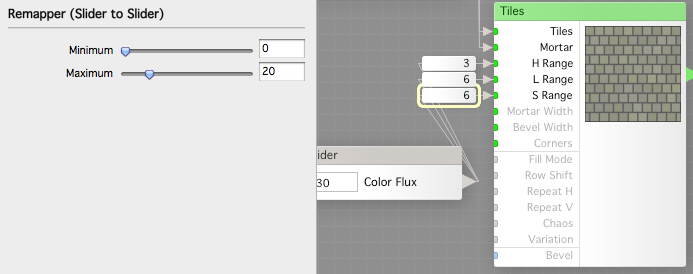
We now add a slide that we attach to both Hue, Lightness and Saturation inputs, H, L & S. We enable remapping and set the max to 20 for L & S and to 10 for H. I call this Color flux, and it will control how much the base color of the different tiles will differ from the original base color.
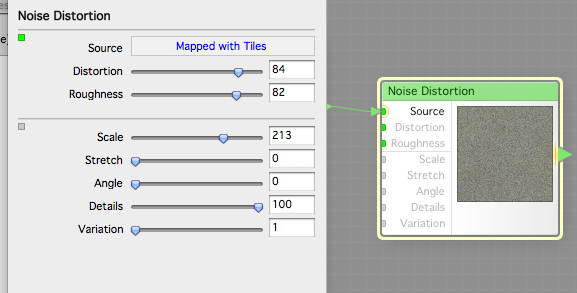
You thought this was going to be the tiles? Sorry, this is just one way to create random looking patterns great for stone surface. We send the output to a Noise Distortion, setup like this.
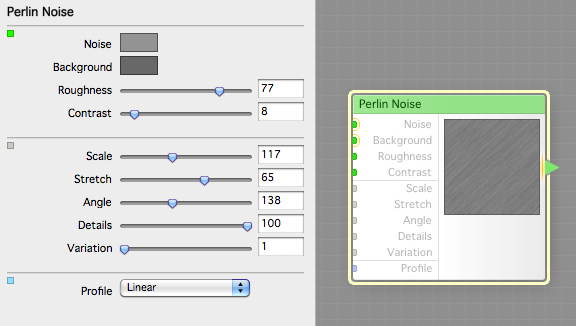
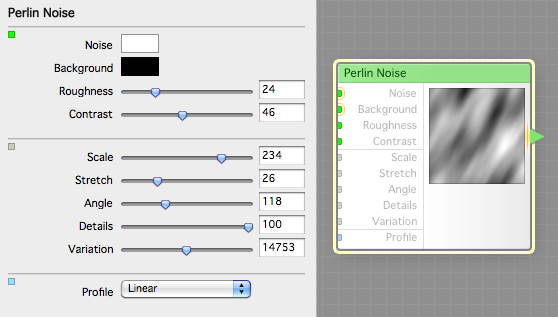
Now when we got a surface, we start on the height map. We add a Perlin Noise that is setup like this.
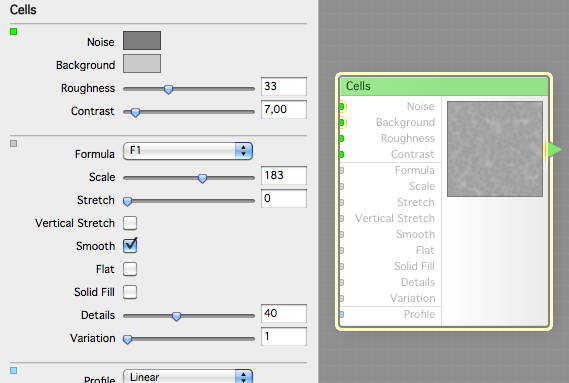
We create a Cells that is setup like this.
Now we create another Perlin Noise and set that up like this. Are you curious what I will do with all this?
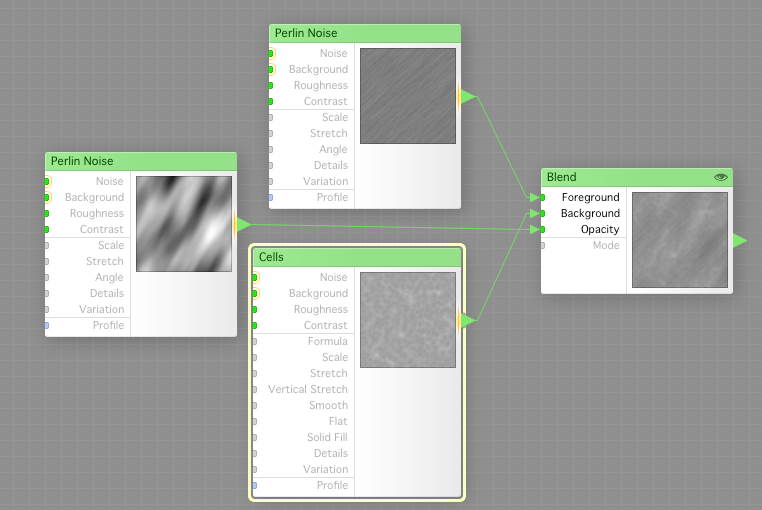
We now add a Blend node to the pot, and connect everything up like this. What happens here is that the last Perlin Noise controls the blending of the two, making a randomized mixture. This can be used for many rather cool effects, start to play with it.
Click for full size
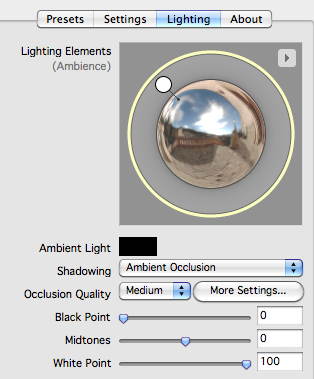
Now we connect the results to the Result component. This time we’re gonna render with some AO settings, which is much slower but generate greater results. We save the filter as Stone-1 tutorial.
And here is the stone surface. As you can see, some chip marks and also cut lines. This would make a good surface of a floor tile, and that is what we will use if for later on.
Did you think I’ll just make one stone surface? You who know me knows I seldom just make something only once, and as I think we’ll need at least two different stone types for our floor, let’s make another stone surface, we’ll need it anyway.
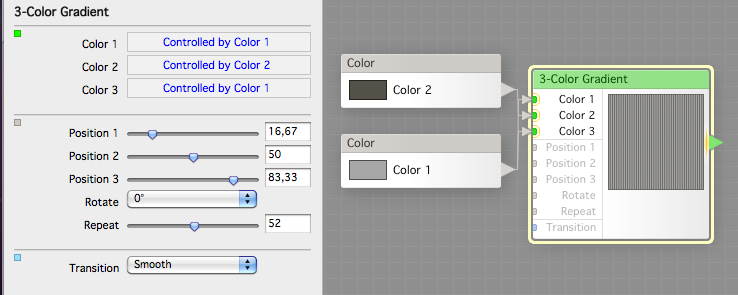
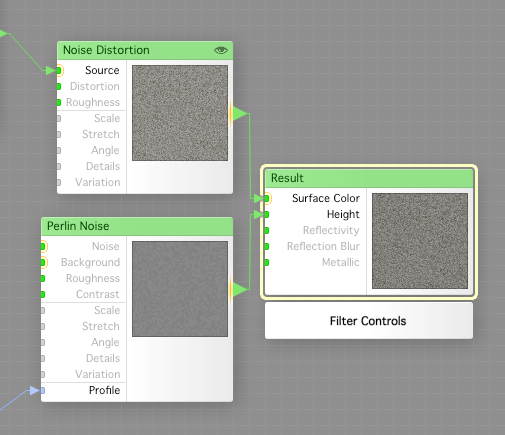
We create a new filter and time we start out with 3-Color Gradient, setup like this, with color selectors and all. As you see I let Color 1 got to the inputs Color 1 & Color 3.
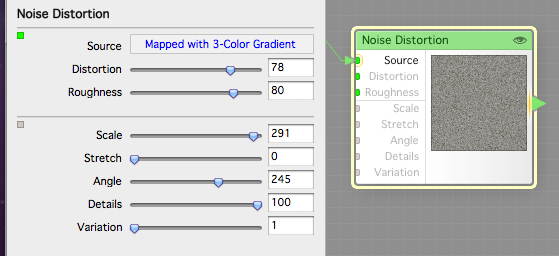
Now we run the output into a Noise Distortion, setup like this. I just wanted to show you another way of making Noisy stone surfaces. This will be our Surface for this stone.
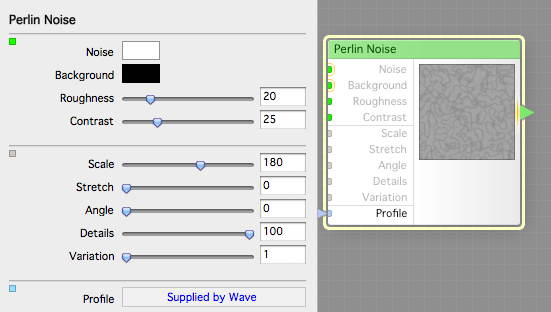
Now we create a Perlin Noise setup like this. The reason I use Perlins the most is simple, it’s versatile and very fast.
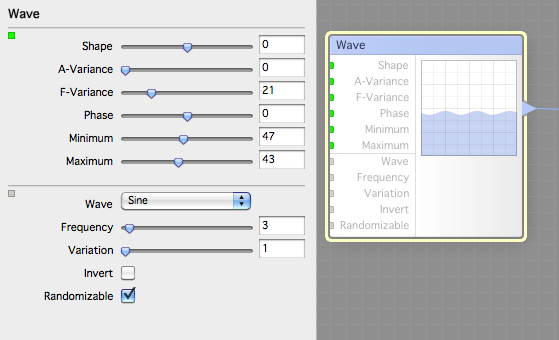
The trick here is that I create Wave and set it up like this, and attach is to the Profile input of the Perlin Noise. This will be our height map.
We attach them to the Result component and save the filter as stone-2 tutorial.
We render an image and save the result, using standard settings.
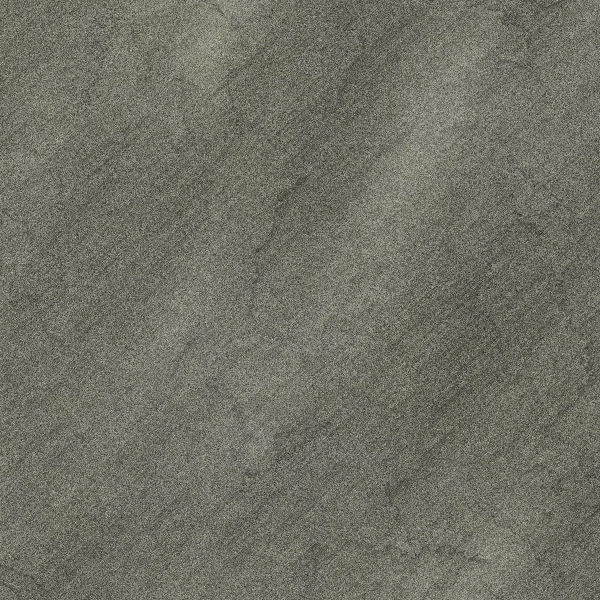
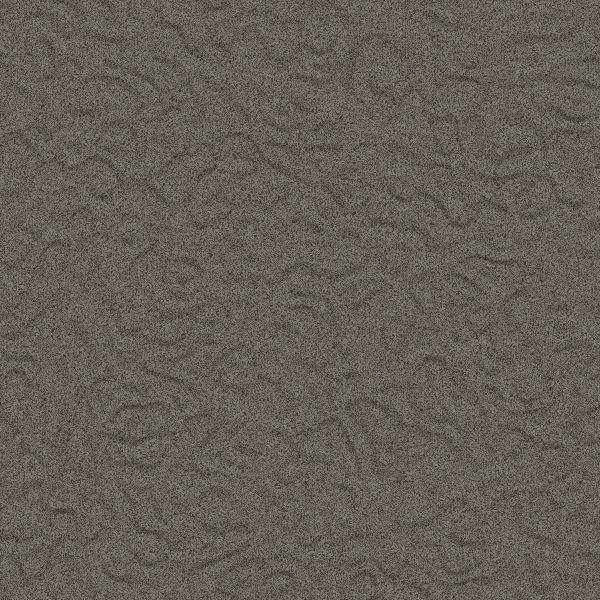
Here we got a wavy stone surface. I know we will tweak these components later on when we build our real filter, and this shows you how simple you can make stone surfaces. I think we will make some more stone, and also mortar in the next episode.
And I almost forgot, here are the two filters we just made, ready to be played with.
Comments
Leave a Reply
 Roleplaying

