Today we’re gonna mix the different things we’ve done, to make something real, a wood and stone flooring texture filter.
We start with the pattern tutorial two filter. We open it, copy everything in it, then create a new filter and paste it, and save it as stone pave tutorial.
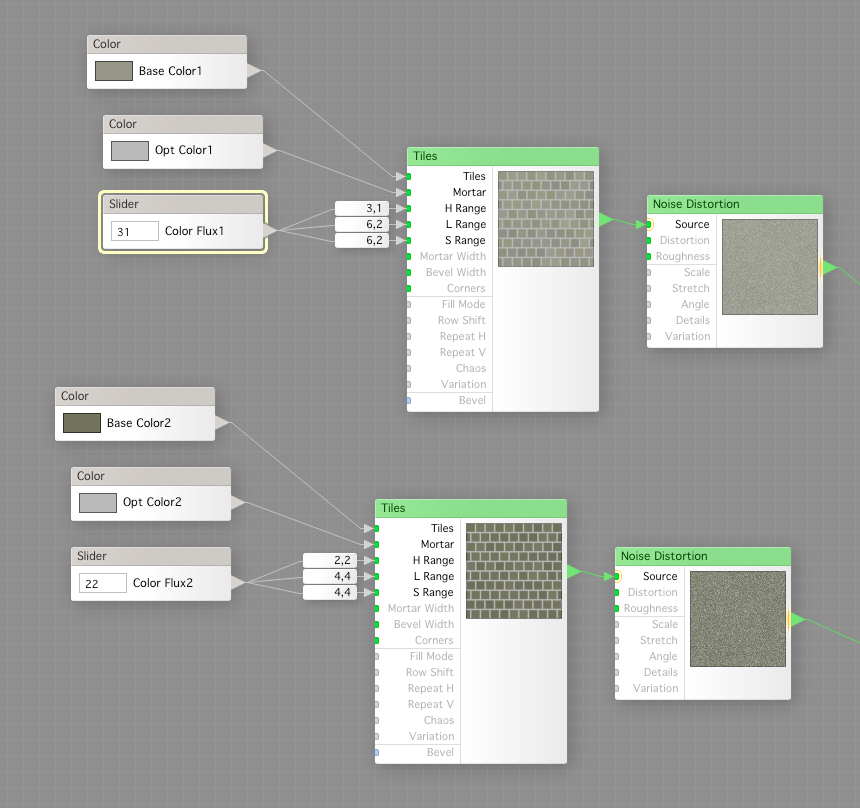
We now open the first filter we made, and copy everything in it, and paste it into the one we’re working on now. We then make another copy of the texture generating part, like this.
Click for a larger view
Now we connect these to instead of the random colors we had, and we cut down the tree to only two color variations, not four. We also attach the height map generator we pasted in to the height map, and we then do the same thing (open copy, paste) from the mortar filter we made.
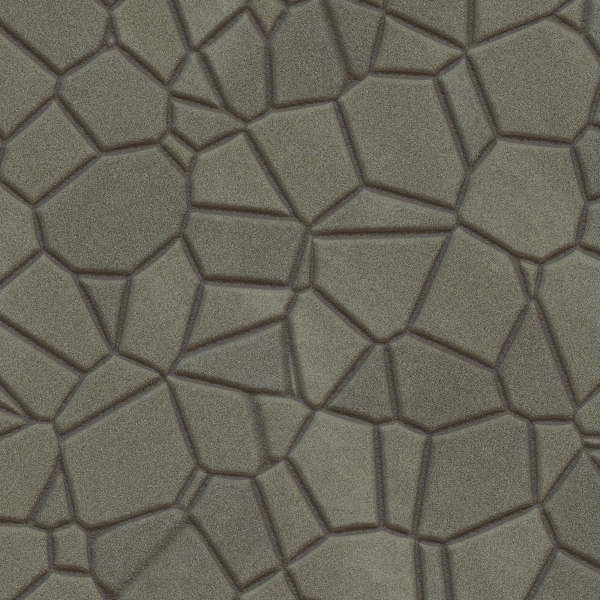
We render, and this is what we should get.
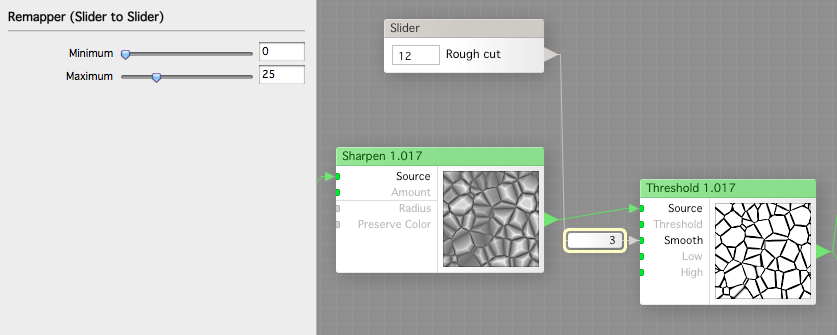
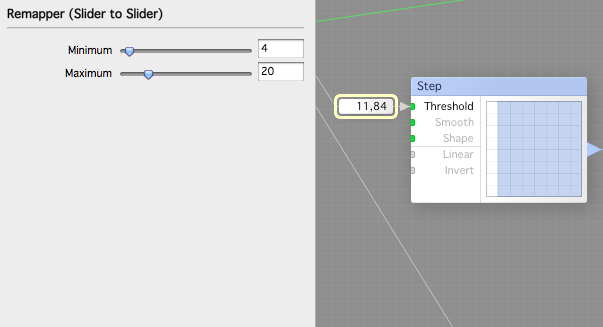
Now we attach a slider to the Threshold that we use to grab the cracks with, to be able to control that a little better, like this. We set a tight remapper to avoid stupid results.
We can now add another slider to the Blur component that we use to round the bevels to make it smoother or harder. The Remapper max is set to about 3.
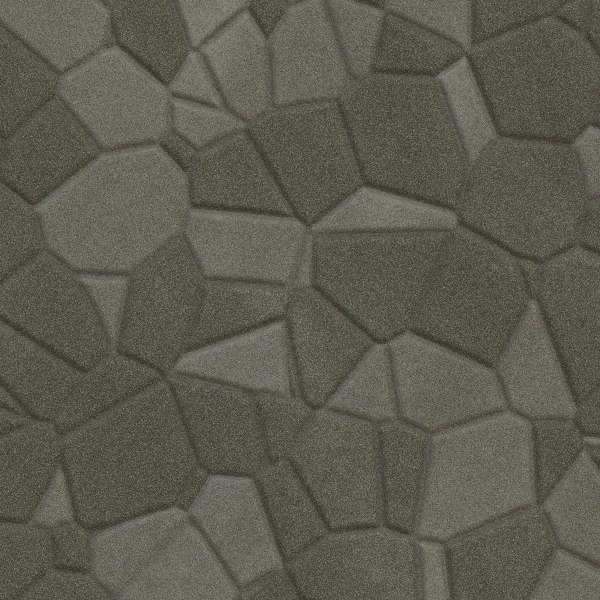
We can now set both Rough and Smooth a little and render again. (Someone can probably come up with better names for those sliders). As you can see, the result is different. That’s the reason you want controls, to be able to easy change the look without having to open the filter every time.
Now what? To be honest, this filter really went astray and I can only show bits of what I did,and I will soon tell you why.
Now we need a wooden frame around our stones, just as we said. I create a Profile Gradient (a very useful component) which I set to Mirror, and a Step which I set as the Profile of the Profile Gradient, and then a slider to control the Threshold, which I will rename to Wood width.
Now we set the remapper of the slider like this, to only allow a wooden border.
Now, we almost forgot the wood. We copy-paste the wood components from our wood filter 1 tutorial, then we change the Profile Gradient to the Wood is the Color 1, and Color 2 is transparent. We then run it through a Rotate, setup like this, to give a 90% rotation.
But wait, we just got a warning like this.
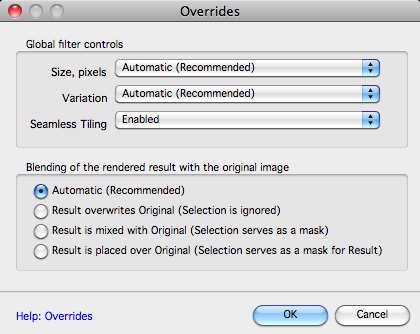
This means that by using Rotate, seamless tiling will be off, but you can activate that but now you, not the program, has the responsibility for the seamless tiling.
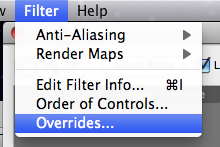
We go the the Filter Menu and to Overrides…
Here we can set it to enable seamless anyway. Seamless Tiling Enabled.
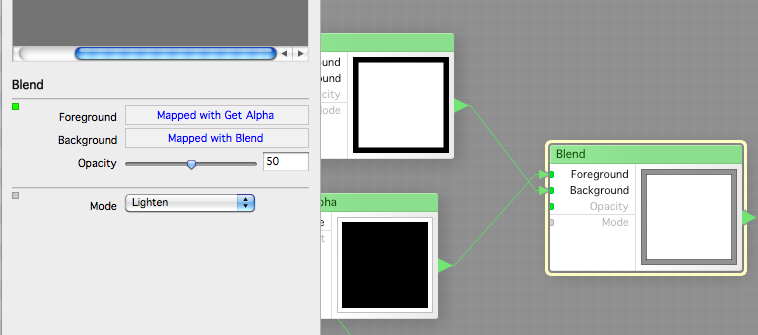
Now we can continue. By playing with another set of Profile Gradients and getting the Alpha component from the Wood, we can Blend those like this.
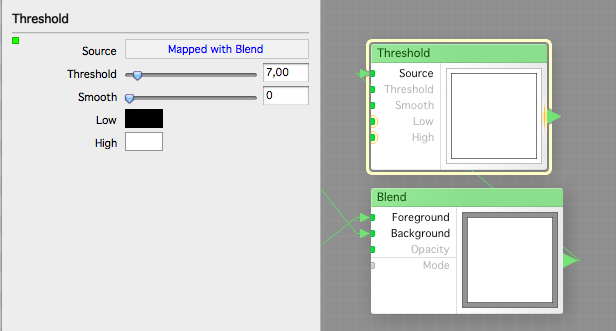
This is to be able to get the inner edge of the wood, which we want to lower in the height map and fill with mortar in the texture map. We use a ThresHold like this to get that line. This can be done in many different ways, depending on what you have at hand, I just did it this way as I wanted to show how useful Threshold is.
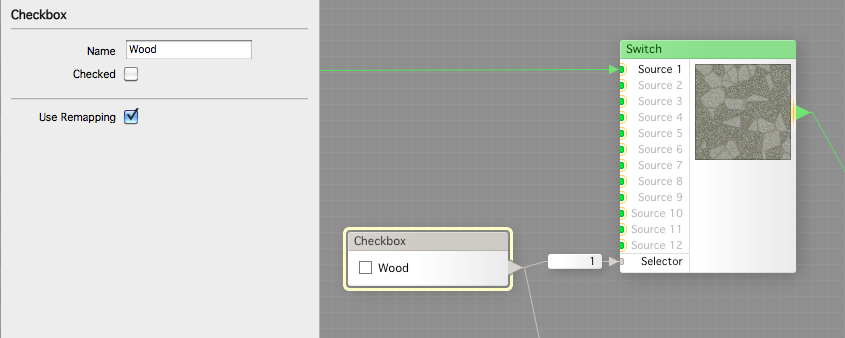
Now we add another useful component, the Switch, because you might wanna have the tiles with or without wood. As we only will use two different Sources, we use a Checkbox as selector, then We attach the one with wooden border to Source 2. We do the same thing for the height map, and use the same checkbox as controller.
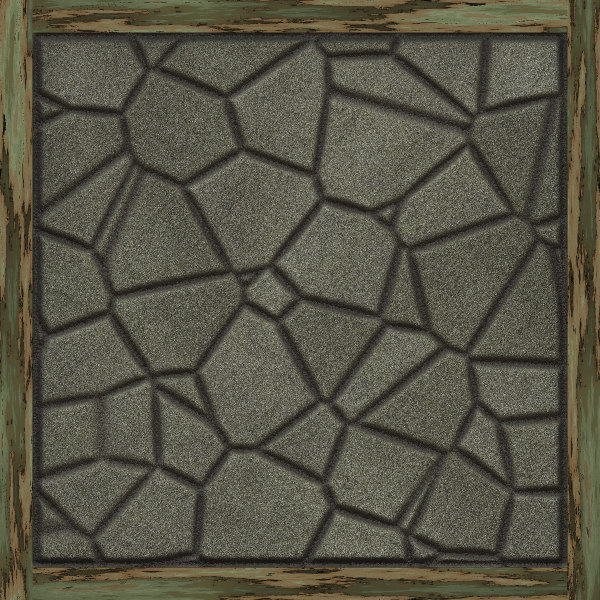
How do this look when rendered with AO on?
I think it looks great, but looks isn’t everything, which you see when you download and test this filter, as it is slow, dreadfully slow. I know why, because I use too many Blurs and do to much different things. I will do this faster and better in an upcoming episode, so stay tuned.
And here is this filter.
Comments
Leave a Reply
 Roleplaying

