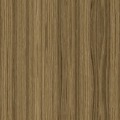
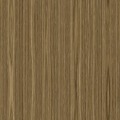
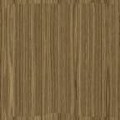
Filter time again, making multi tile textures for use in Dundjinni (and many other mapping applications as well).
So, how does a multi tile texture look?
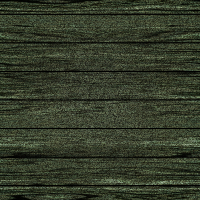
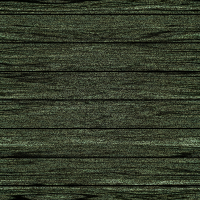
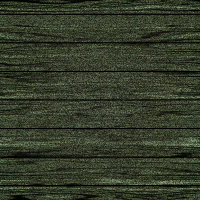
Here are three pieces of the ship-deck-2 texture, look closely how they look different but still have the same edges.
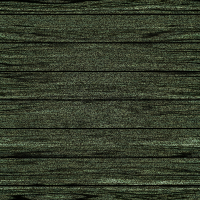
These textures were created with the first generation of this filter, the following ship-deck-3 were created with a more refined version where the differences are even more visible.
But what is the theory behind this? How can you make something like this manually without a fancy filter? As you now can see, painting and fiddling with pixels isn’t my specialty, but this is a proven technique, here just simply explained, and this is what my filter does.
You start with several pieces of a similar texture (in this case just two).
Then you decide which one is your “tile master”, and cut a hole in it like this:
Then you use a graphics program with layers (Photoshop, or in my case OmniGraffle), and put this frame over the other tiles, like this:
See, they tile perfectly, and if I had been more of an artist, you would just notice that the center of the picture is different in the middle one, so they would look different, but still tile.
I’ve just decided that tomorrow we’re gonna curt some maps.
Comments
Leave a Reply
 Roleplaying

