 Roleplaying

Hello,
Here is a real quick walkthrough in how to use LIE in DS 4.5.
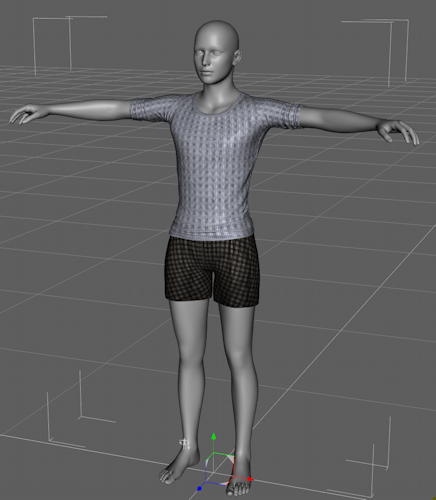
First we add a Genesis to the scene and put on some clothing.
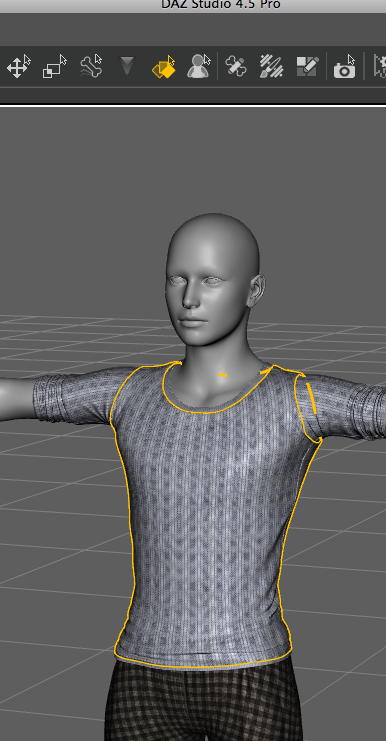
Then we use the Surface selection tool to select the surface we want to add the LIE image to, in this case the chest part. In this example I use a very basic piece of garment with only few material zones, but the concept is the same.
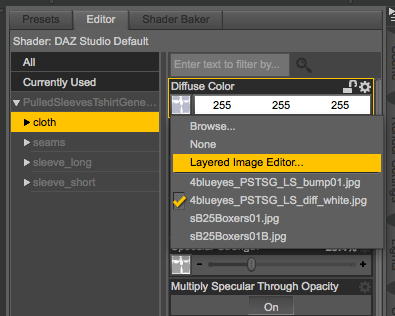
Now we go to the Surface tab, and the Difuse. We click in the selection box where you select the texture map, and select Layered Image Editor.
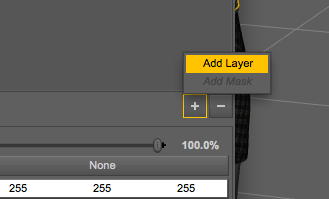
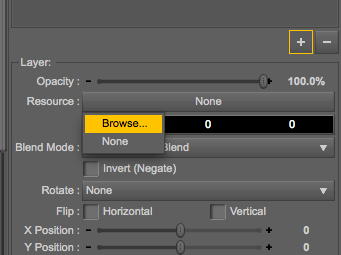
In LIE, we add a new layer with the [+] and Add layer.
We select he new layer in the layer list and select what image to add to this layer.
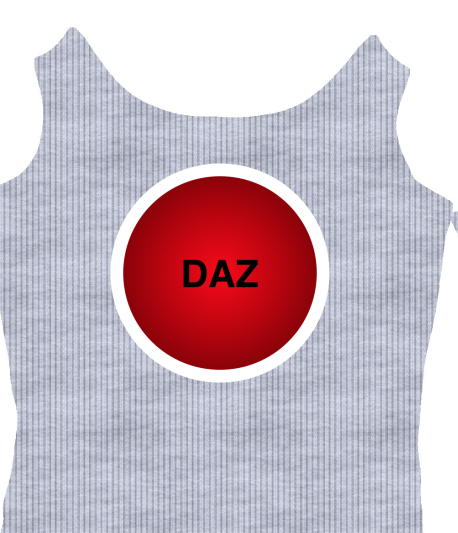
The image I tossed up for this tutorial looks like this:

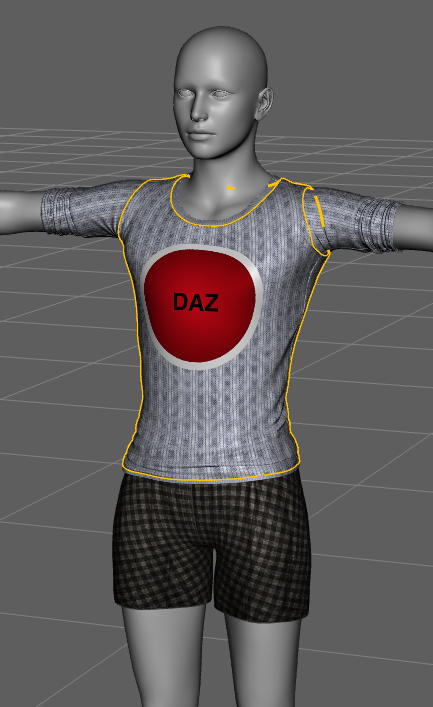
Now just position the image where you want it, this is the hard part as sometimes you dont know where it should be, so trial and error. here is is on the front of the tshirt.
And this is what it looks like in DS 4.5
And here is a quick render

I hope you enjoyed it!
Comments
Leave a Reply