OK, today, we’re gonna work with the height map part of the door, what will make it look like the door greytale had done, and not flat like an overrun goblin.
So, we open the filter once again in FilterForge, and start to edit.
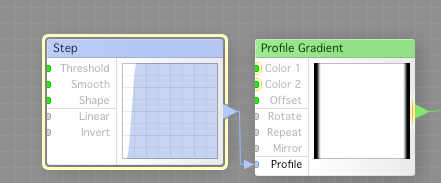
What we’re gonna do today is making a frame in which our door will be, so we start with a Step component connected to the Profile input of a Profile Gradient. You will see a lot interesting usage of the Profile Gradient component today. This will make a nice white with a little sloped border to black, remember, we are making height maps today.
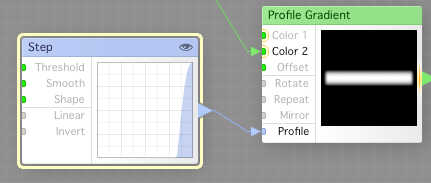
Now, we create another Step component, with a different setup, and connect that to the Profile inout of another Profile Gradient, where we feed Color 2 from the first Profile Gradient. As you can see, we now have the shape of a top-down door.
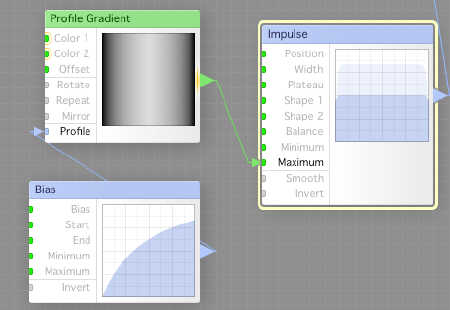
Now, we use a Bias component, which we use to set the Profile of yet another Profile Gradient. Then we feed the output to the Maximum input of an Impulse component. As you can see the curve is blurred on that part that will vary with the profile Gradients output. This is one of the really cool things with FilterForge.
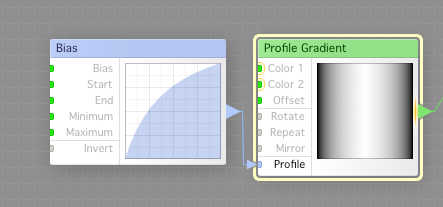
Here is yet another Profile Gradient, where the Profile is set from a Bias component. This will be the actual top profile of your door.
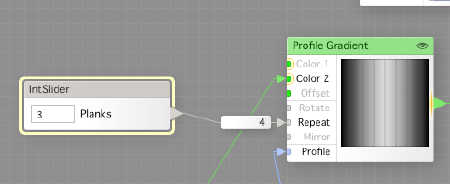
Now, we feed the last output to the Color 2 input of another Profile Gradient, to which we have connected a IntSlider to Repeat. Then we connect the output from the Impulse component to the Profile input, and as you see, we get a door top where you can see the planks. The Repeat sets how many planks we will have.
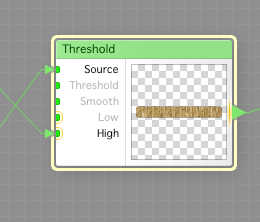
Now, we use a Threshold component, where the Source is the “door like shape” from yesterday, and the High is the wood from the day before that, and we got a door, a flat boring door, bur a door.
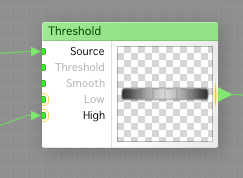
We make another Threshold component and use the same Source, but the height map as High, and we got a hight map for the door.
Tomorrow, we’re gonna add some details to the door, before we can actually call it done.
Comments
Leave a Reply
 Roleplaying

