So, we got a height map, and a texture, why didn’t I just connect the Result component and call it a day? I did, but I want more, much more.
So, back to FilterForge again.
Now, were’ gonna use some of the FilterForge 2 features, the Polygon component. We create four polygons, and why I do this is that the first of each is dark, the second uses a grey color, with a lot of bevel so the result will look a little round, and not 100% flat. As you can see we have one vertical and one horizontal line now.
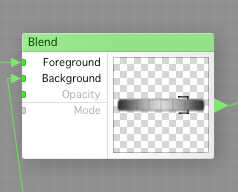
Now we use a bunch of Offset components to move the lines, and as you also can see, by connecting the same output to multiple Offset components, we make instant copies of it. Then we use the Blend component to blend the parts together. We now got two corners, or what is it?
Now, we blend those two together, and the use a Noise component to make the result a little less perfect.
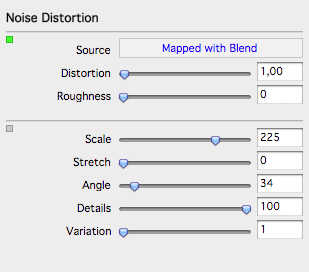
As you can see, the Noise is setup with a very low Distortion (1), just to touch it. I made three of those handles, one for the image, one for the height map, and one more, which I will show you tomorrow.
Now we blend together the height map with the height map handles.
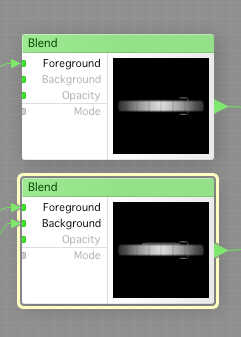
I also made a second version of the height map, which has a hatch on one side, you can see the height map for that one together with the normal one here. We use the Blend component to blend the height map to a black background, lowest height.
Then we use a Switch component where we can select with or without hatch for our doors. Tomorrow, we finish this door up, ready to meet the famous phrase “Kick in tze door!” (as Arnold would say).
Comments
Leave a Reply
 Roleplaying


