Cool, so you came back. I didn’t scare the living daylights out of you the first session, good.
First we’re gonna add another twist to our foliage. First, remove the connections we made to the Result component, we’re gonna connect something else there later.
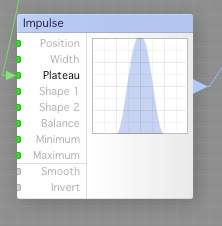
First we drag an impulse from the component list onto the worm bench.
This type of component is used to control other components.
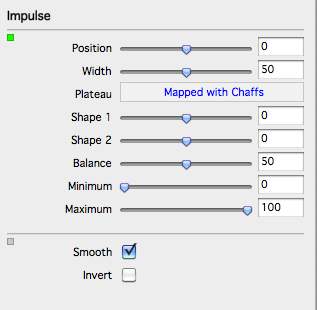
The impulse should be set up like this, to create a small peek-like curve. Connect the output from the Chaffs we have to the Plateau input of the Impulse.
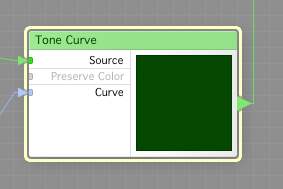
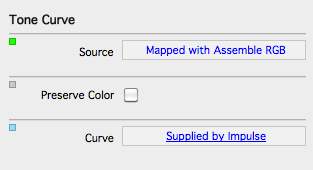
Now, drag a Tine Curve component to the work bench. As you can see, this component have an input, Curve. Connect the output from the Impulse to the Curve input of the Tone Curve, and then connect Assemble RGBs output to the Source of the tone curve.
The ToneCurve settings should look like this.
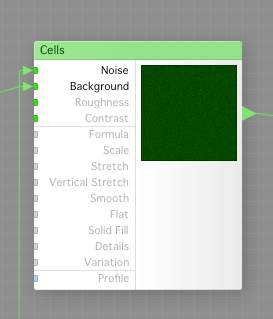
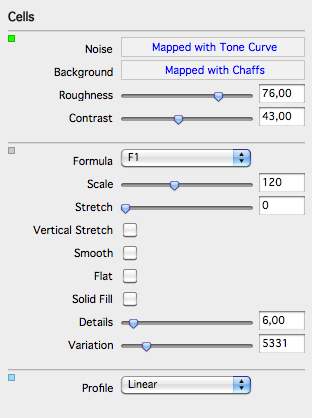
Now, drag a Cells Noise component to the work bench, and attach the output from the Tone Curve to the Noise input of the Cells Noise component, then the output from the Chaffs Noice component, to the Background of the Cells Noise component.
The Cells Noise component should look like this:
Good, you’re still with me this far. You should have added something like this by now: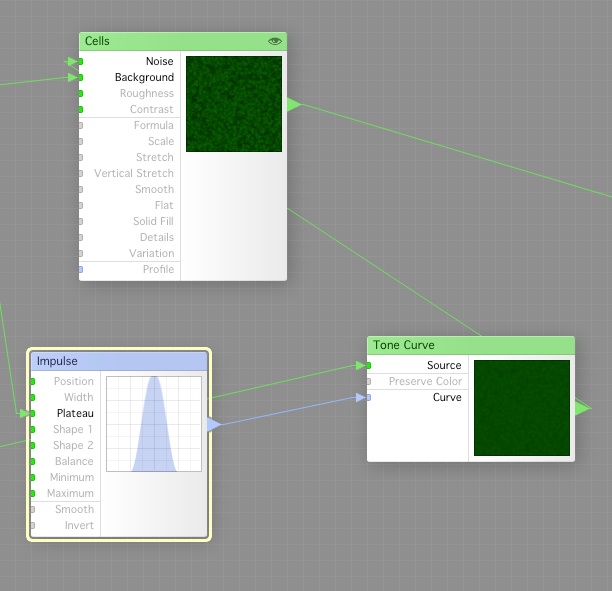
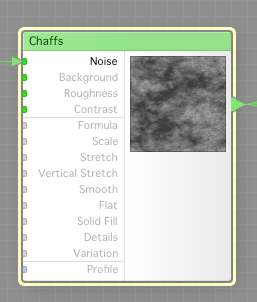
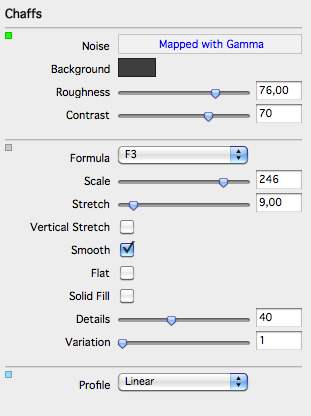
Now drag a new Chaffs noise filter to the work bench, you can have multiples of anything, no limits there. Connect the output from Gamma component to the Noise input of this new Chaffs Noise component.
Check the configuration of this new Chaffs Noise component.
Now, connect the output from the Cells Noise filter to the Surface Color of the Result component, and the output from this new Chaffs component to the Height input of the result component. Save the filter, and you should have something similar to this:
The next session will use some interesting techniques to add a path, so stay tuned.
Comments
Leave a Reply
 Roleplaying

