You still here? Good.
Now, this is called forest path, but so far we’ve only been doing the forest part of it. Now it is time to do the path, and my idea is that we should have the ability to render with or without a path or trail, and have to possibility to choose from several different types of path, sand, dirt or stone.
So open up FilterForge again, and open the filter for edit.
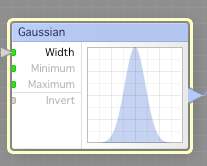
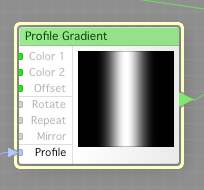
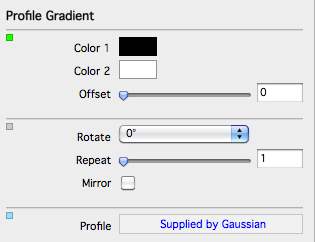
Now, create a Gaussian Curve component,a Slider, and a Profile Gradient.
Connect the Gaussian Curve to the profile input of the Profile Gradient.
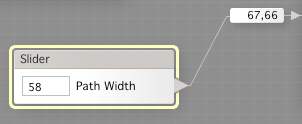
Connect the Slider to the width input of the Gaussian Curve, and set up the remapping as the picture above shows.
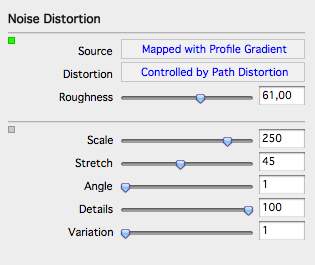
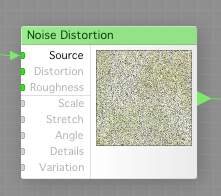
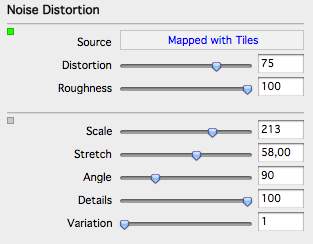
Now, create a Noise Distortion, and set it up as below. Connect the output from the Profile Gradient to the Source input of the Noise Distortion.
Now, create another slider, and connect it to the Distortion input of the Noise Distortion. Active remapping and set that up as the picture below shows.
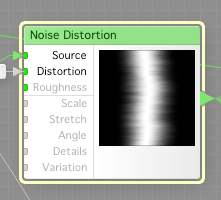
So, what will this do? Look at the Noise Distortion mini render and you will get the idea. It will create a vertical path, that you can control the width of, and how much it wiggles. That is a good start, but where do we get the path from this?
First, we are going to work at the end of the filter, at the Result component.
Add two Switch components to the work bench.
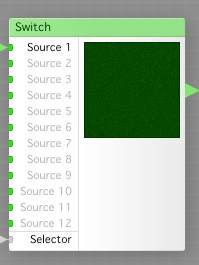
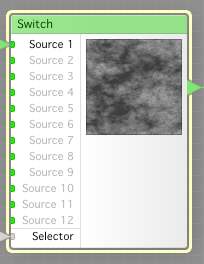
Connect the output from the Chaffs (the one with green forest which was connected to the Surface color of the Result component earlier) to one of the Switch components at input Source 1, and the one from the other chaffs (the grey one that was connected to the Height of the Result component) to Source 1 of the other switch component.
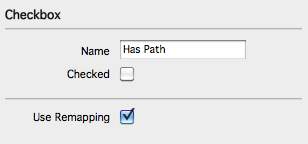
Now, create a Checkbox input, and connect it to the Selector inputs of both the Switch components.
Btw, I think I’ve forgot to that any user input control gets its name by default from the input it is connected to the first time it is connected, and is unnamed. You can change that name using the text field, as I named this one Has Path.
Enable the Use Remapping, and set remapping as below.
Now save the filter. and click in the Has Path checkbox. What happens? Yes, it turns yellow, as that was the default color for the switch in state 2, but guess what? We’re gonna connect the image with the path on to that input, so we can render with or without path.
OK, let us create the first kind of path,the sandy path.
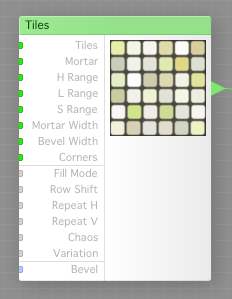
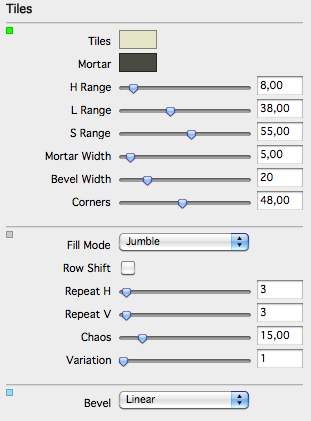
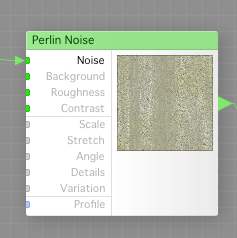
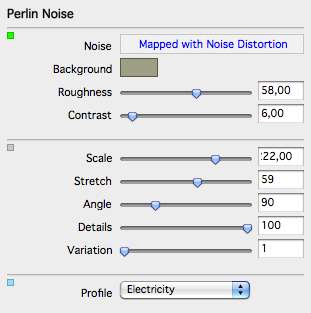
Drag Tiles component, a Noise Distortion component and a Perlin Noise component to the workbench, these three will make some sand for you. Now set up these three as described, and connect the output from the tiles to the Source input of the Noise Distortion, and the output from the Noise Distortion to the Noise of the Perlin Noise.
Look, pretty simple sand won’t you say? Now, create a slider, and connect it to the Scale input of the Perlin Noise. Activate the remapper and set up the remapper as below. You can fiddle with those remap values later if you like.
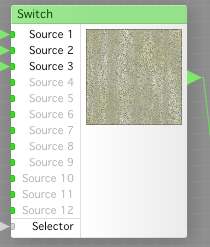
Now, create another Switch, and drag the output from the Perlin Noise to the Source 1 input of the Switch.
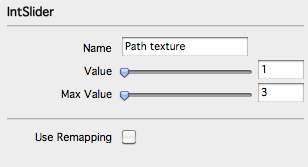
Create a IntSlider, and set its maximum to 3, and its value to one, and call it Path Texture. We will have three textures to choose from, later on.
Connect the output from this IntSlider to the Selector input of the Switch. This is to choose which path texture to use.
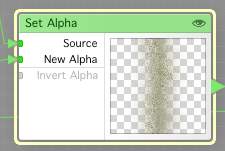
Now, create a Set Alpha control and connect the output from the Switch, to the Source input of the Set Alpha component, and then locate the Noise Distortion we created earlier today, that looks like this:
and connect that to the New Alpha input of the Set Alpha component, and voila (as the French says), we got a path.
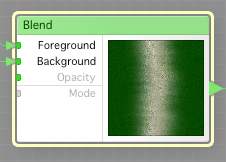
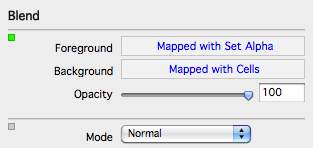
Now, we add a Blend Component and connect the output from the Set Alpha component to the Foreground input of the Blend component, and the output from out Cells component that make out nice foliage to the Background input of the Blend component.
Set the Opacity to 100% and the Mode to Nornal.
Now, connect the output from Blend to the Source 2 of our Switch, where the output goes to the Result component. Also, make a second connection from the Chaffs component we connect to the Switch for Height, to the Source 2 of that Switch. Now, save the filter. Check the “Has Path checkbox”.
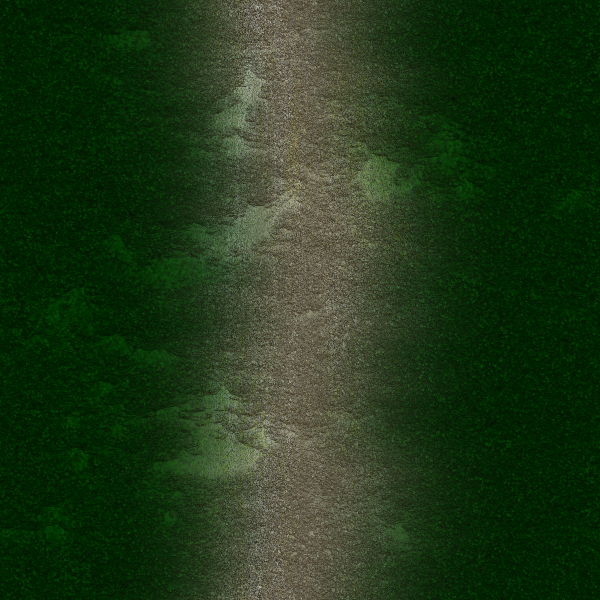
If you done it right, you would something like this as a result:
Next, we will some changes to the “Height” to get the path to look better.
Comments
Leave a Reply
 Roleplaying

