So this will be a break in the map making again, showing something else that I’ve learned, and is still learning, and that is making texture modifications to existing Poser and DAZ Studio Props and Figures. This is easy when you know how, but it would be even easier using programs like Photoshop, but I have my toolbox and I have some tools that can make this go really good. This is the first cloth modification I’ve done, this is virgin territory for me.
First, we decide what prop or object to modify, and I decided to modify the armored vest of the CIS Operative for M3 (I bought that one and the expansions for like $2.97 on the retirement sale, and I like the clothes, but not the fact that the vest is metal like, too much steam punk for me. I need more Firefly/Serenity looking items.
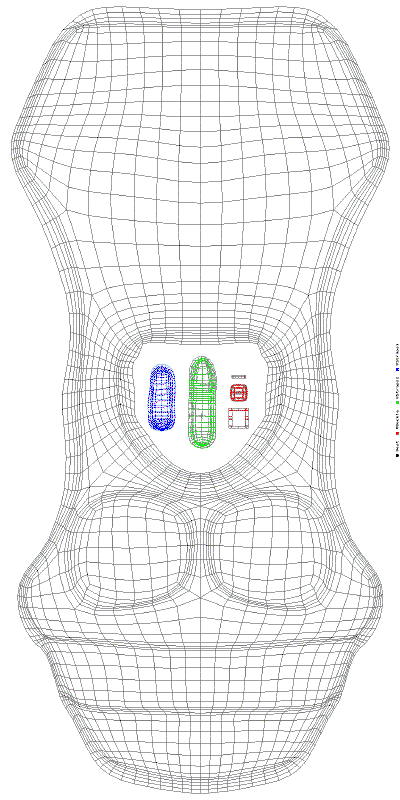
When you have decided what item to modify, if that item comes from DAZ 3D, you can download the texture layout for free. This is how the texture layout UV mapping looks for the CIS Vest.
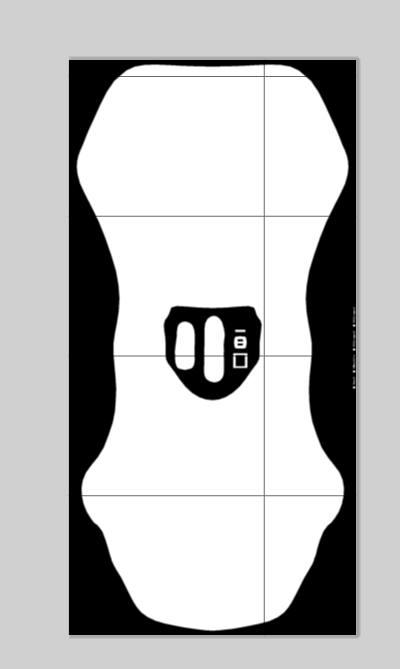
Now I opened this in Pixelmator. I decided to make a mask out of this so I can see how it looks better. Then I imported that mask into OmniGraffle and put it on the topmost layer.
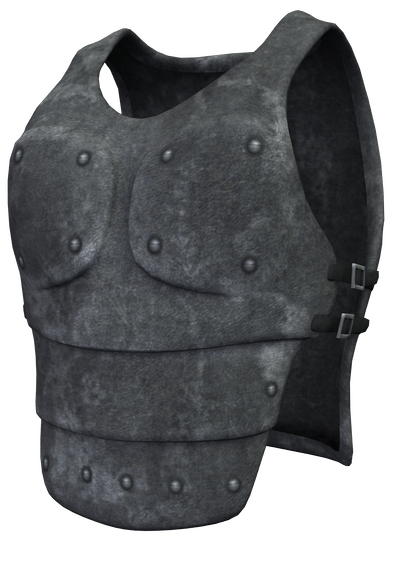
Now I started Poser and added the CIS Vest figure to the scene. This is a screenshot of it.
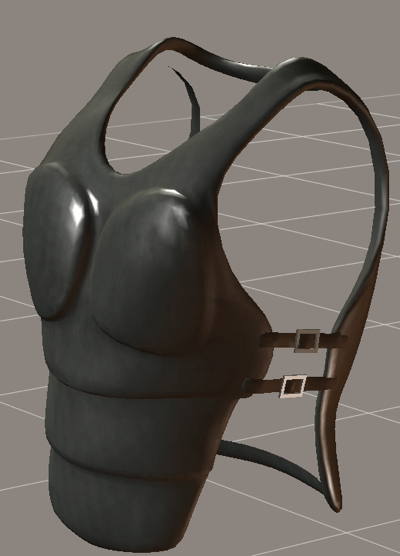
And this is how it looks rendered in DAZ Studio.
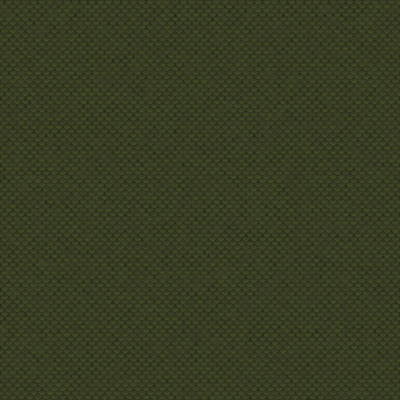
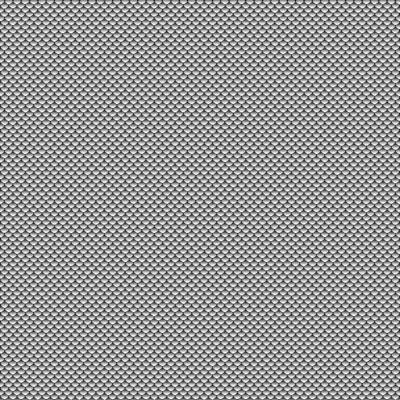
Now I jumped into FilterForge to render some texture. I decided to use Constantin Malakov’s Snake scales filter to do this, you will soon see why. Here is one vest texture.
And here is another one.
And here is the bump map that will be used for all of them.
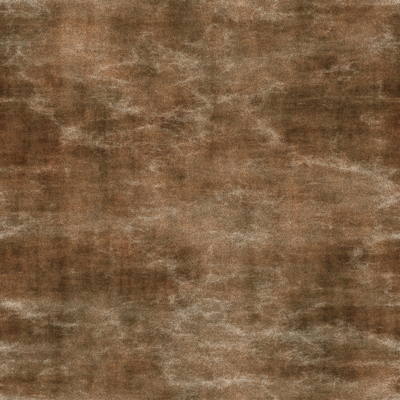
Also, the vest has some leather details, so here is a leather texture I also rendered in FilterForge.
Now I guess you are curios how this will look, so am I.
Comments
Leave a Reply
 Roleplaying

