Hello,
I’ve promised several times that I would make a new FilterForge tutorial, last time was to the Bald Wizards Club, and here we are. This is the first step.
So, first we start our FilterForge. I will be using version 2.0 as 3.0 have some weird crashes in the filter editor still which will just make me angry if I crash when I’m making the filter. What I’ve set out to do is a floor texture filter with stone slabs and wood frames around. As this is a filter made from several different pieces, we make one at a time, and I start with some wood.
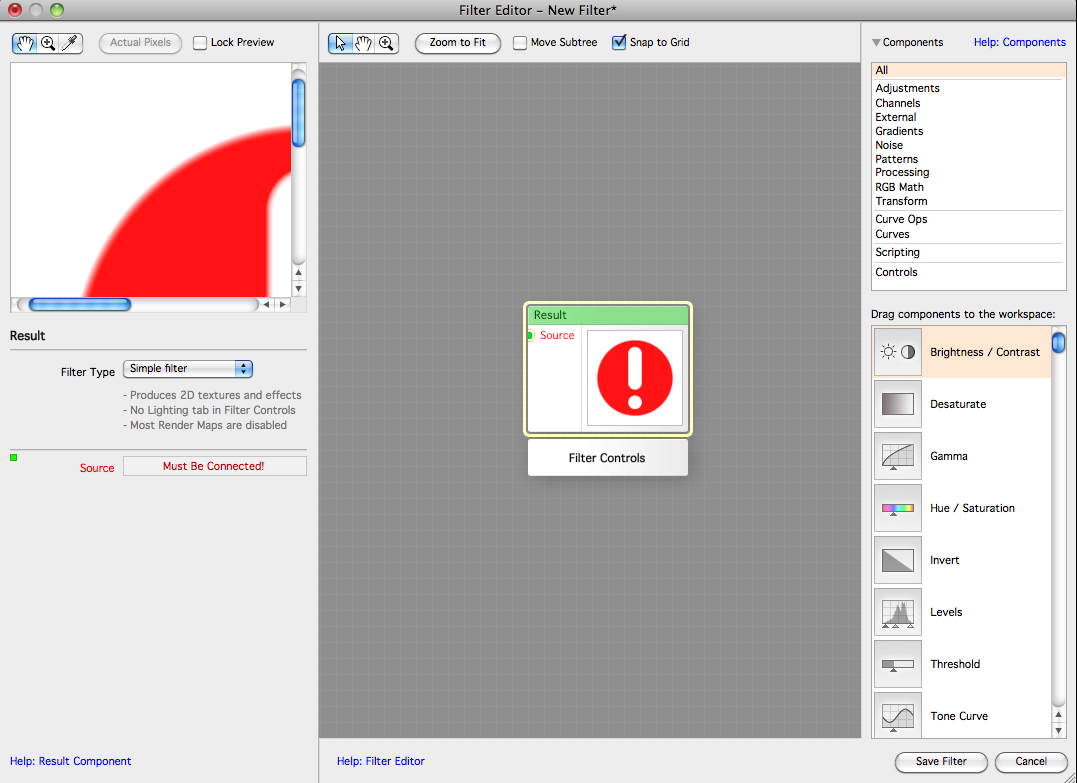
We click Edit filter and crate a new, this is what you will see.
Click for larger.
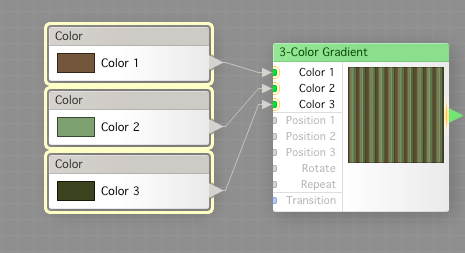
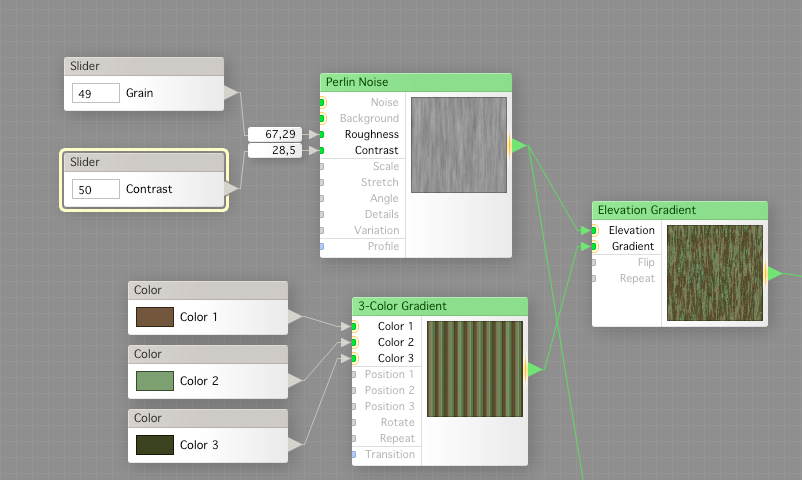
We now create a 3-Color Gradient, and set it up like this with a repeat around 10, might change that and the Transition to Noise.
Now we add three color controls, ole for each of the colors to get some good wood colors.
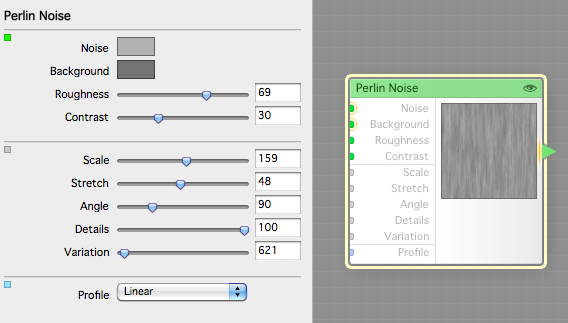
We then create a Perlin Noise that we set up this way, just to see that it looks the way we want it.
Then its time to add some control over the noise. We create one slider that we call Grain, and connect it to the Roughness of the Perlin Noise. We check the Use Remapping checkbox, which will show a little number box on the connecting line.
Tip:
When setting up remapping limits, set the slider Value to minimum, then change the minimum value in the remapping edit until you see what you say is the lowest effect you want. Then set the Value to max, and lower the maximum setting in the remapper until you hit the max point. This will save you a lot of fiddling and trying to figure you why the filter makes such bad textures when you use randomizer for example.
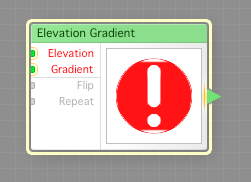
After we added Grain, and a another slider for Contrast using the same technique, we’re ready to continue. We now add an Elevation Gradient.
We connect out Perlin Noise to the Elevation input and the 3-Color Gradient to the Gradient Input, and look, we got something looking like wood.
Click for larger.
Now we could say done, but this would be a rather flat and dull looking wood. If we look at the Result component, we could attach the output the the Source and be done, but I have a better idea.
We change the Result component to Surface. Now we can add a height map to it.
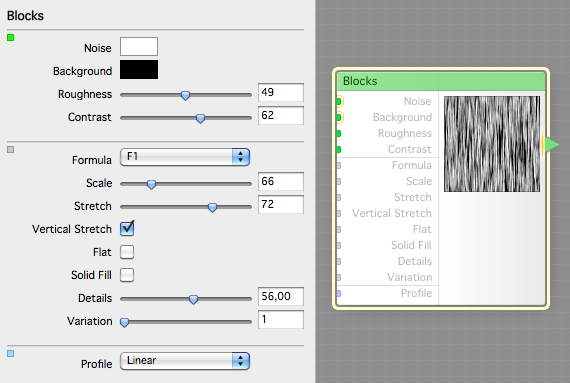
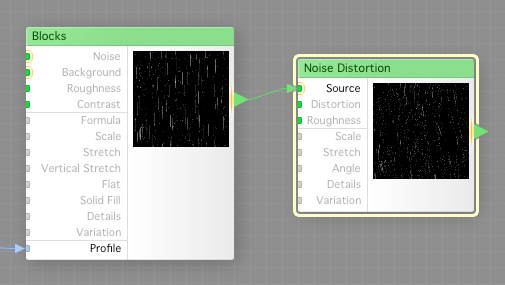
We start with making some scratches for the height map. We add a Blocks component and set it up like this.
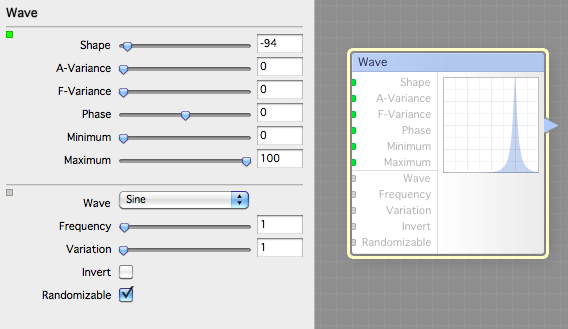
No we add a Wave component and set it up like this.
And now, some magic, we connect the wave to the Profile of the blocks. We now add a Noise Distortion, set up like this.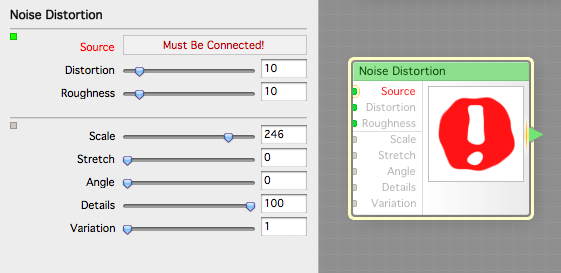
We then feed it from the Blocks.
What next? We add a Round component and connect a slider to Granularity. We do the slider setting so we got something in both ends, trimming the range. Then we connect one of our first components the Perlin Noise to this one.
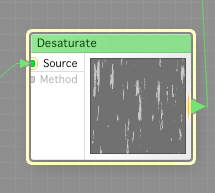
We add a Desaturate after the Round, just in case we decide to feed the Granularity with something else that is not grey scale.
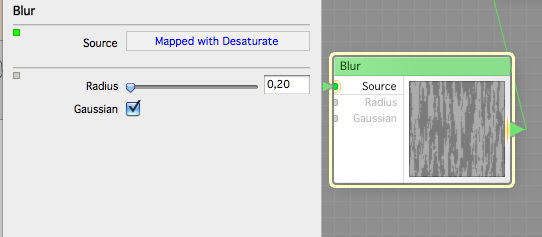
We now add a slight Blur to this, hooking it up to the Desaturated Round output.
We now add a Threshold component, and add a slider to the High Value, setting the range between light and dark grey. We feed the output from the Noise Distortion as Source, and the Blur to the Low input.
W now connect this to the Height map of the Result component , and the wood we made before to the Surface Color. We call the filter Wood Tutorial and save it.
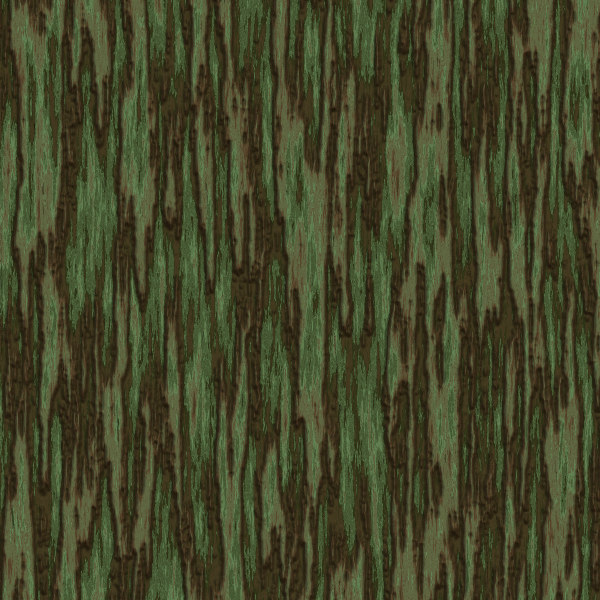
So, what does the result look like? These are nor set in tiling mode.
Here is the diffuse map (what the wood would have looked like without a height map added.
And here is the generated bump map.
And here is a texture with height added in the rendering process.
And here is the zipped filter for you to dissect.
I hope you like this tutorial. Soon we will do part two, a stone floor texture filter, the first of two.
Comments
Leave a Reply
 Roleplaying

